Halloween is a time for transformation and creativity. We go all out with costumes, spooky decorations, and themed treats. But what about adding a unique and personal touch to your look that’s a little less "costume" and a lot more "you"? That’s where personalized Halloween jewelry comes in. Think beyond the plastic spider rings and vampire fangs. Imagine a piece of jewelry that says exactly what you want it to, with a spooky twist.
Making your own custom letter bead bracelets for Halloween is a fun, creative, and easy way to express your spooky style. These aren't just for kids, either. They're a trending accessory that can elevate any outfit, whether it's for a big Halloween party or just to celebrate the season. You can wear your favorite horror movie quotes, spell out a spooky inside joke, or simply show off your love for all things ghoulish.
This blog will guide you through the simple steps of creating your very own beaded bracelets. We’ll show you what materials you need, offer some creative ideas, and walk you through the process from start to finish. So, grab your beads, get ready to get crafty, and let's create some spooky, stylish, and personal jewelry that will make this Halloween unforgettable.
What Materials Do You Need to Start Making Your Bracelets?
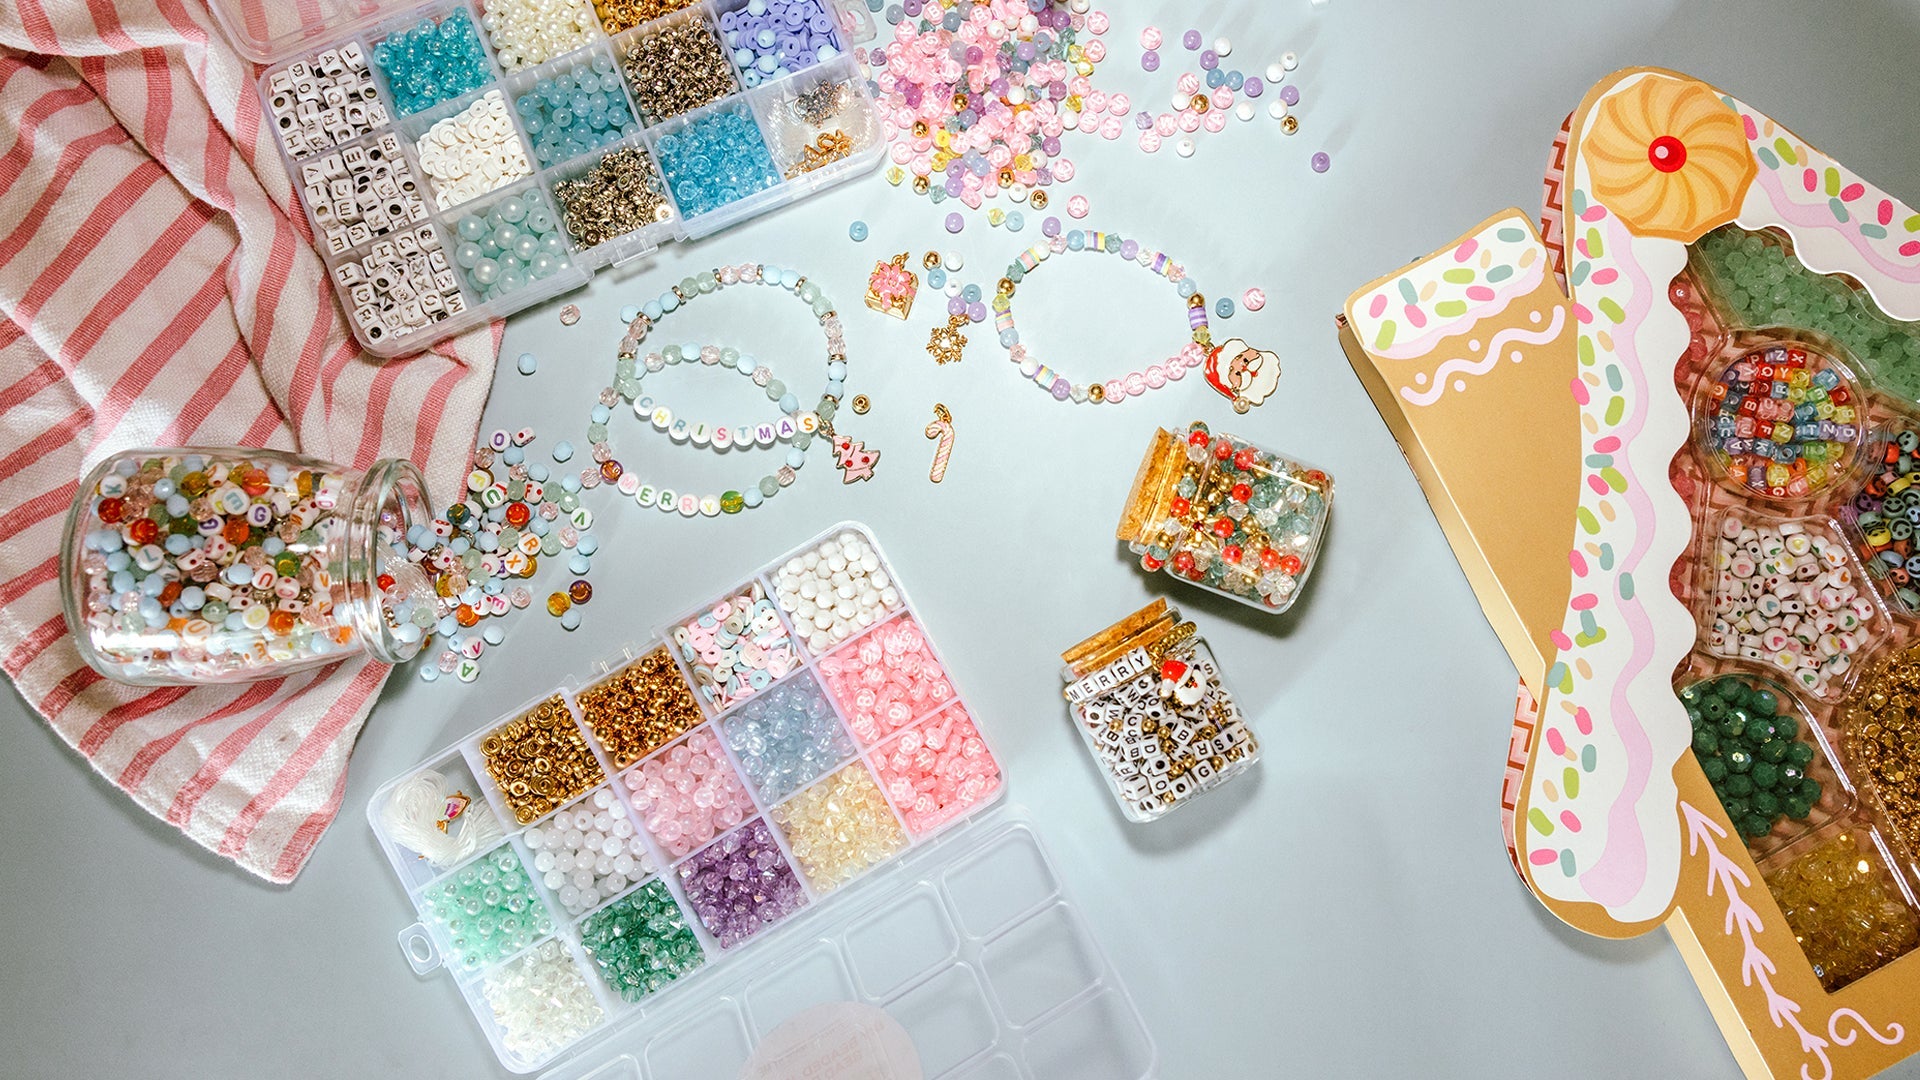
Before you can start threading beads, you need to gather the right supplies. The good news is that you don't need a lot of complicated tools or materials. The beauty of these bracelets is in their simplicity. The most important thing is to have a good variety of high-quality beads and a strong elastic cord.
Here’s a simple list of the essentials:
-
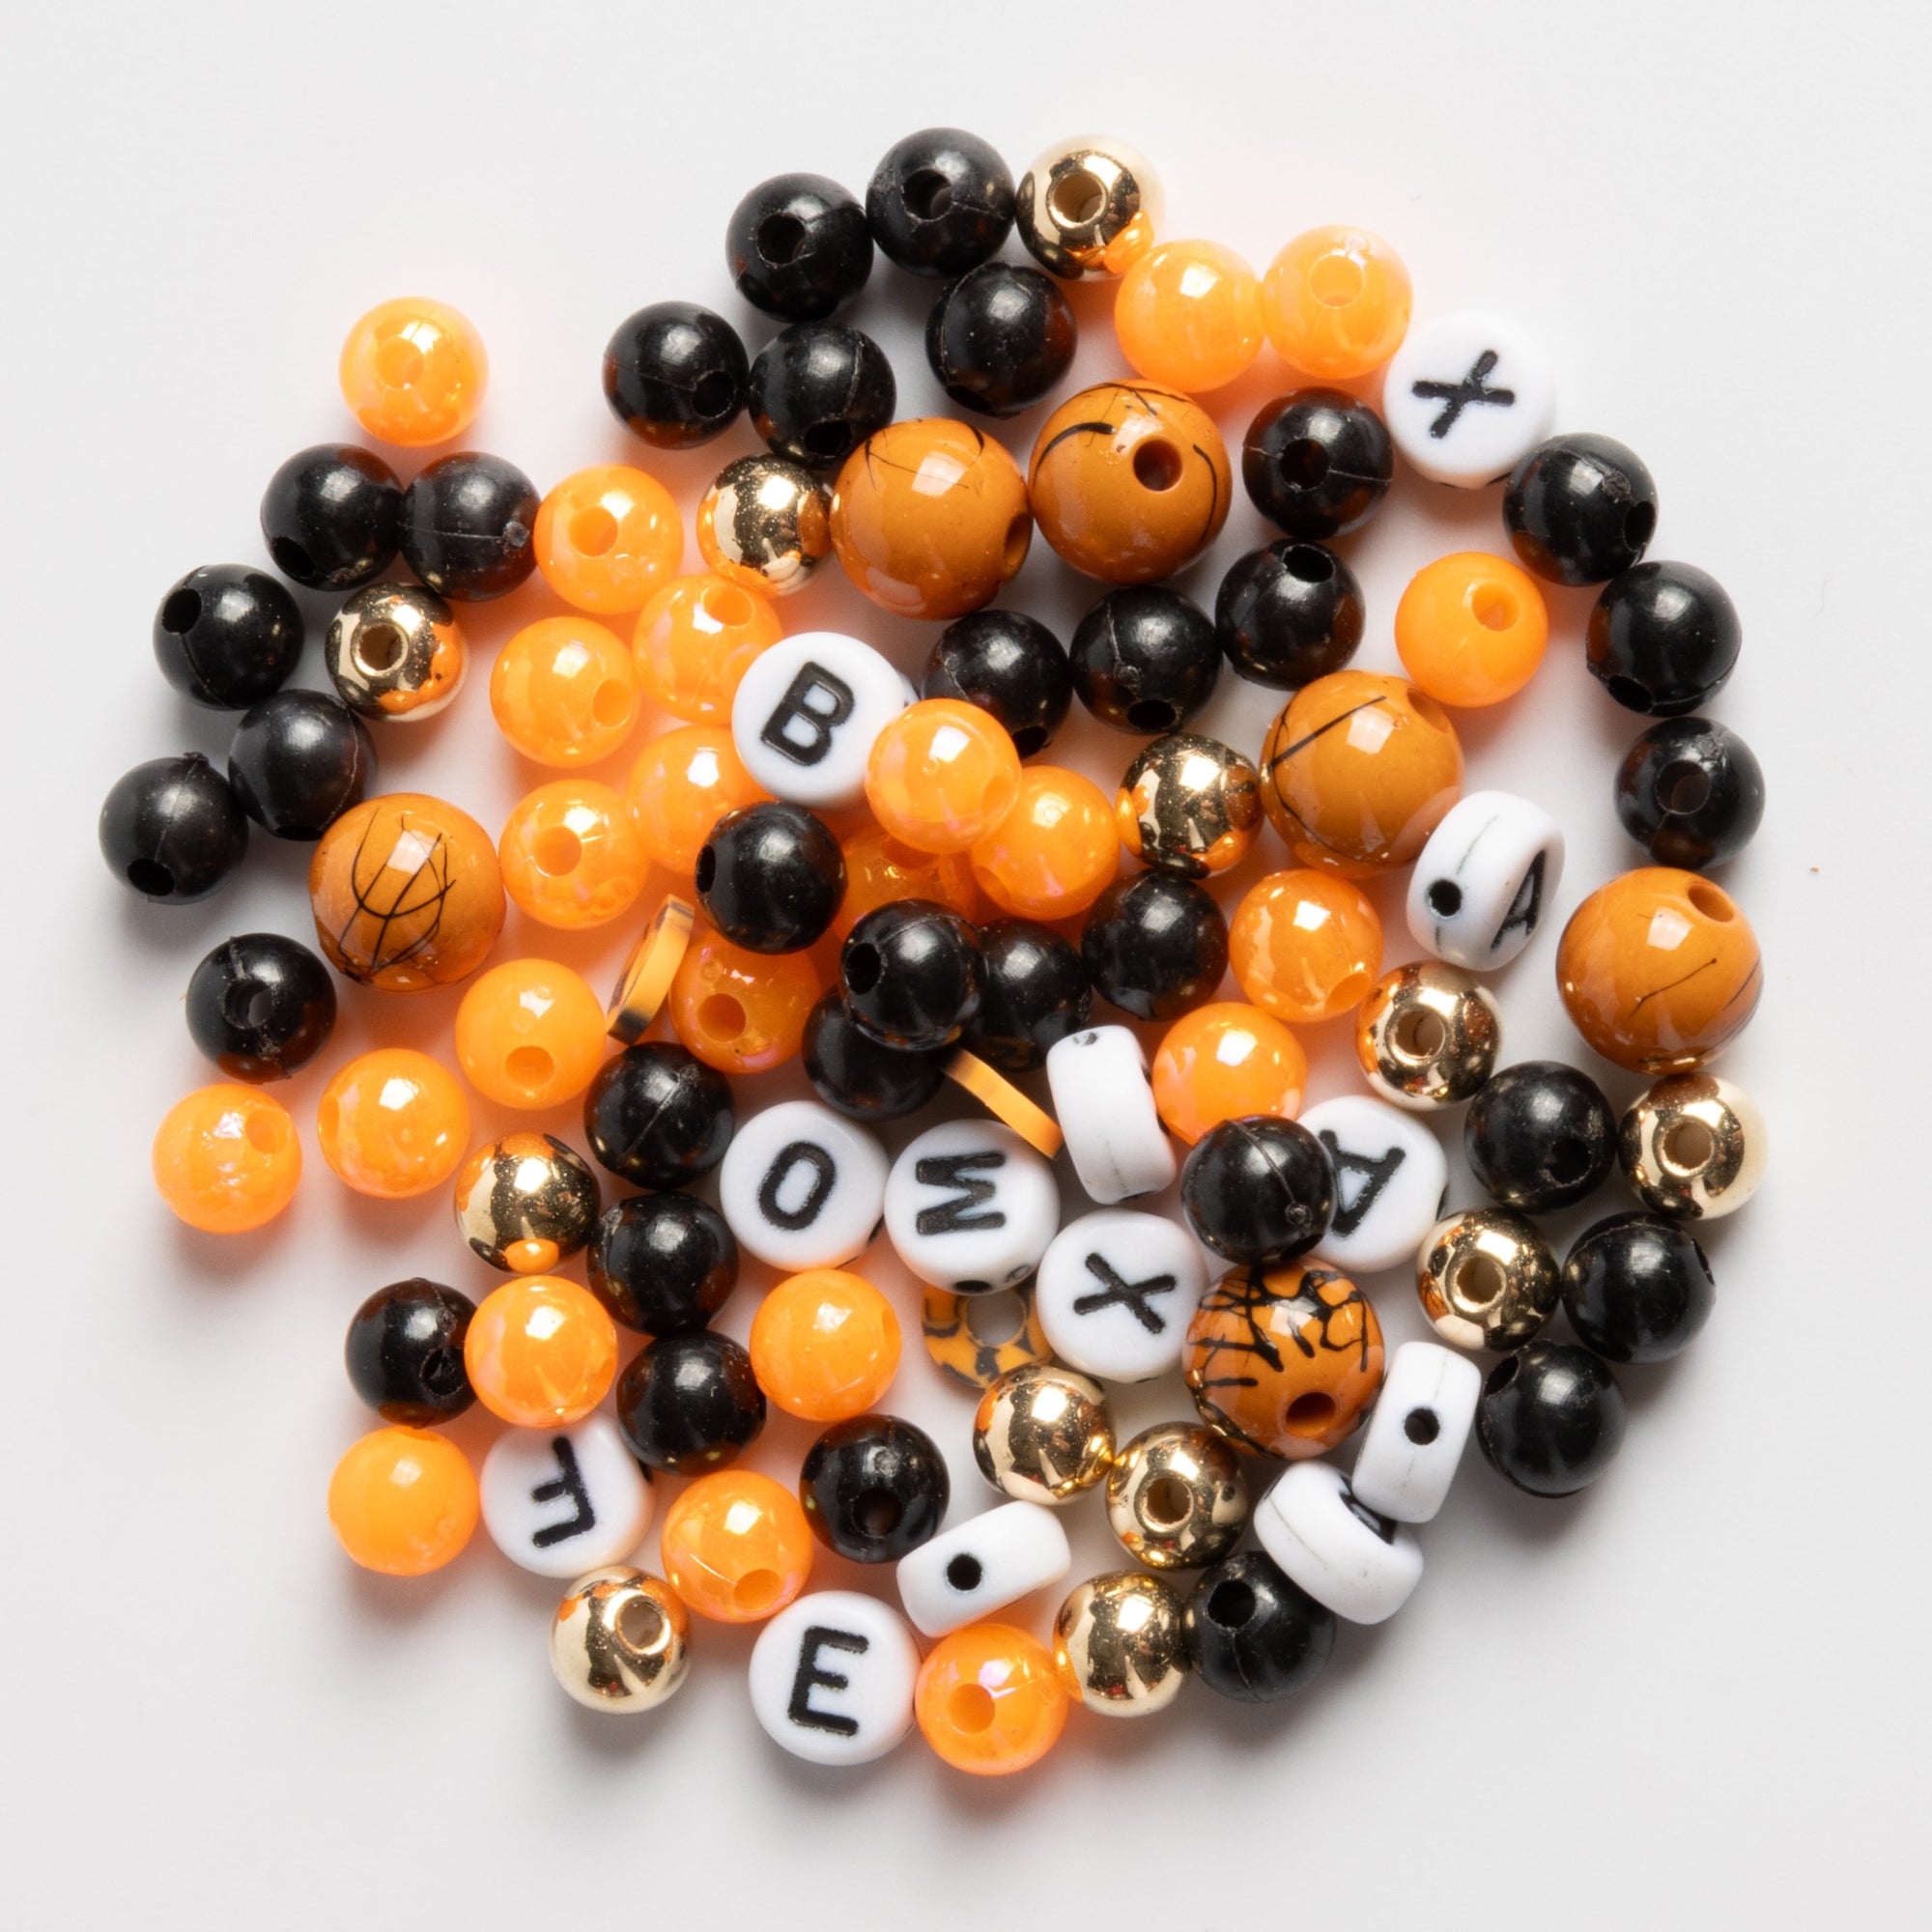
Letter Beads: These are the heart of your bracelets. Look for a mix of letters so you can spell out any word or phrase you want. You can find them in various colors and fonts, so choose ones that match your Halloween theme, like white on black or maybe a mix of vibrant Halloween colors.
-
Spacer Beads: These are the beads that fill the space between the letter beads. They can be simple round beads in classic Halloween colors like black, orange, purple, or green. Using different shapes, like stars or skulls, can also add a unique flair.
-
Elastic Cord: This is what holds all your beads together. A clear, strong, and stretchy cord is the best choice. Make sure it's durable enough to handle daily wear without snapping.
-
Spooky Charms: These are the decorative elements that give your bracelets that extra Halloween punch. Think small metal charms in the shape of ghosts, pumpkins, bats, witch hats, or even tiny cauldrons.
-
Scissors: You'll need these to cut the elastic cord to the right length.
-
Tape or a Bead Stopper: This is a helpful tool to prevent beads from falling off one end of the cord while you're working on the other. A small piece of tape works perfectly.
Finding all these items separately can be a hassle, especially if you're a beginner. That's why opting for a curated kit is often the best way to go. A DIY beaded bracelet kit from a trusted source like Jewelry Made BY Me has everything you need, perfectly sorted and ready for you to create. These kits take the guesswork out of the process, ensuring you have the right materials in the right amounts.

How Can You Brainstorm The Perfect Spooky Words and Phrases?
The most exciting part of making a custom bracelet is choosing what you want it to say. The possibilities are endless, and you can get as creative or as classic as you like. The key is to think about what makes Halloween special to you. Is it the classic horror movies? The spooky folklore? The fun and festive atmosphere? Let your imagination run wild.
To get your creative juices flowing, here are a few categories of ideas you can explore:
-
Classic Halloween Sayings: These are timeless and instantly recognizable. Think simple words like "SPOOKY," "BOO," "GHOUL," or "WITCH." You can also use phrases like "TRICK OR TREAT" or "HALLOWEEN VIBES."
-
Pop Culture References: If you're a fan of horror movies, books, or TV shows, you can use a quote or name from your favorite piece of media. Examples include "BEETLEJUICE," "HOCUS POCUS," "GHOSTFACE," or "IT." This is a great way to show off your fandom.
-
Silly and Fun Phrases: Halloween doesn't always have to be scary. You can create bracelets with funny words like "CUTE BUT CREEPY," "SPOOKY SZN," or "PUMPKIN SPICE." These are perfect for a more lighthearted celebration.
-
Personalized Names: You can spell out your own name with a spooky twist, like "ZOMBIE [YOUR NAME]" or "PUMPKIN [YOUR NAME]." Or you can make a bracelet for a friend with their name and a Halloween charm.
To make the brainstorming process even easier, try a little pre-planning. Write down a list of your favorite words or phrases. Try to keep them relatively short so they fit comfortably on a bracelet. Once you have a list, you can start to think about which beads and charms would pair best with each word. This little bit of planning goes a long way in creating a cohesive and well-designed piece of jewelry.
What is the Step-by-Step Process for Making a Bracelet?
Now for the fun part: making the bracelets! The process is simple and can be done in just a few steps. Don't worry if you're a complete beginner; the simplicity of this craft makes it perfect for all skill levels.
Here is a step-by-step guide to help you get started:
-
Cut the Cord: First, unroll your elastic cord and cut a length that's about 10-12 inches long. This will give you plenty of room to work with, and you can trim the excess later.
-
Secure One End: To prevent your beads from sliding off while you're working, tie a simple knot at one end of the cord or secure it with a piece of tape. This is a crucial step to avoid any spills!
-
Plan Your Design: Before you start threading, lay out your design on a flat surface. This helps you visualize the finished product and make sure you have enough beads. Decide on the order of your beads, what you want to spell, and where you want to place any charms.
-
Start Threading: Begin by sliding your beads onto the cord in the order you planned. Take your time and be careful not to drop any. If you're spelling a word, thread the letter beads in the correct sequence.
-
Add Your Charms: Once you've added all your beads, you can thread a charm onto the cord. Many charms have a small loop that you can easily slide the cord through. You can place the charm in the center or on the side, wherever you think it looks best.
-
Tie the Knot: When you've added all the beads and the bracelet is the right length for your wrist, it's time to tie it off. This is the most important step! Remove the tape or knot from the other end. Bring both ends of the cord together and tie a tight, double or triple knot. A surgeon's knot is a great option as it's very secure.
-
Trim and Secure: After tying the knot, pull on the cord gently to make sure the knot is secure. Then, trim the excess cord as close to the knot as possible, leaving just a tiny bit of a tail. You can add a drop of super glue or clear nail polish to the knot for extra security.
And that's it! You've just made your very own personalized Halloween bracelet. The process is so quick and easy that you'll want to make a whole stack of them for yourself and your friends.

How Can You Style and Wear Your New Halloween Jewelry?
Once you've made your bracelets, the real fun begins: wearing and showing them off! One of the best things about these bracelets is their versatility. They can be a stand-alone statement piece or part of a larger Halloween-themed ensemble.
-
Stack Them Up: One of the most popular ways to wear beaded bracelets is to stack them. Make several bracelets with different words, colors, and charms and wear them all on the same wrist. A stack of bracelets that say "SPOOKY SZN," "BOO," and "HALLOWEEN VIBES" would look amazing together.
-
Coordinate with Your Costume: If you're dressing up, your personalized bracelets can be the perfect final touch. A bracelet that says "VAMPIRE" could be paired with a vampire costume, or one that says "ZOMBIE" could go with a zombie outfit. This adds a level of detail that will set your costume apart.
-
Wear Them Daily: These bracelets aren't just for October 31st. They are a fun way to celebrate the Halloween season all month long. Wear a simple black and orange bracelet to work or school to show your holiday spirit in a subtle way.
-
Give Them as Gifts: Handmade gifts are always special. Make bracelets for your friends or family members with their names or a phrase that's meaningful to them. This is a thoughtful and personalized gift that they're sure to love.
No matter how you choose to wear them, your custom creations are a reflection of your own style and personality. They are a fun and unique way to get into the Halloween spirit.
Conclusion
Making personalized Halloween jewelry is a rewarding and fun activity that anyone can enjoy. With just a few simple materials, you can create unique accessories that are not only stylish but also meaningful. Whether you’re looking to add a little something extra to your costume or just want to celebrate the spooky season in a creative way, these custom letter bead bracelets are the perfect solution.
The entire process, from brainstorming ideas to threading the final bead, is a joyful and simple one. And with a comprehensive DIY beaded bracelet kit from a brand like Jewelry Made BY Me, getting started has never been easier. You get everything you need in one convenient package, so you can skip the hassle of hunting for supplies and get straight to the fun part.
So, what are you waiting for? Get ready to create, style, and show off your spooktacular creations.
Shop Jewelry Made BY Me for your Halloween DIY beaded bracelet kits today and start creating your custom, spooky jewelry!
FAQ Section
How do I make sure the knot on my bracelet won’t come undone?
Tying a secure knot is the most important step to ensure your bracelet lasts. A simple double knot works well, but for extra security, you can use a surgeon's knot. A surgeon's knot is a square knot with an extra pass-through on the first wrap. After tying, gently pull on the knot to tighten it. For maximum durability, add a small drop of super glue or clear nail polish to the knot and let it dry completely.
What is the best type of elastic cord for making these bracelets?
A clear, stretchy elastic cord is the best choice. Look for a strong, durable cord that won't break easily. Cords made from polyurethane or similar stretchy materials are ideal. They are flexible, easy to work with, and hold up well to daily wear.
Can I use different types of beads besides letter beads?
Absolutely! The beauty of DIY jewelry is that you can mix and match different types of beads. You can use glass beads, wooden beads, or even natural stone beads. You can also mix different sizes and shapes to create a more textured and interesting design. The key is to make sure the hole in the bead is large enough to fit your elastic cord.
How can I make my bracelet fit perfectly?
To get the perfect fit, you should wrap the unknotted cord around your wrist and add a few extra beads to ensure it’s not too tight. A good rule of thumb is to measure the bracelet with the beads on the cord before you tie the final knot. For a snug fit, the bracelet should be about 7 inches long for most adults. If you prefer a looser fit, you can make it a bit longer.
Are these bracelets suitable for kids to make?
Yes, these bracelets are a great craft project for kids! The process is simple, and they love being able to choose their own words and colors. Adult supervision is recommended, especially when using scissors and dealing with small beads, to ensure safety. Many kits, like those from Jewelry Made BY Me, are designed to be user-friendly for all ages.