The air is getting crisp, and pumpkin spice is everywhere. That can only mean one thing: Halloween is just around the corner. It's the perfect time to get creative and craft something uniquely you. Forget mass-produced accessories; this year, let's make a statement with custom jewelry. There's nothing more personal than a piece of jewelry you've made yourself. You can create something that perfectly matches your costume, your style, or simply celebrates the spooky season. In this guide, you’ll learn how to craft your very own Halloween-themed beaded word bracelet.
Beaded word bracelets are a fantastic project for all skill levels. They are simple to make but offer endless possibilities for personalization. You can spell out a fun phrase, your favorite character's name, or a spooky word that captures the Halloween spirit. We'll walk you through everything you need to know, from gathering your materials to the final finishing touches. It's a fun, rewarding project that results in a piece of jewelry you'll love to wear and show off.
Why Choose a DIY Beaded Bracelet for Halloween?
Halloween is all about expressing yourself. A custom beaded bracelet is the ultimate accessory for a season that celebrates individuality and creativity. Instead of relying on store-bought items, you can create a piece that is truly one-of-a-kind. Think about it: a bracelet that says “Spooky Babe,” “Witchy,” or your own unique inside joke. The possibilities are only limited by your imagination.
-
It's Personal: You can create a bracelet that perfectly matches your costume.
-
It's a Fun Activity: Making jewelry is a relaxing and creative process.
-
It's Affordable: DIY kits and supplies are often more cost-effective than buying pre-made jewelry.
-
It's a Great Gift: A custom bracelet makes a thoughtful, handmade gift for friends or family.
DIY projects let you take control of your creative vision. You can select the colors, choose the words, and add charms that reflect your personality. This level of customization is hard to find in a regular store. Plus, wearing something you made yourself adds a special layer of pride and accomplishment. It's not just a bracelet; it's a wearable piece of your own creativity.

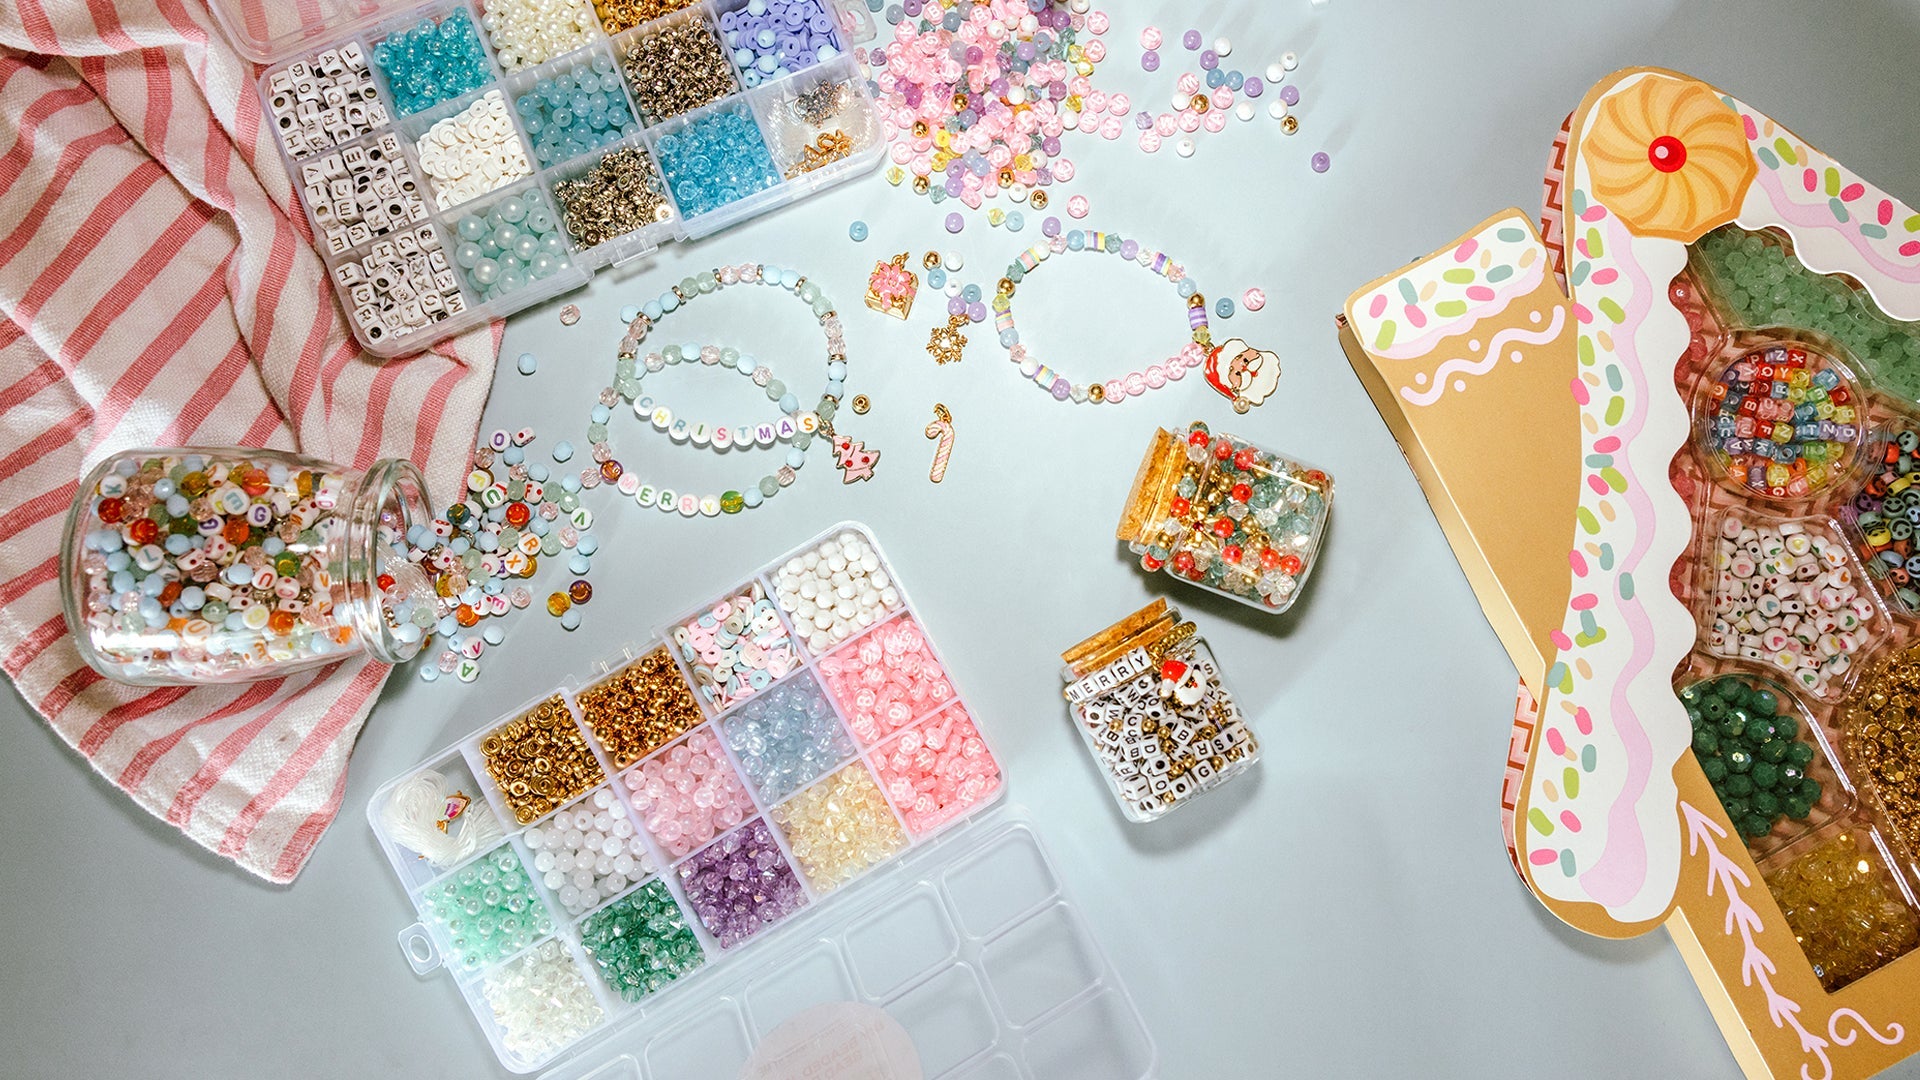
Gather Your Spooky Supplies
Before you start, it’s important to have all your materials ready. The right supplies make a huge difference in the final look and durability of your bracelet. One of the easiest ways to get started is by using a DIY kit. These kits are curated with all the necessary components, saving you the time and effort of sourcing individual beads and findings.
Here’s a list of what you’ll need:
-
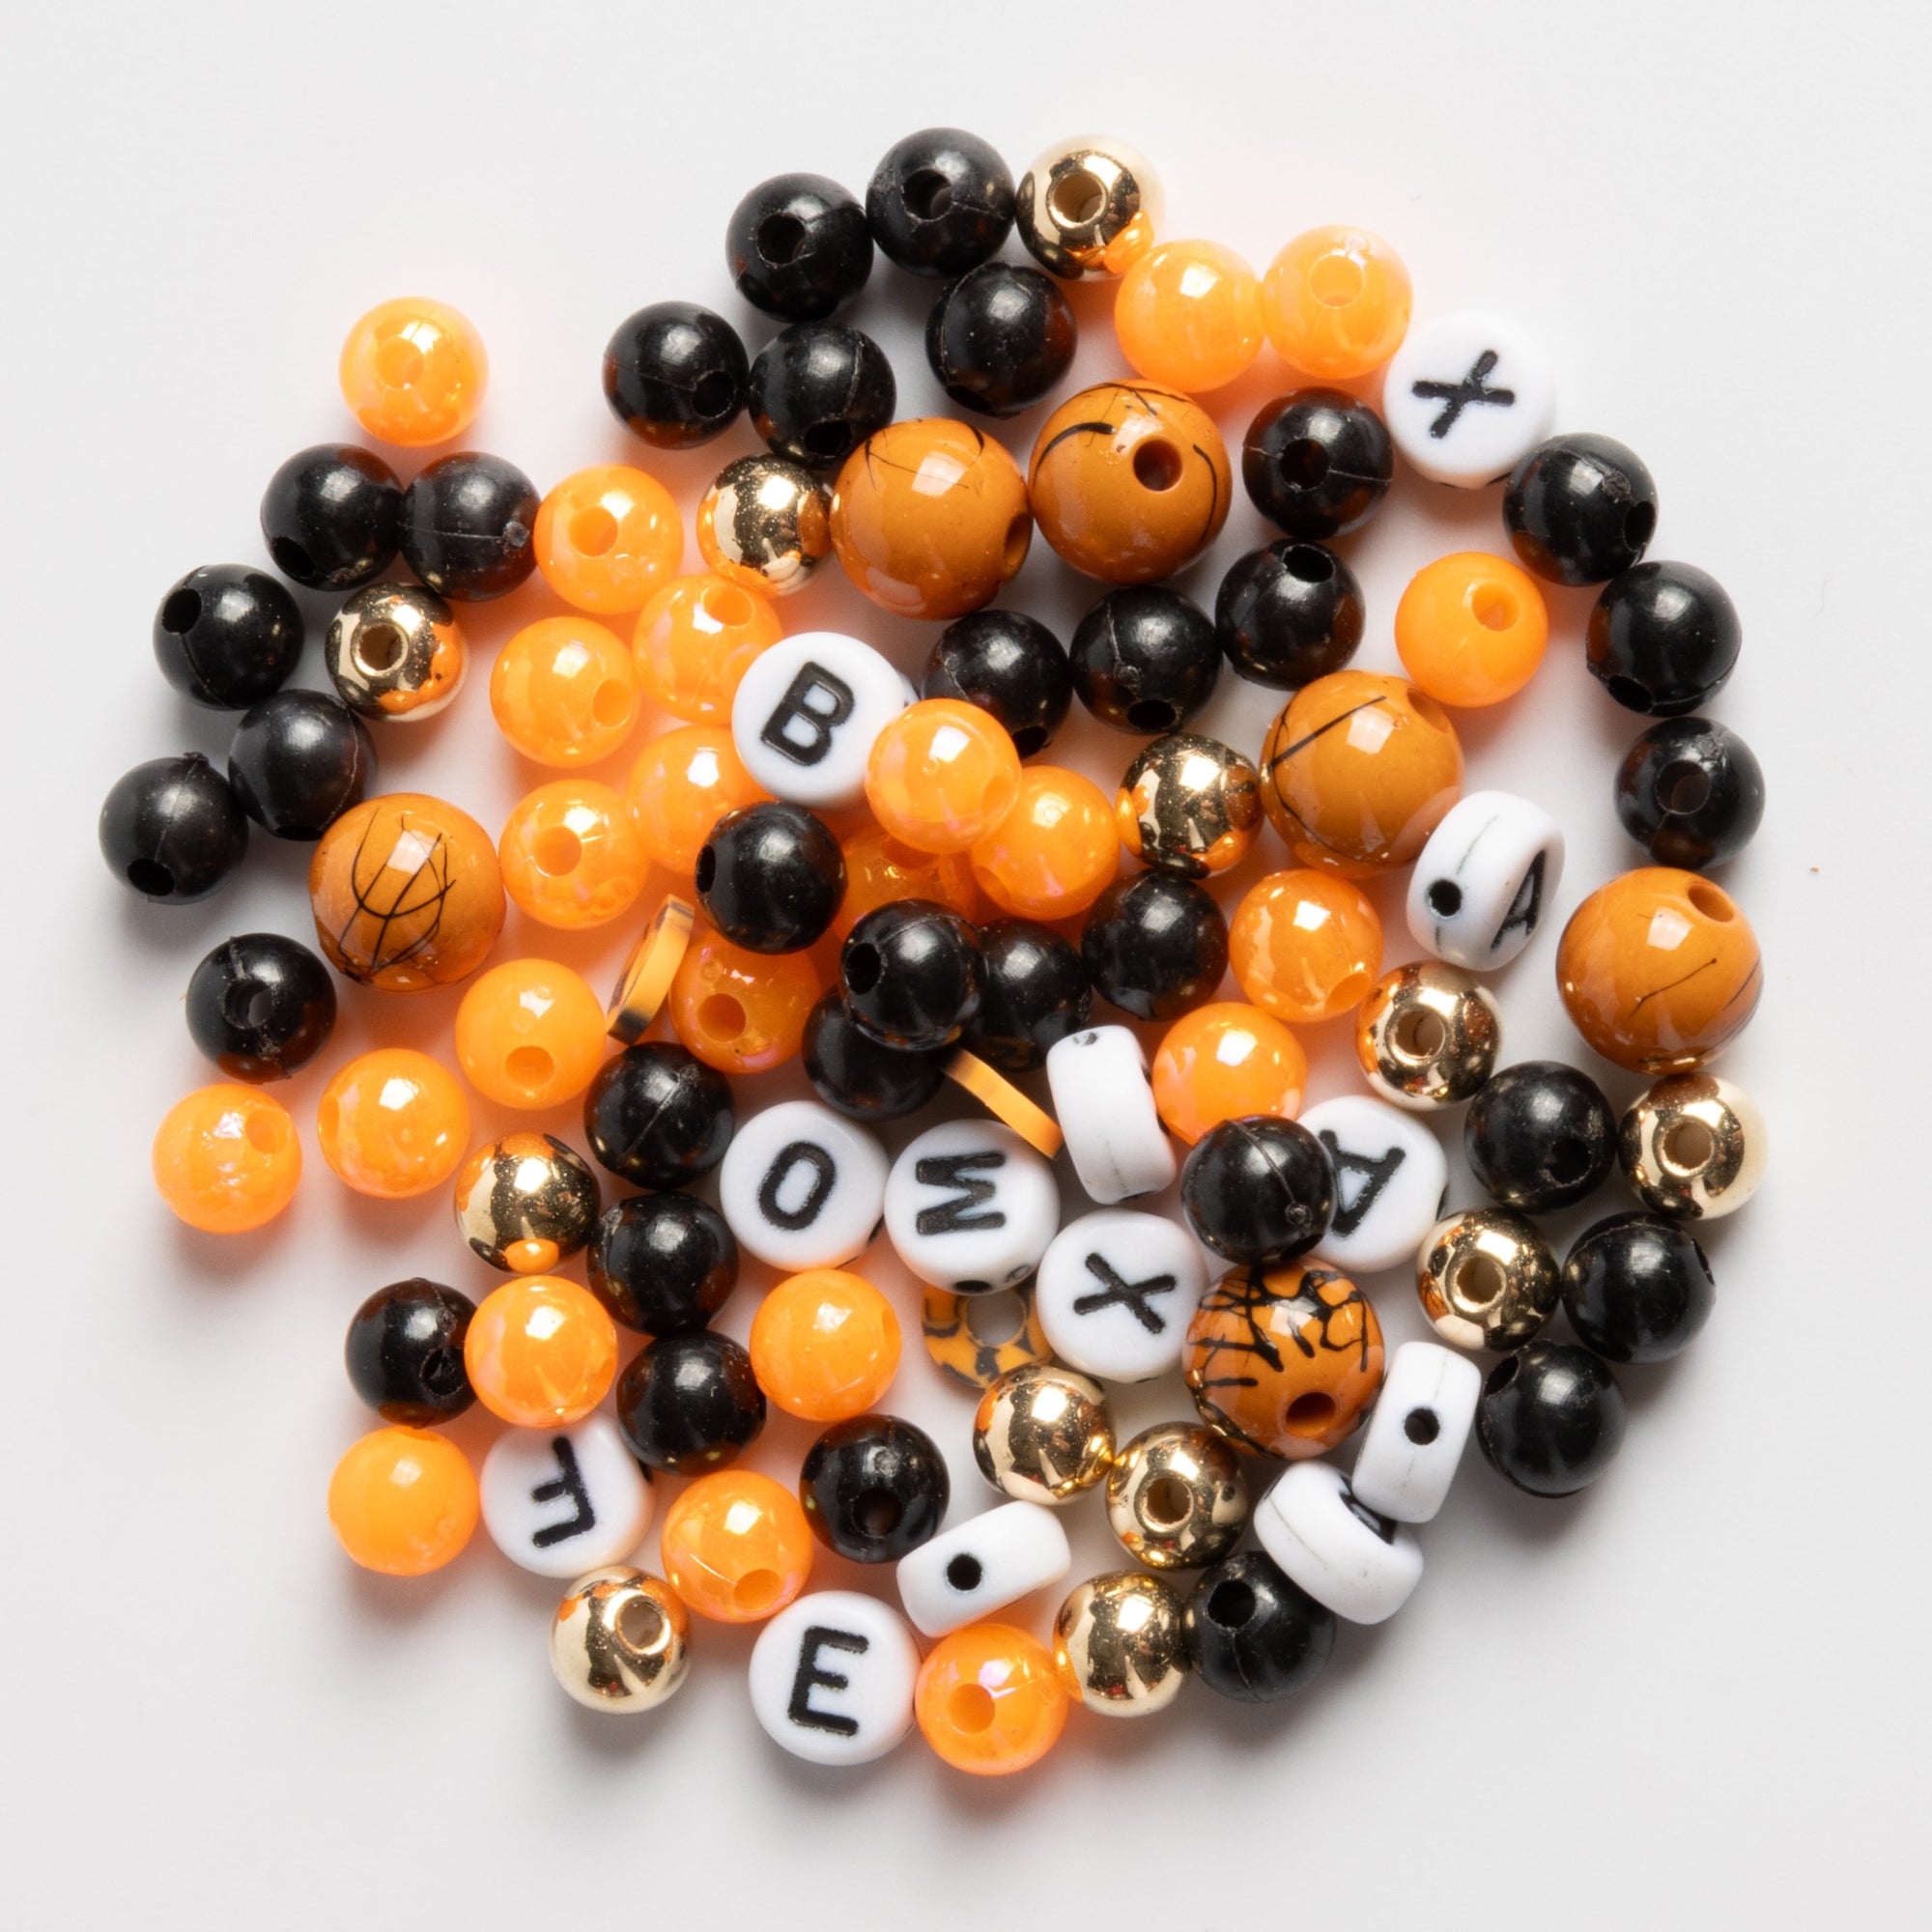
Beads: This is the fun part! You'll want a mix of decorative beads and letter beads. For Halloween, consider a classic color palette of black, orange, purple, and green. Look for beads with fun finishes like glow-in-the-dark or metallic sheens.
-
Letter Beads: These are the key to your "word" bracelet. Choose square or round alphabet beads that are easy to string and read.
-
Elastic Cord: This is the best choice for a bracelet that's easy to take on and off. Look for a strong, stretchy cord that won't break easily. A 0.8mm or 1mm thickness is usually perfect.
-
Scissors: A small, sharp pair of scissors will be needed to cut the cord.
-
Optional Charms: Small, themed charms like ghosts, bats, pumpkins, or witch hats can add an extra spooky touch.
-
A Beading Tray or Mat: This is highly recommended to keep your beads from rolling away and to help you plan your design.
If you don’t have all these items on hand, don't worry. Many craft stores and online retailers offer all-in-one kits. They're a fantastic way to jump right into the project without the hassle of collecting each item individually.
Step-by-Step DIY Halloween Beaded Word Bracelet Tutorial
Ready to start crafting? Follow these simple steps to create your custom masterpiece.
Step 1: Plan Your Design
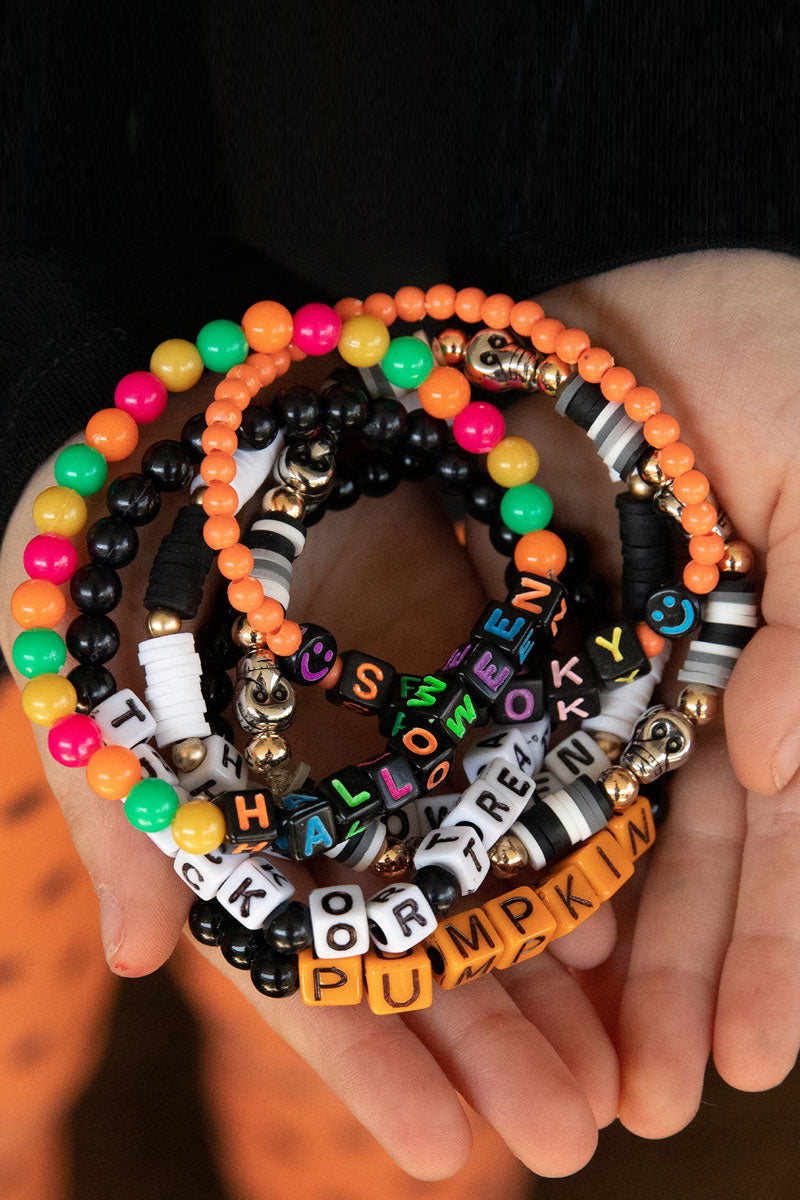
Before you start stringing, it's a good idea to lay out your beads. This is where a bead tray comes in handy. Decide on the word or phrase you want to spell. Halloween-themed ideas include:
-
"Spooky Season"
-
"Witchy Vibes"
-
"Boo!"
-
"Ghoulish"
-
"Creep It Real"
Next, arrange your decorative and letter beads in the order you want them on the bracelet. This allows you to visualize the final product and make any adjustments before you commit. Consider a pattern, like an orange bead, then a black one, then a purple one. Or maybe a few decorative beads on either side of your word. This step prevents you from having to undo your work later.
Step 2: Cut Your Cord
Cut a length of elastic cord. A good rule of thumb is to cut a piece that is about 10-12 inches long. This gives you plenty of extra cord to work with and tie a secure knot at the end. It's always better to have too much cord than not enough.
Step 3: String Your Beads
Start stringing your beads onto the cord. This is the most meditative part of the process. Follow the design you laid out in Step 1. Start with your decorative beads, then add your letter beads to spell out your word. Be careful not to let the beads slide off the other end of the cord. You might want to tie a temporary knot or use a bead stopper on the end to keep them secure.
Step 4: Check the Fit
Once you have all your beads on the cord, it's time to check the fit. Wrap the bracelet around your wrist. The bracelet should be snug but not too tight. It should have a bit of give. If it's too loose, you can remove a few beads. If it's too tight, add a few more. This is an important step to ensure the bracelet is comfortable to wear.
Step 5: Tie the Knot
This is a critical step that ensures your bracelet doesn't fall apart. Overlap the two ends of the cord and tie a simple overhand knot. You'll want to do this twice or three times to create a secure knot. For extra security, some crafters add a tiny dot of super glue or nail polish to the knot. This helps prevent it from unraveling. Make sure to let the glue dry completely before moving on.
Step 6: Finish the Bracelet
Trim the excess cord as close to the knot as possible, leaving just a tiny bit of a tail. Gently stretch the bracelet to tuck the knot into one of the adjacent beads. This hides the knot and gives your bracelet a clean, professional look. And just like that, you've created a custom, spooky accessory!

Beyond the Bracelet: Other Halloween DIY Ideas
The skills you learn from making a beaded word bracelet can be applied to many other projects. Once you have the hang of it, you might want to try creating:
-
Beaded Necklaces: Create a longer piece with a charm or pendant for a statement look.
-
Beaded Earrings: Use smaller beads to make a matching pair of earrings.
-
Anklets: A beaded anklet is a fun, subtle way to accessorize for Halloween.
-
Keychain Charms: Use the same techniques to create a spooky charm for your keys or backpack.
The more you practice, the more confident you'll become in your crafting abilities. Each project is a new opportunity to express your creativity.
Conclusion
Crafting your own Halloween beaded word bracelet is more than just a fun project; it's a way to add a personal, handmade touch to your spooky season style. This simple yet rewarding activity allows you to create something that is truly yours. Whether you're making it for yourself, a friend, or as a fun activity for a Halloween party, a custom beaded bracelet is the perfect way to celebrate the holiday. So grab your beads, get creative, and let your spooky spirit shine.
Ready to start your next DIY project? Check out our curated Halloween DIY Beaded Bracelet Kits! They have everything you need to get started, so you can skip the shopping and jump right into the fun. Our kits are designed for all skill levels and come with high-quality beads and materials to make sure your creation is as unique as you are.
FAQs for Creating DIY Halloween Beaded Bracelets
What is the best type of cord to use for a beaded bracelet?
The best type of cord for a beaded bracelet is a strong, elastic cord, typically 0.8mm or 1mm thick. This type of cord is durable and allows the bracelet to stretch, making it easy to put on and take off. This also ensures a comfortable fit and reduces the risk of the bracelet breaking. Non-elastic cord, like waxed cotton or nylon, can also be used but requires a clasp, making the project more complex.
How do you tie a secure knot on a stretchy bracelet?
To tie a secure knot on a stretchy bracelet, you should first tie a simple overhand knot. Then, tie a second or even a third knot directly on top of the first one. For added security, you can place a tiny drop of super glue or clear nail polish on the knot. After the glue or polish has dried, gently stretch the bracelet and pull the knot into one of the adjacent beads to hide it. This method ensures the bracelet will hold up to repeated wear.
Can I use any beads for a DIY bracelet?
While you can use almost any beads for a DIY bracelet, it is best to use beads that are uniform in size and have holes that are large enough for your cord. Be sure to select beads with smooth edges to prevent the cord from fraying. Acrylic, plastic, and glass beads are popular choices for their durability and wide variety of colors and shapes. It is also important to choose beads that are not too heavy, as this can put stress on the cord.
How do I choose a word or phrase for my bracelet?
Choosing a word or phrase for your bracelet is all about personal expression. For Halloween, you can choose a word that relates to a classic theme, like "Witch," "Spooky," or "Ghost." You can also choose a phrase that's a bit more fun and modern, like "Creep It Real" or "Ghoulish." The best way to choose is to think about your personal style or the theme of your costume and pick a word that resonates with you.
Do I need a special tool to make a beaded bracelet?
No, you do not need any special tools to make a simple beaded bracelet. The primary tools you need are a pair of scissors to cut the cord and your hands to string the beads and tie the knot. However, a bead stopper can be helpful to keep beads from falling off the end of your cord, and a bead mat or tray can help keep your beads organized and from rolling away.