Halloween isn't just about costumes and candy; it's also the perfect time to add some spooky flair to your accessories. While store-bought jewelry is a great option, there's something truly special about creating your own piece. A DIY beaded bracelet lets you capture the spirit of the season with a personal touch. This guide will walk you through everything a beginner needs to know to make their first Halloween-themed beaded bracelet. We'll cover the essential tools, must-have beads, and simple techniques to ensure your crafting journey is a treat, not a trick.
Beading is a creative and relaxing hobby that anyone can enjoy. It doesn't require a lot of prior experience or a huge investment in expensive equipment. With just a few basic supplies, you can design and create a one-of-a-kind accessory that perfectly matches your Halloween costume or adds a festive accent to your everyday wear.
The best part? You can customize every aspect, from the color palette to the charms. Whether you're aiming for a "spooky chic" look with black and silver skulls or a "ghoulishly glam" style with vibrant pumpkins and glittery ghosts, the possibilities are endless. This beginner's guide is your first step into a world of creativity and fun.
Understanding Your Beading Arsenal: Essential Tools and Materials
Before you can start stringing beads, you need to gather your supplies. Think of these as the fundamental ingredients for your crafting potion. Having the right materials makes the entire process smoother and more enjoyable.
Beads: The Heart of Your Design
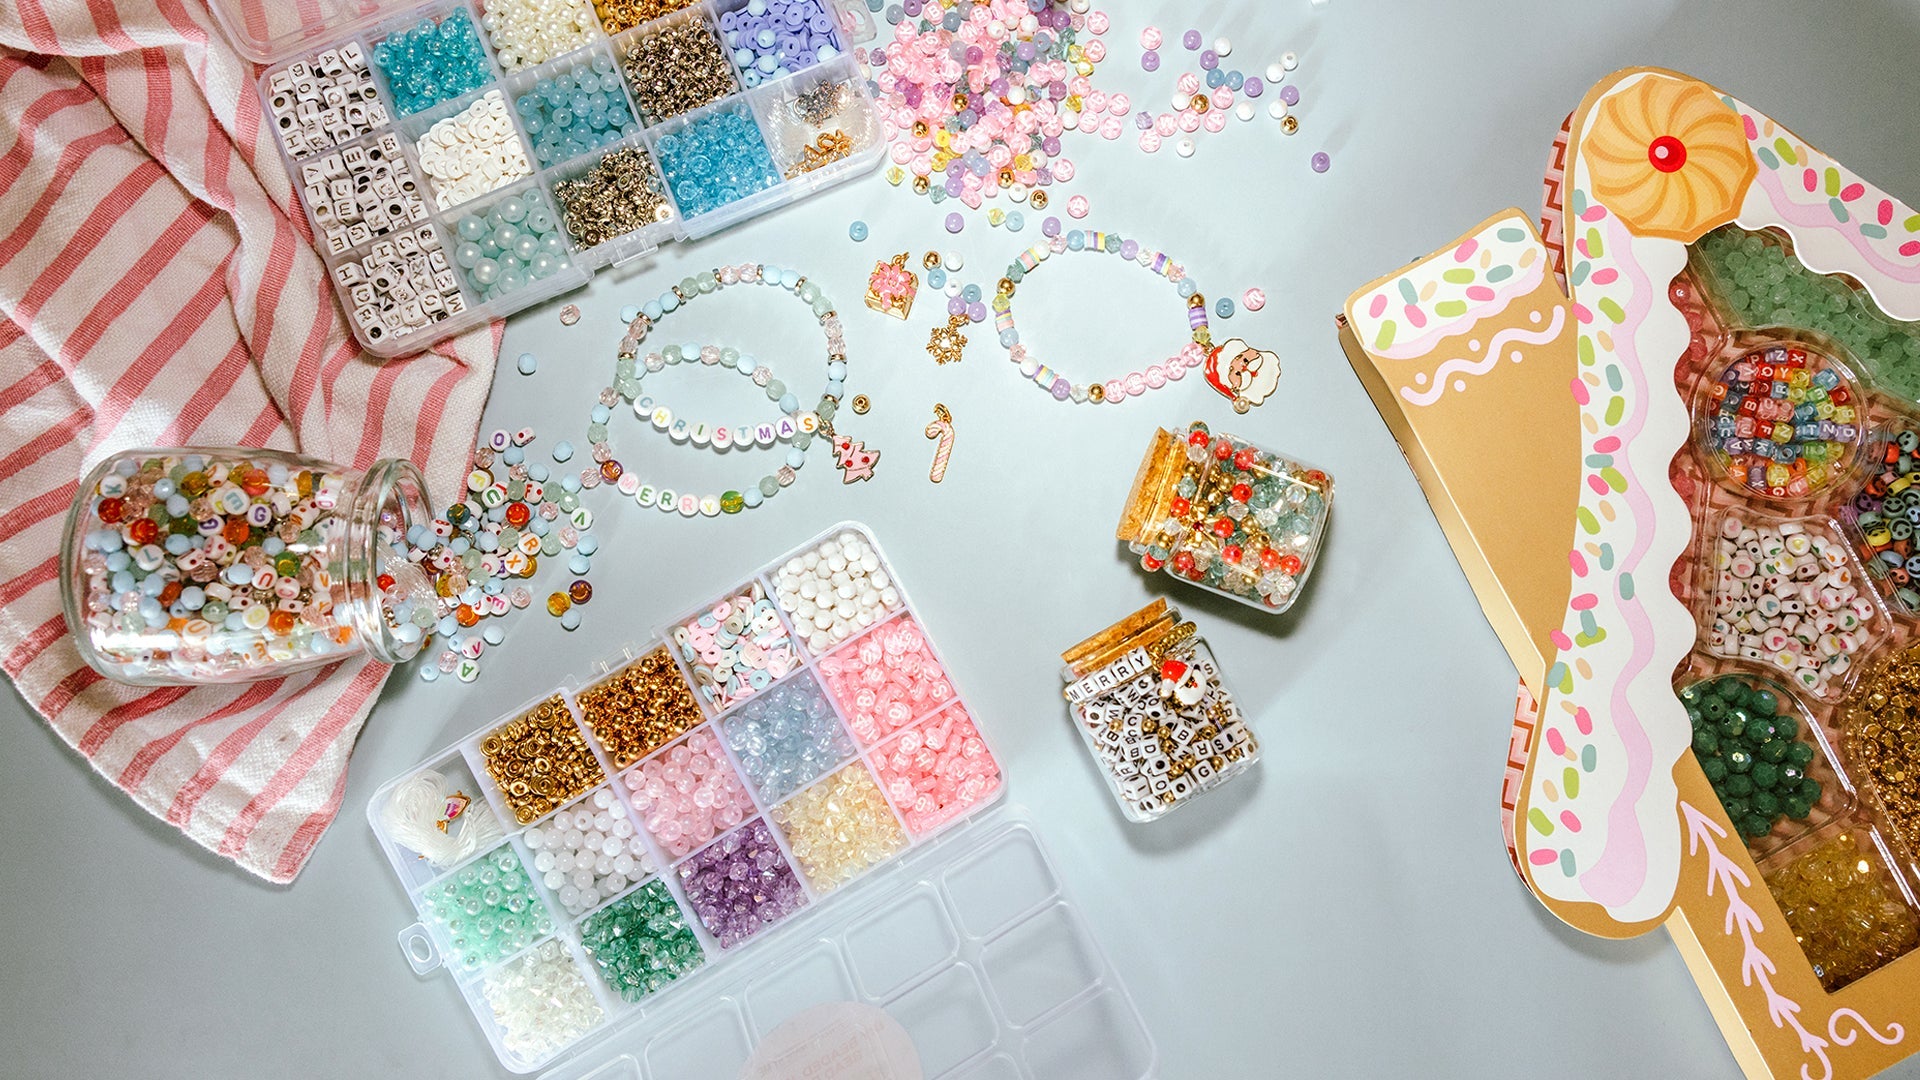
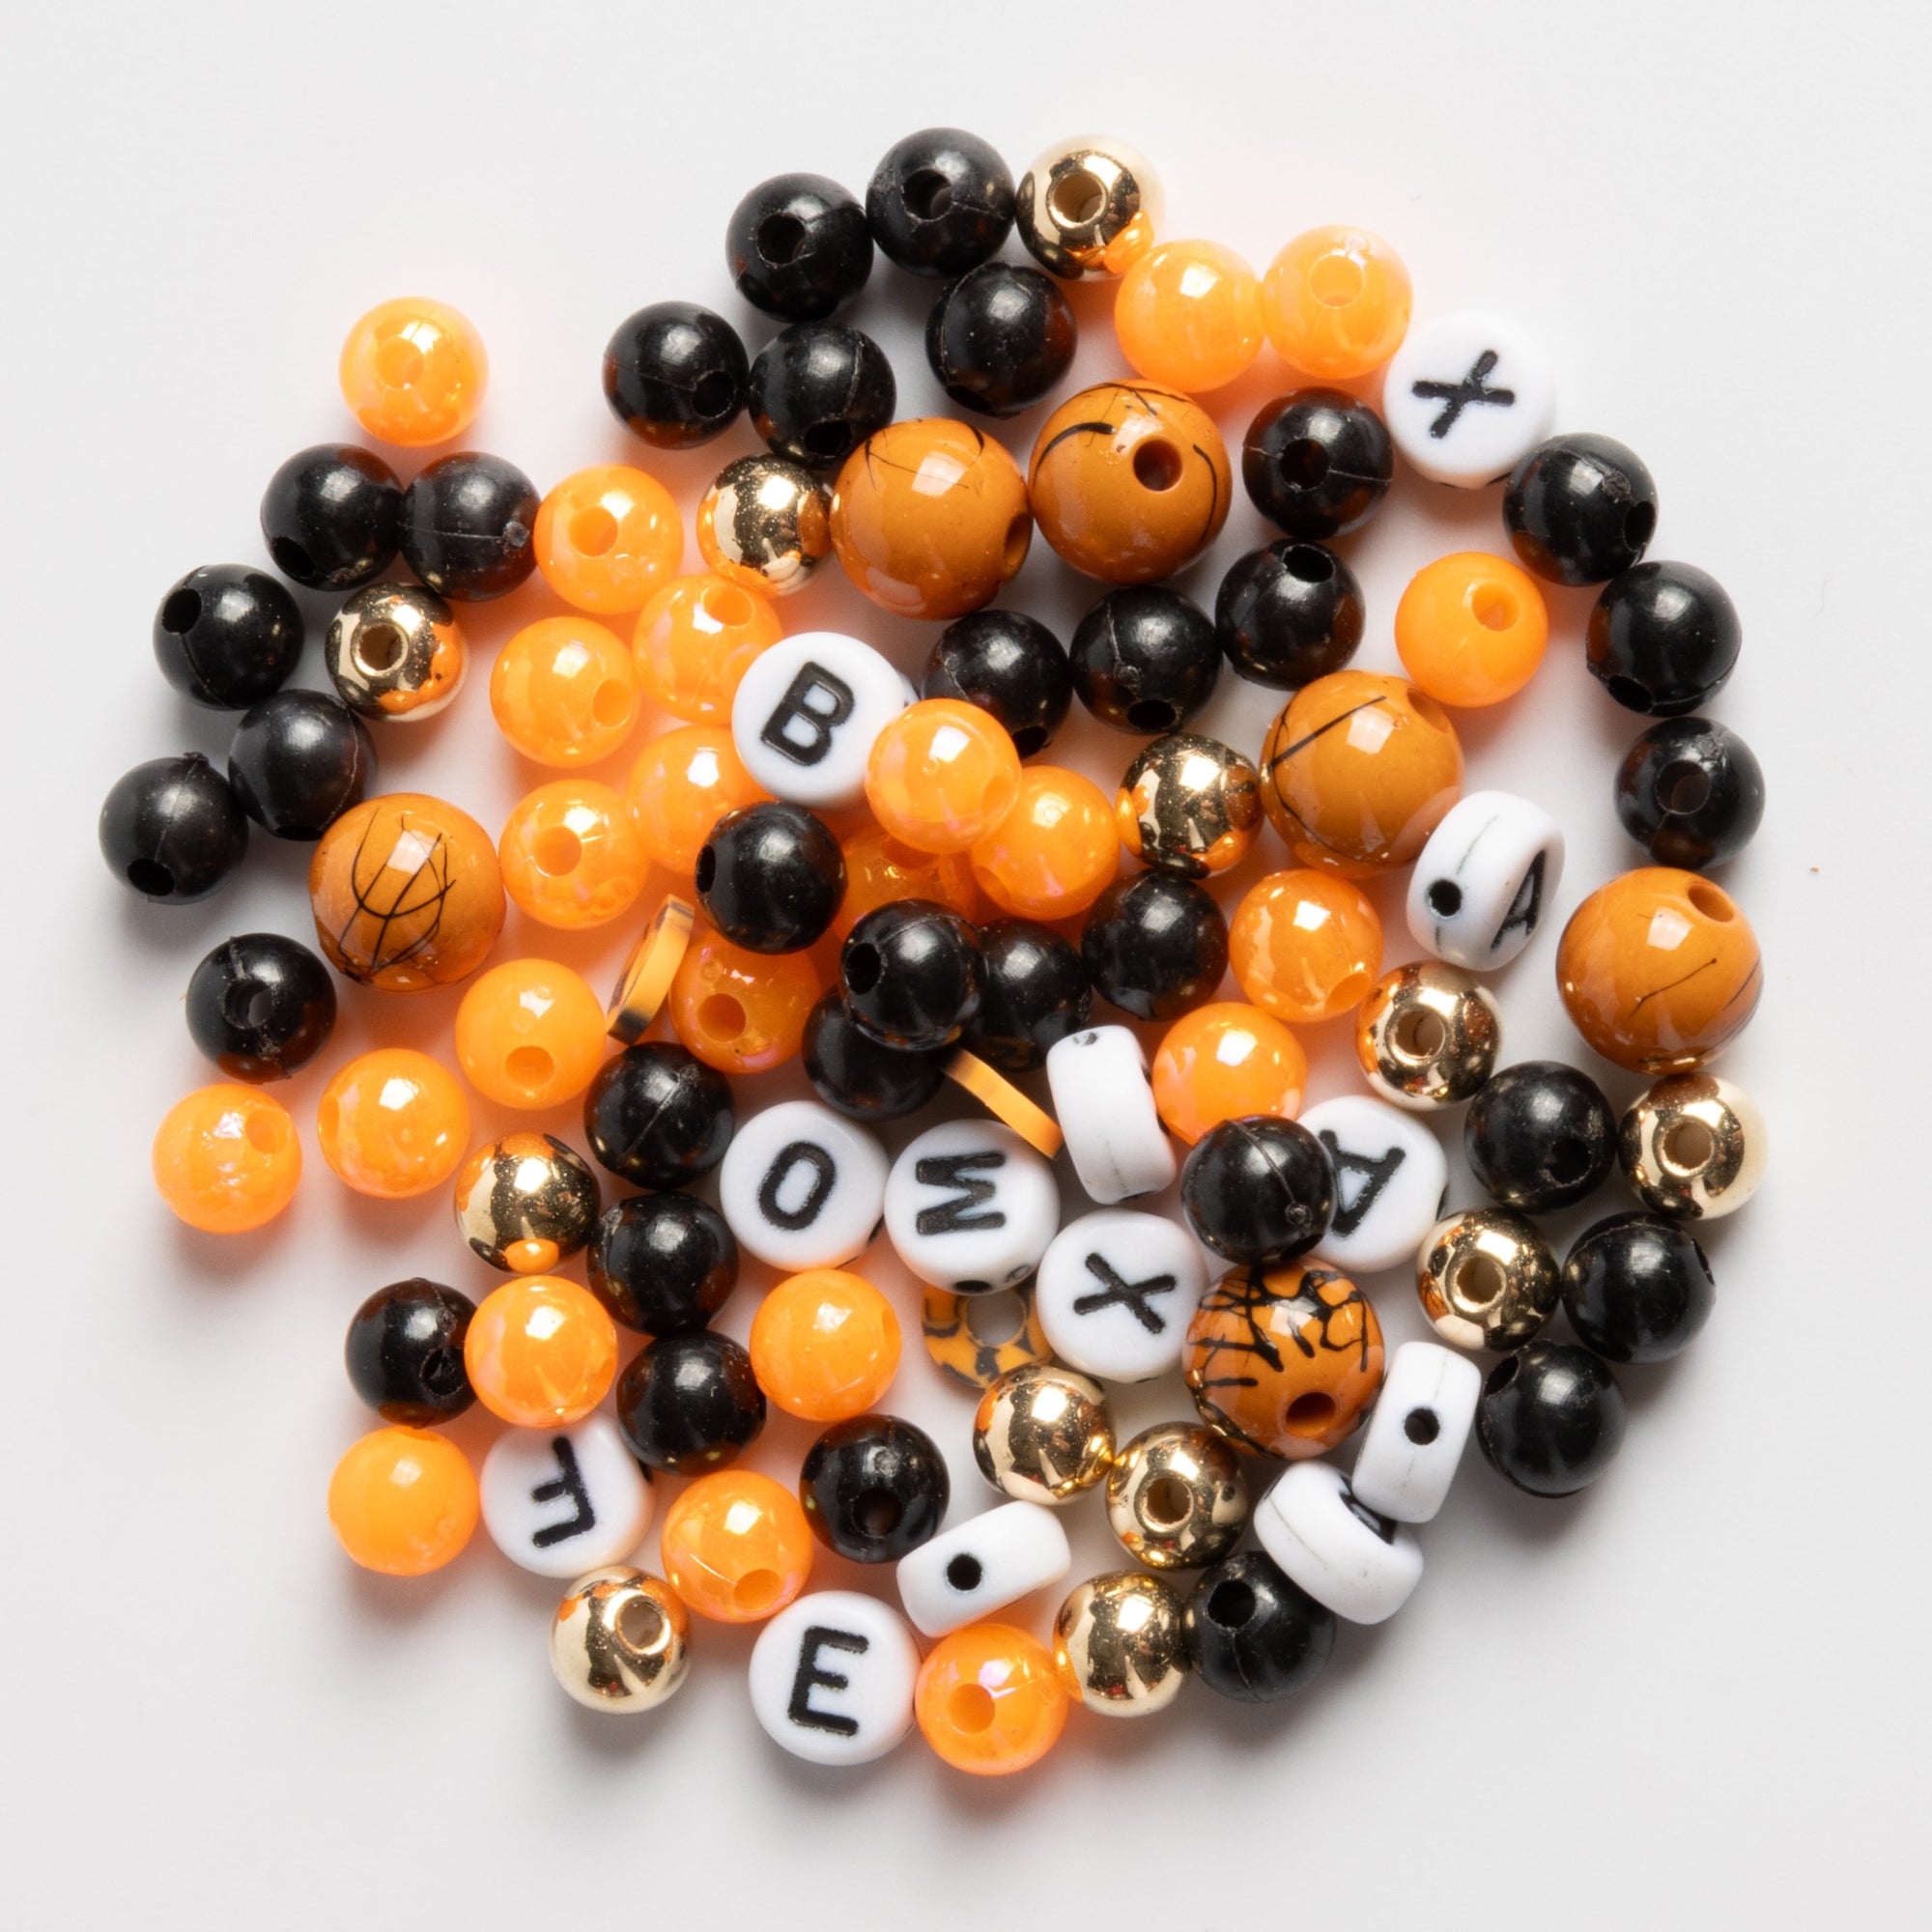
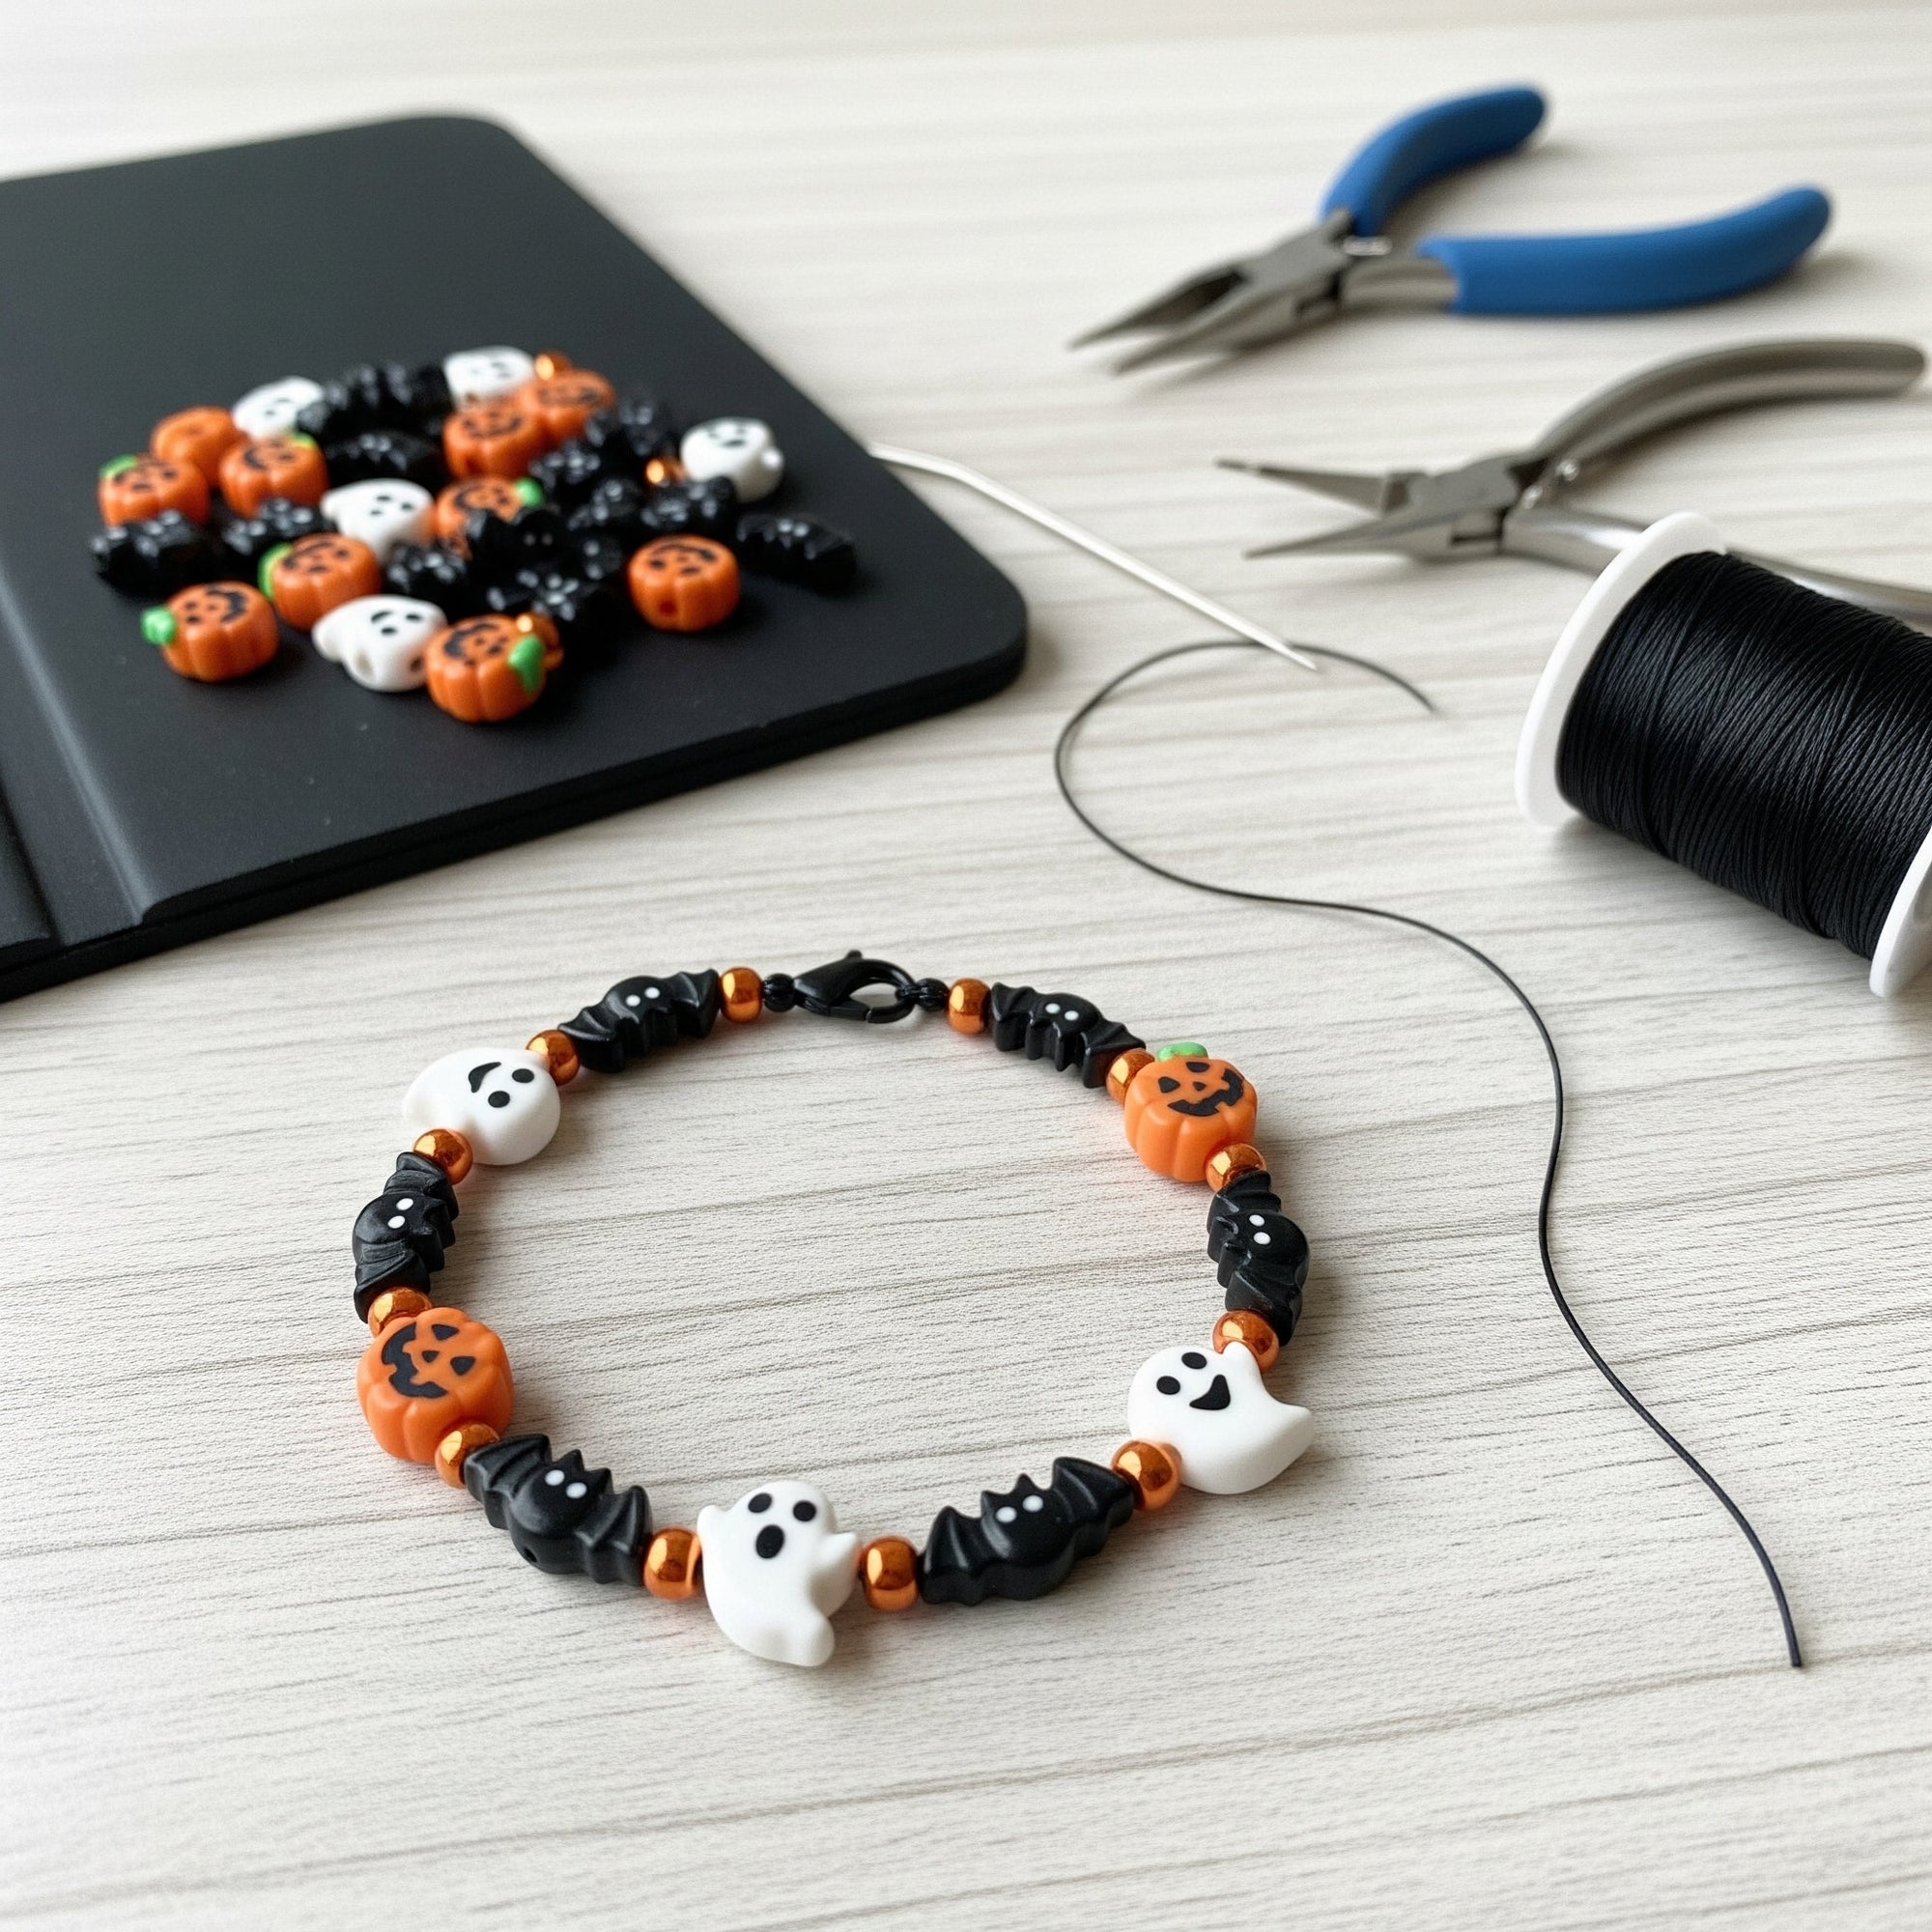
Beads are the main event. For Halloween, you can choose from a wide variety of themed beads. Look for ones shaped like pumpkins, ghosts, bats, skulls, or spiderwebs. Don’t forget about classic Halloween colors like black, orange, purple, and slime green. Mixing different sizes and shapes adds visual interest. You can also use plain round beads in these colors to complement your themed charms.
Beading Cord: The Foundation
For a beginner, elastic stretch cord is an absolute game-changer. It’s incredibly easy to work with because it doesn't require a clasp. You simply string the beads and tie a secure knot. For a more professional finish or a non-stretchy bracelet, you'll need beading wire. It's durable and works well with crimp beads and clasps.
Essential Tools: Your Crafting Sidekicks
You won't need a massive toolbox to get started. A good pair of scissors or wire cutters is crucial for a clean cut. A pair of pliers, either bent-nose or round-nose, is useful for manipulating small findings like jump rings and for crimping. A bead board is a flat surface with grooves that helps you lay out your design and measure your bracelet before you string it.
Findings & Clasps: The Finishing Touch
Findings are the small metal components that finish your jewelry. For a stretch bracelet, you only need to master tying a secure knot. For a non-stretch bracelet, you will need a clasp to connect the ends. Crimp beads are small tubes you flatten with pliers to secure the wire, preventing your beads from sliding off. Jump rings are used to attach the clasp to the bracelet.

Step-by-Step Spooky Creations: The Basic Bracelet Tutorial
Now that you have your supplies, let's get into the fun part: making your bracelet! We'll focus on a simple, stretch-cord bracelet, the perfect project for a beginner.
-
Cut Your Cord. Start by cutting a piece of stretch cord about 12 inches long. This gives you plenty of room to work with and tie a good knot at the end.
-
Plan Your Design. Lay out your beads on a bead board or a flat surface. This allows you to visualize your pattern before you string it. You can create a repeating pattern, a symmetrical design, or a completely random arrangement—the choice is yours.
-
String the Beads. Start stringing your beads onto the cord. For a stretch bracelet, you don't need a clasp at this point. Simply add the beads one by one in the order you planned.
-
Measure for a Perfect Fit. Periodically check the length of your bracelet against your wrist. For an adult, a bracelet is typically 7 inches long. Make sure it's long enough to slip comfortably over your hand but not so loose that it falls off.
-
Tie the Knot. Once you have strung all your beads, it's time to tie the knot. This is the most critical step for a stretch bracelet. Tie a secure surgeon's knot, which is a simple knot with an extra loop to make it stronger. Pull the knot tightly and add a tiny dab of super glue for extra security.
-
Hide and Trim. If your design allows, gently tug on the bracelet to slide the knot into one of the beads with a larger hole. This hides the knot for a clean, professional finish. Once the glue is dry, use your scissors or wire cutters to trim the excess cord, leaving a tiny tail.
Advanced Techniques to Try: Stepping Up Your Game
Once you’re comfortable with the basics, you can experiment with more complex designs and techniques. These methods will open up a whole new world of beading possibilities.
-
Adding Clasps:
-
This technique is necessary when using beading wire instead of elastic cord.
-
To add a clasp, you'll need crimp beads, crimping pliers, a clasp, and a jump ring.
-
You secure the ends of the beading wire to the clasp using a crimp bead on each side. The crimping pliers flatten the bead, holding the wire in place. This method results in a very secure and professional-looking bracelet.
-
Bead-Weaving:
-
Bead-weaving uses a needle and thread to create intricate patterns.
-
This technique is perfect for making detailed Halloween-themed designs like candy corn or spiderwebs.
-
While it requires more patience than simple stringing, the results can be stunning.
-
Wire Wrapping:
-
This involves using wire to create loops, coils, and decorative components.
-
You can use wire wrapping to add charms to your bracelet or to create a unique clasp.
-
It's a great way to add a custom, artisanal feel to your jewelry.
Creative Halloween Bracelet Ideas
Need some inspiration? Here are a few themes you can explore for your Halloween beaded bracelets:
-
Spooky Chic: Use matte black beads, antique silver charms in the shape of skulls or bats, and a few smoky gray or clear crystal beads for a sophisticated gothic look.
-
Ghoulishly Glam: Go all out with a vibrant color palette of orange, black, and electric purple. Use glitter-infused beads, large acrylic charms, and faceted crystals that catch the light.
-
Cute & Creepy: This theme is perfect for a playful design. Combine beads shaped like friendly ghosts, tiny pumpkins, and maybe a cute black cat. Add some fun, whimsical colors like pastels or bright greens.
-
Frankenstein's Monster: Use a mix of black and green beads, with a few metallic beads to represent the bolts in his neck. You can even find a Frankenstein’s monster charm to make it the centerpiece.
-
Candy Corn Delight: Create a striped bracelet with orange, white, and yellow beads. This simple but effective design is instantly recognizable and perfect for the season.
No matter which theme you choose, remember that the goal is to have fun and express your creativity. There are no rules in DIY, only opportunities to create something truly unique.

Conclusion: The Perfect Halloween Accessory
DIY beaded bracelets are the ideal project for beginners looking to get into jewelry making, especially for Halloween. With just a few basic tools and a little bit of creativity, you can transform simple beads and cord into a personalized accessory that celebrates the spooky season. Not only do you get a unique piece of jewelry, but you also gain a new skill and a fantastic creative outlet.
The process is as rewarding as the final product. The best part is that you can adapt these basic techniques to create jewelry for any holiday or occasion.
Ready to get started on your Halloween jewelry? Shop our selection of Halloween DIY beaded bracelet kits today and get everything you need in one easy package!
FAQs for Halloween Beaded Bracelets
Q1: What is the easiest type of bracelet for a complete beginner to make?
A1: The easiest type of bracelet for a complete beginner is a stretch bracelet made with elastic cord. This type of bracelet does not require any clasps or special tools like crimping pliers. You simply string the beads onto the cord and secure the ends with a strong, tight knot. This makes it a perfect entry point for anyone new to jewelry making, as it focuses on the fun of design without the complexity of hardware.
Q2: What is the difference between beading wire and elastic cord?
A2: Beading wire is a multi-strand wire that is flexible and durable, ideal for creating bracelets that need to be secured with a clasp and crimp beads. It is not stretchy and holds its shape well. Elastic cord, on the other hand, is a stretchy, flexible string that is perfect for making bracelets that can be easily slipped on and off the wrist. It is not designed to be used with crimp beads or clasps, but rather is secured with a knot.
Q3: How do I know how much cord to use for my bracelet?
A3: A good rule of thumb is to cut a piece of cord that is significantly longer than your desired bracelet length. For a typical adult bracelet length of 7-8 inches, you should cut a piece of cord that is about 12 inches long. This extra length provides ample room to string beads comfortably, make adjustments to your design, and securely tie your final knot without the risk of running out of space at the ends.
Q4: Can I use different types of beads on the same bracelet?
A4: Yes, absolutely! Using different types of beads is a great way to add visual interest and a unique touch to your bracelet. You can mix and match beads of different sizes, shapes, materials, and colors to create an eclectic and personalized design. Just be sure that the hole size of each bead is large enough to fit over your beading cord or wire.
Q5: What are crimp beads and why are they important?
A5: Crimp beads are small, hollow metal beads or tubes that are used to secure the ends of a beading wire, holding the beads in place and attaching a clasp. They are flattened with crimping pliers, which locks them onto the wire, preventing the beads from sliding off. They are a fundamental finding for creating professional-looking, non-stretchy bracelets and are essential for a secure and durable piece of jewelry.