Halloween is more than just a day; it's a feeling. It's the crisp autumn air, the rustling of leaves, and the magical moment when the sun goes down and the spooky fun begins. This year, don't just dress the part, become the part with accessories that come alive when the lights go out. We're talking about the enchanting world of glow-in-the-dark beads, the perfect addition to any Halloween DIY project.
Imagine a charming beaded bracelet that looks stylish in the daylight, but as twilight falls, a playful ghost or a tiny skull begins to emit an ethereal, captivating glow. This is the power of glow-in-the-dark beads. They are the secret ingredient to crafting jewelry that's not only festive but also functional, adding a layer of spooky surprise to your costume or everyday outfit.
This guide will walk you through everything you need to know about these luminous wonders. From the science behind their glow to the best ways to incorporate them into your Halloween jewelry, we’ll cover it all. Get ready to tap into your inner ghoul and create something truly memorable that will light up the night.
The Magic Behind the Glow: The Science of Phosphors
Have you ever wondered what makes those beads glow so brightly? It isn't magic, though it certainly feels like it. The answer lies in a fascinating scientific principle called phosphorescence.
Glow-in-the-dark beads contain special materials known as phosphors. These are substances that have the unique ability to absorb energy from light. Think of it like a tiny, rechargeable battery for light.
When you expose a glow-in-the-dark bead to a light source, such as the sun, a bright lamp, or even a UV light, the phosphors inside get "charged up." They absorb and store this light energy. Then, when you take the bead into a dark environment, the phosphors slowly release that stored energy as a soft, visible glow. This process can last for minutes or even hours, depending on the quality of the beads and the length of their "charge."
Unlike fluorescence, which only glows while the light source is active, phosphorescence has a delayed release of energy. This is what allows your Halloween jewelry to shine long after you’ve left the light.

Finding Your Perfect Glow: A Comprehensive Guide to Bead Types
When you start your search for glow-in-the-dark beads, you’ll discover a world of options. Each type has its own unique characteristics, making them suitable for different projects and aesthetics. Knowing the differences is key to creating a piece that not only looks great but also glows as you expect.
Acrylic and Plastic Pony Beads
These are perhaps the most common and accessible type of glow-in-the-dark beads. They are lightweight, affordable, and come in a wide variety of shapes and colors. They are perfect for beginner crafters and projects with children. They charge quickly and emit a bright glow, though the glow time may be shorter than other materials.
Polymer Heishi Beads
These are a fantastic option for modern, stylish jewelry. Heishi beads are flat, disc-shaped beads that create a sleek, uniform look when strung together. Jewelry Made By Me's Halloween kits often feature heishi beads, including glow-in-the-dark ones. They add a contemporary twist to the spooky theme.
Glass Beads
For crafters who want a higher-quality, more durable, and long-lasting glow, glass beads are an excellent choice. According to experienced crafters, plastic and acrylic beads can degrade over time, but glass offers a timeless quality. Glass beads often have a more intense and prolonged glow. While they may be a little more difficult to find and are typically more expensive, they are a worthwhile investment for pieces you want to last for Halloweens to come.
UV Resin and Pigments
While not a traditional bead, UV resin is a popular alternative for creating custom glowing jewelry. You can mix a special glow-in-the-dark pigment powder directly into the resin to create any shape or color you desire. This method is more advanced, requiring specific tools like a UV lamp, but it offers unparalleled customization. This is an excellent option for creating unique pendants or charms that are 100% your own design.
Why Go DIY with Glow-in-the-Dark Beads?
Choosing to craft your own glow-in-the-dark jewelry offers a multitude of benefits that a pre-made piece just can't match.
Creative Freedom
You are the designer. You can choose the colors, shapes, and patterns that speak to you. Want a bracelet with only ghosts and skulls? You can do that. Prefer a necklace that mixes pastel pinks with bright glowing green? The choice is entirely yours. This creative freedom ensures your final piece is a true reflection of your personal style.
Personalization
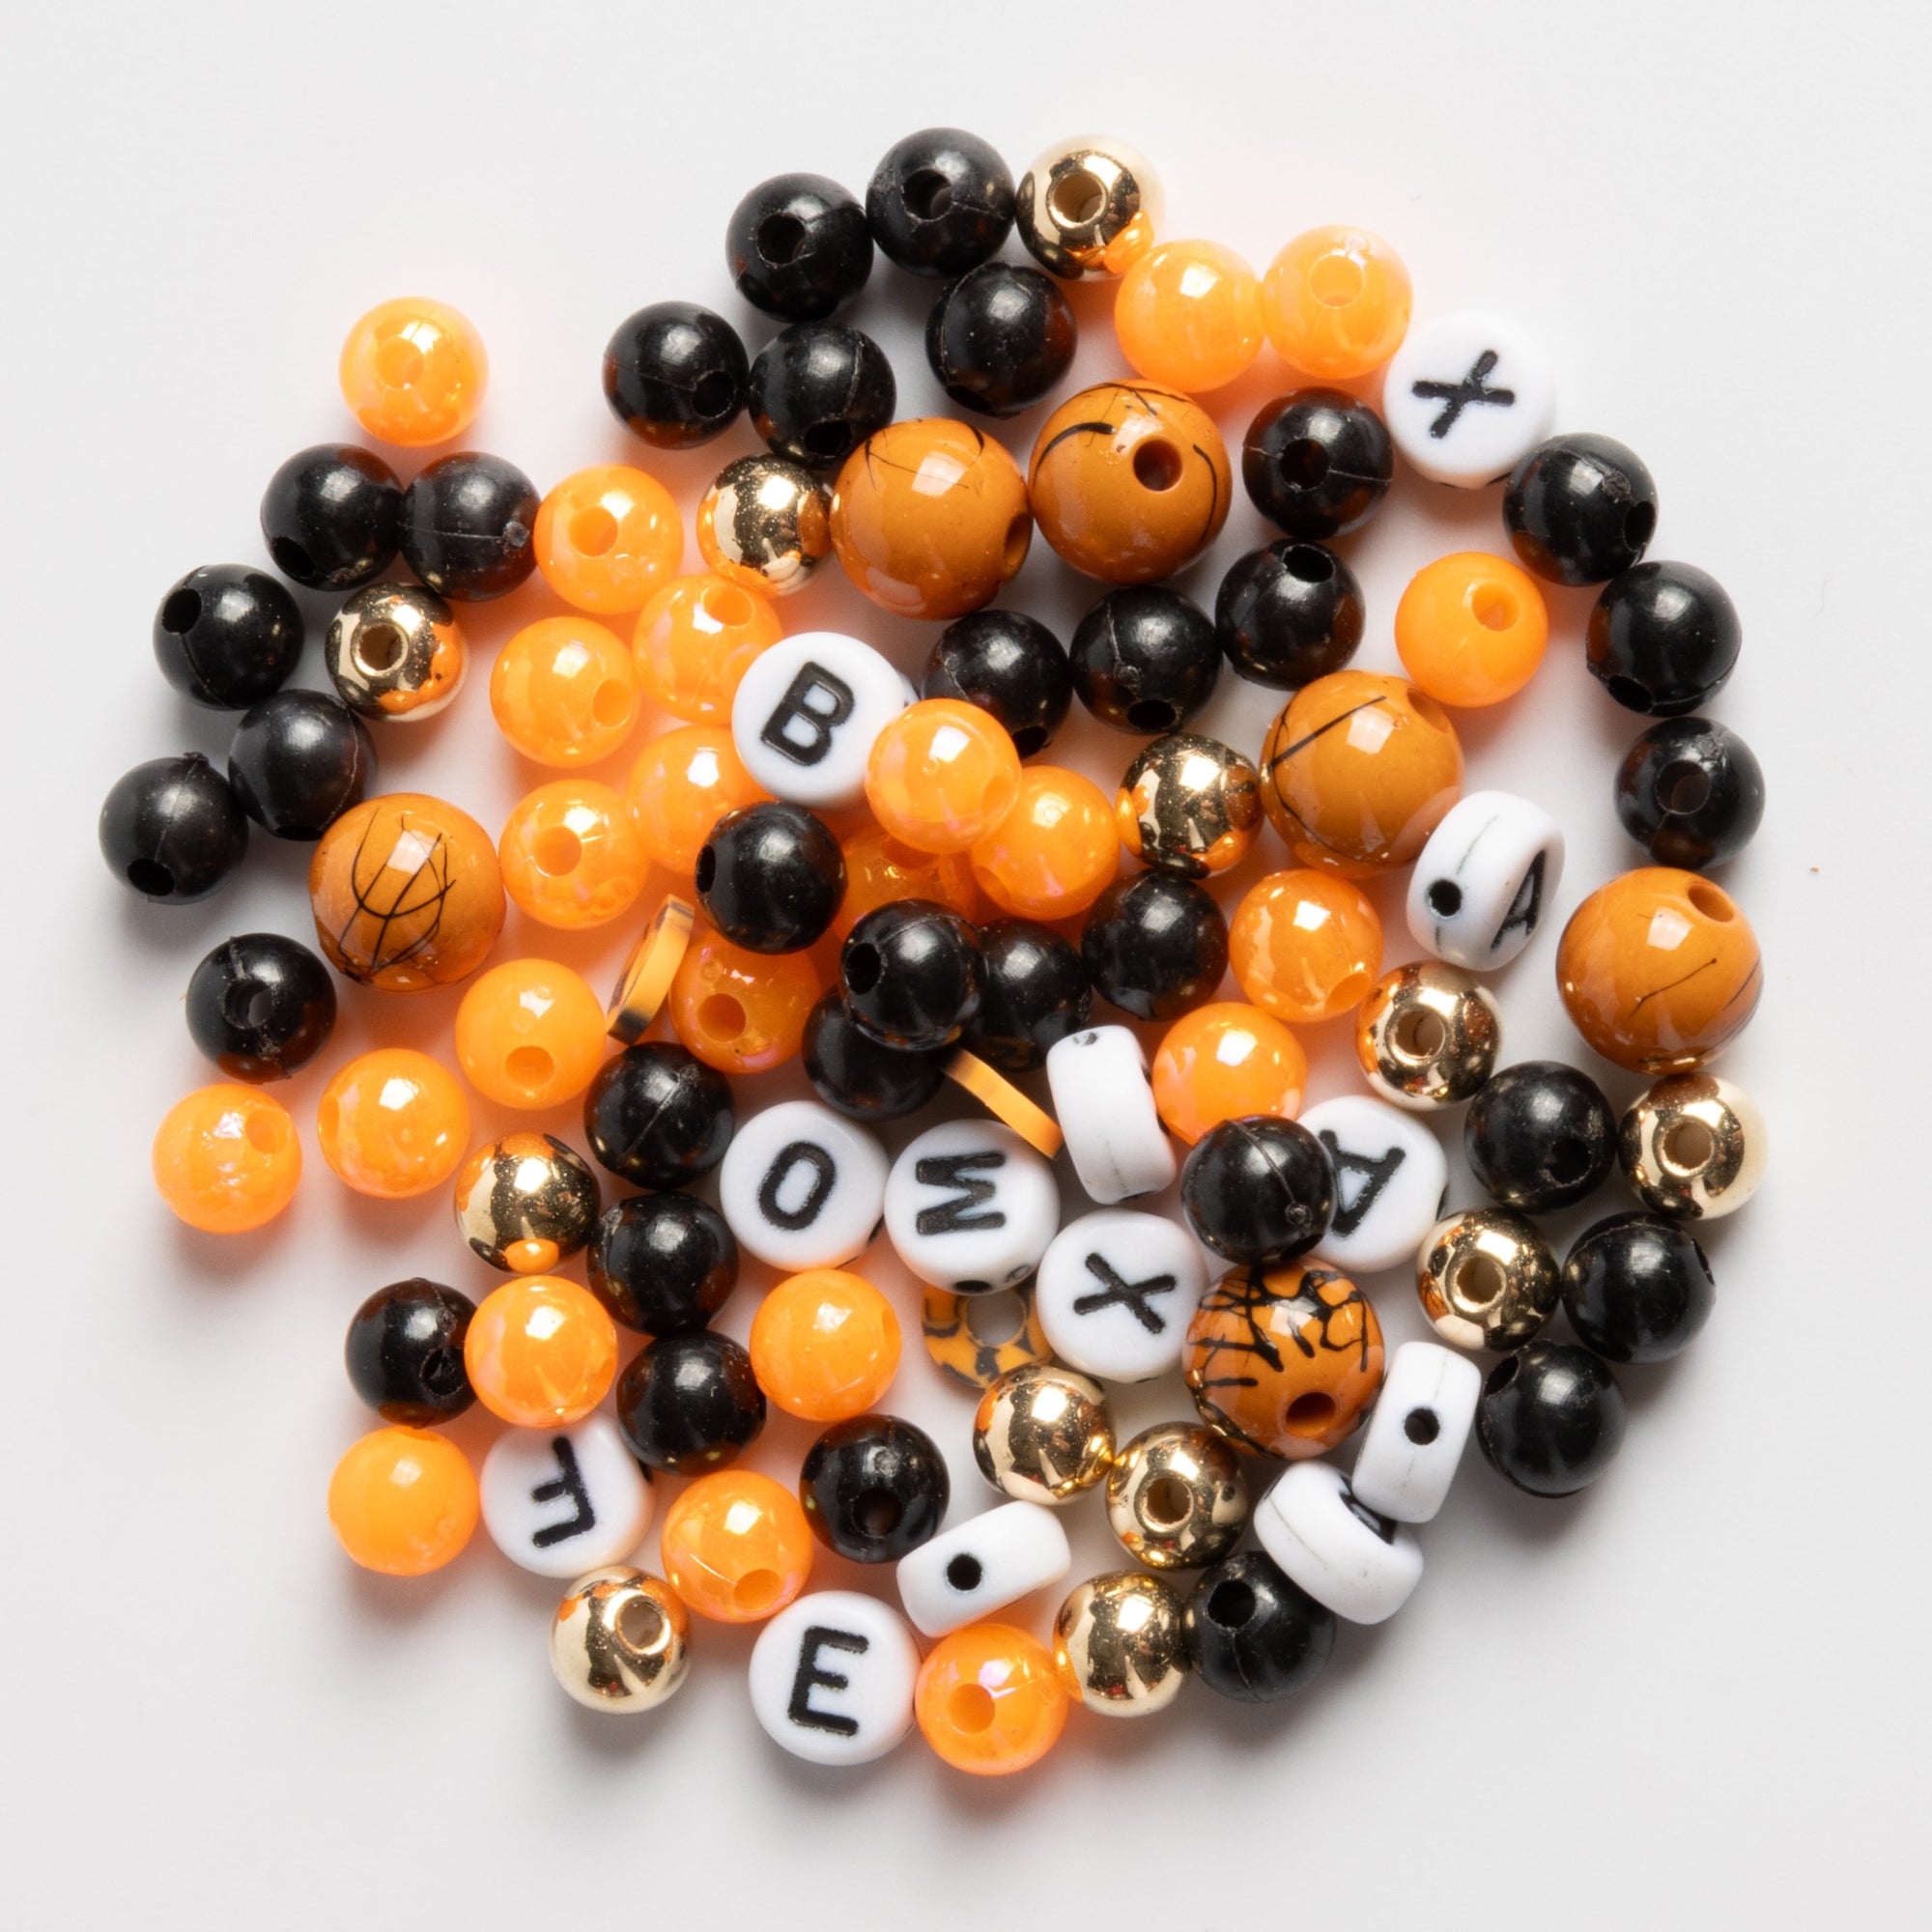
Handcrafted jewelry allows for a level of personalization that is impossible with mass-produced items. You can incorporate letter beads to spell out a spooky word like "BOO" or "SPOOKY," as found in the Jewelry Made By Me DIY kits. You can make matching sets for your friends or family, creating a fun, shared experience. This adds a heartfelt touch to your spooky style.
A Fun Activity
Beading is a relaxing and rewarding hobby. It’s a chance to step away from screens and create something with your hands. It’s an ideal activity for a family night, a cozy get-together with friends, or a solo evening of creative self-care. It's a fantastic way to get into the Halloween spirit.
The "Ghoulishly Glam" Aesthetic
This is the style that celebrates the playful and vibrant side of Halloween. It's all about bright, eye-catching colors and shimmering finishes. Glow-in-the-dark beads are a must-have for this aesthetic, as they add an unexpected and delightful pop of light. Paired with metallic silver beads, shiny crystal spacers, or tassels, they elevate a simple piece into a stunning accessory.
Your Ultimate DIY Glow-in-the-Dark Jewelry Toolkit
Before you begin, it’s important to have the right supplies on hand. The good news is, you don't need much. And even better, a DIY beaded bracelet kit from Jewelry Made By Me provides everything you need in one convenient package.
Essential Supplies:
-
Glow-in-the-Dark Beads: The star of the show!
-
Elastic Cord: Stretchy cord is perfect for bracelets, as it makes them easy to put on and take off.
-
Scissors: For cutting your cord.
-
Charms: Add extra personality with spooky charms like skulls, pumpkins, or witch hats.
-
Spacer Beads: Small beads (like seed beads or crystal beads) used to separate focal beads and add texture.
-
Letter Beads: For spelling out words and names.
-
Tassels: A fun, decorative touch.
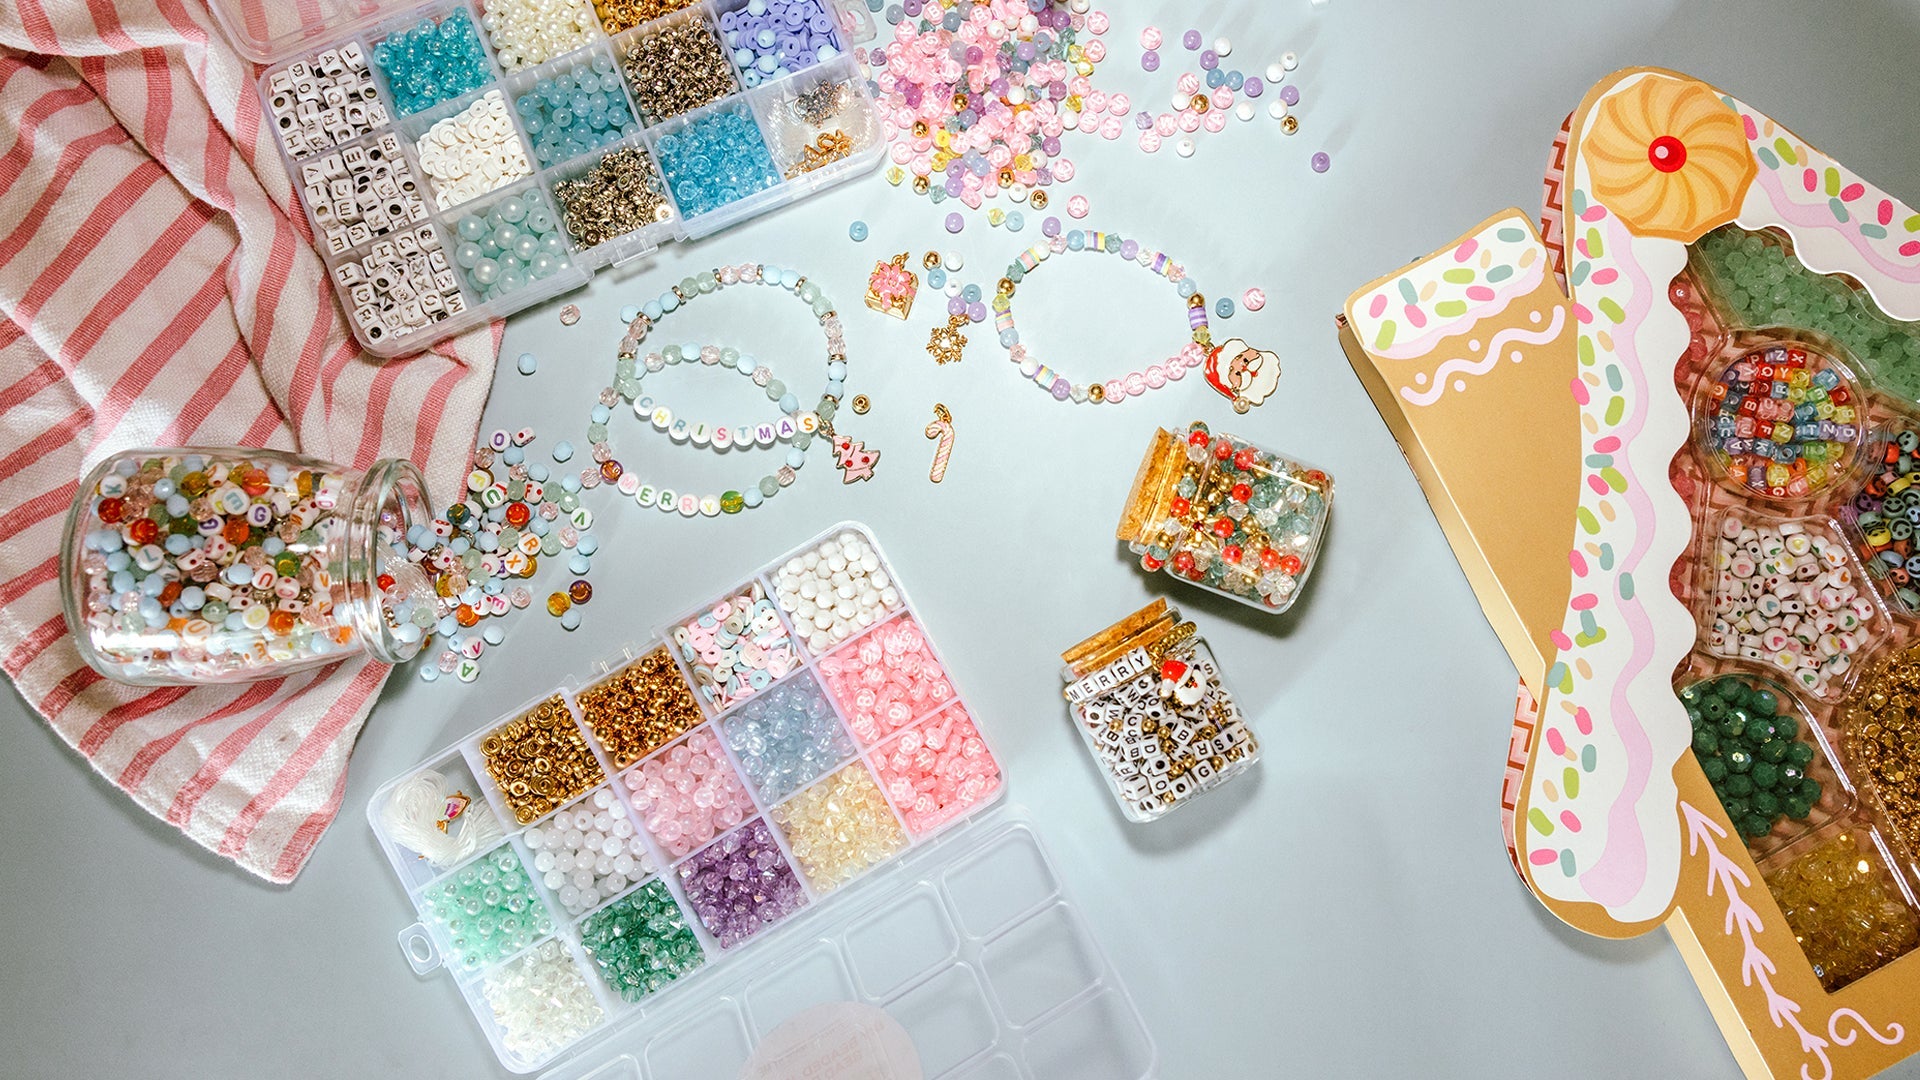
The "Pastel Pink Glow in the Dark Halloween Ghost Compartment Box" from Jewelry Made By Me is an ideal starter kit. It comes with over 1300 beads, including glow-in-the-dark heart beads, pink and silver letter beads, heishi beads, and charming accessories. This kit takes the guesswork out of gathering supplies, allowing you to jump straight into the fun part: creating.
Step-by-Step: Crafting Your Luminous Bracelet
Creating your own glow-in-the-dark bracelet is a simple and rewarding process. Follow these easy steps to bring your vision to life.
-
Plan Your Design: Before you start stringing, lay your beads out on a flat surface in the order you want them to appear. This helps you visualize the final product and ensures you have enough beads to complete your design. A bead tray or a soft cloth is perfect for this.
-
Measure and Cut Your Cord: Measure the elastic cord around your wrist, adding a few extra inches to allow for tying a secure knot. For a typical adult bracelet, about 10-12 inches of cord is usually enough.
-
Start Beading: Begin threading your beads onto the cord. Get creative! You can alternate glow-in-the-dark beads with solid colors, or create a symmetrical pattern with a focal bead or charm in the center. Use the small spacer beads to add pops of color and texture.
-
Add Your Charms and Letters: This is the time to add your personal touches. Thread on your alphabet beads to spell a word or a name, and add charms to dangle from the bracelet.
-
Tie it Off: Once you're happy with your design, tie a secure surgeon's knot. This type of knot is strong and less likely to come undone. You can dab a tiny bit of clear glue on the knot for extra security.
-
Charge and Glow! Expose your finished bracelet to a bright light source for a few minutes. Then, take it into a dark room and watch your creation glow with spooky energy.

Beyond Bracelets: More Glow-in-the-Dark Project Ideas
While bracelets are a fantastic starting point, the fun doesn't have to stop there. Glow-in-the-dark beads can be used in a variety of other creative ways to light up your Halloween.
-
Necklaces and Chokers: Use larger glow-in-the-dark beads to create a statement necklace or a spooky choker.
-
Keychains and Bag Charms: Attach a small beaded design to a keychain ring to add a luminous touch to your backpack or keys.
-
Hair Accessories: Weave glow-in-the-dark beads into hair ties or barrettes for a surprise glow in the night.
-
Home Decor: Create beaded spiderwebs or ghost garlands to hang in windows or on porches. They’ll look great during the day and be a spooky surprise at night.
Conclusion
Glow-in-the-dark beads are a simple yet powerful way to elevate your Halloween creativity. They transform ordinary jewelry and crafts into something truly magical and memorable. By understanding the science behind their glow and exploring the variety of beads available, you can create accessories that are not only stylish but also incredibly fun.
Whether you’re a seasoned crafter or a complete beginner, diving into a project with glow-in-the-dark beads is an experience that will fill you with the festive spirit of the season. So gather your supplies, charge your beads, and get ready to shine brightly this Halloween.
Ready to get glowing? Shop Jewelry Made By Me for your Halloween DIY beaded bracelet kits and start crafting your luminous masterpieces today!
FAQs about Glow-In-The-Dark Beads for Halloween
Q: How do glow-in-the-dark beads work?
A: Glow-in-the-dark beads work through a process called phosphorescence. They contain special materials called phosphors, which absorb energy from a light source, like the sun or a bright lamp. When you take the beads into a dark place, these phosphors slowly release the stored energy as visible light, causing them to glow. The intensity and duration of the glow depend on the quality of the beads and how long they were "charged."
Q: How do I "charge" my glow-in-the-dark beads?
A: Charging your beads is easy! Simply expose them to a light source. Sunlight is the most effective and provides the brightest, longest-lasting glow. A bright household lamp or a UV (ultraviolet) flashlight also works very well. The longer you expose the beads to light, the more energy they store and the brighter and longer they will glow in the dark.
Q: What is the difference between different types of glow-in-the-dark beads?
A: The main differences lie in the material they are made from, such as plastic, acrylic, or glass. Plastic and acrylic beads are lightweight and common, making them great for beginners. Glass beads are often more durable and can produce a brighter, more sustained glow. Different types of beads also come in various shapes and sizes, from classic pony beads and alphabet beads to trendy heishi discs.
Q: How long will the glow last?
A: The longevity of the glow varies depending on the bead's material and the intensity of the light source used for charging. Typically, the beads will glow brightest in the first few minutes after being charged and will then slowly fade. However, some high-quality beads can maintain a visible glow for several hours, especially in a completely dark environment.
Q: Are glow-in-the-dark beads safe for all ages?
A: Most glow-in-the-dark beads are made from non-toxic materials. However, small beads can be a choking hazard for young children. It is always recommended to supervise children while they are crafting and to keep small beads and other craft supplies out of their reach. It’s also a good practice to check the manufacturer’s recommendations for age suitability.