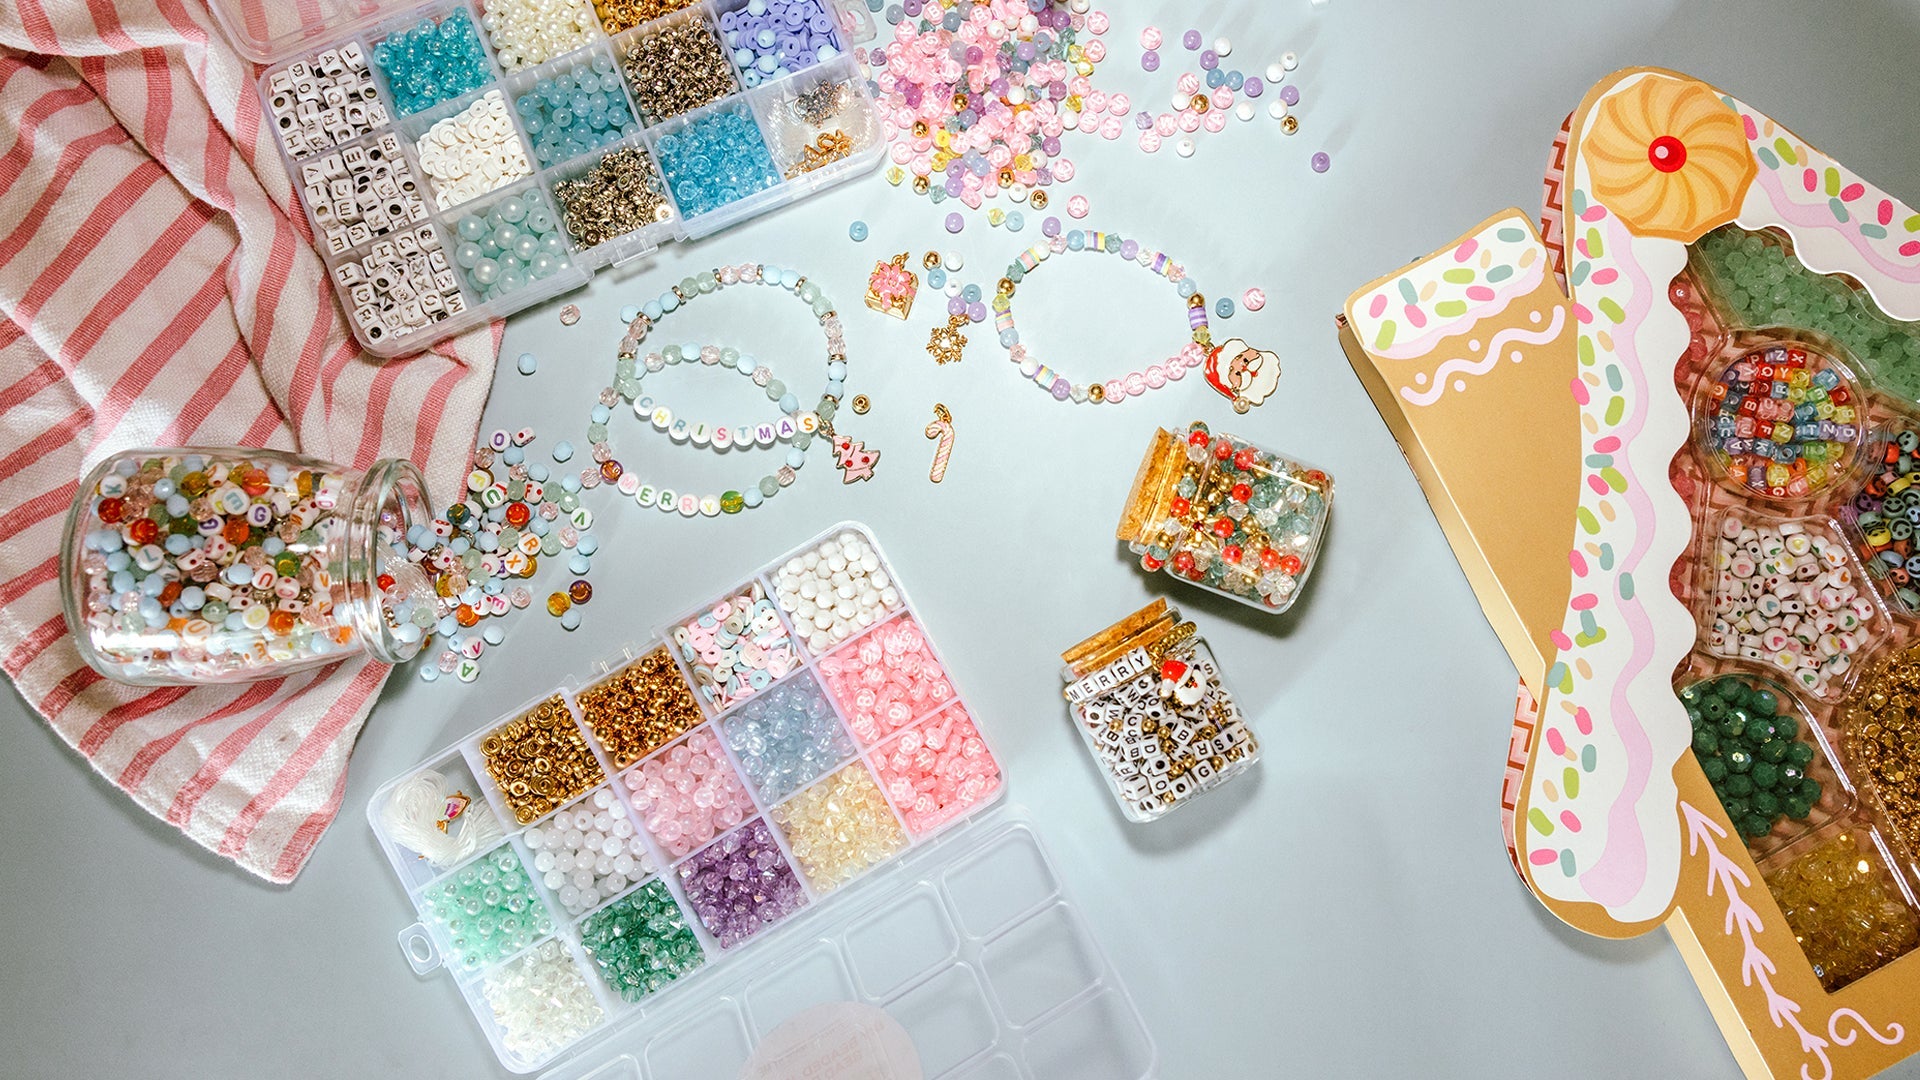
Halloween is more than just costumes and candy; it’s a season of creativity and spooky fun. What better way to celebrate than by making your own festive accessories? DIY beaded jewelry is a fantastic activity for the whole family, offering a chance to bond, get creative, and make unique pieces to wear all season long. From ghoulish ghosts to sparkling spiders, there's a project for every age and skill level.
Making your own jewelry is a great way to personalize your Halloween look. Imagine a spooky bracelet to match your trick-or-treating bag or a beaded necklace that perfectly complements your costume. This guide is packed with easy-to-follow project ideas that will inspire everyone, from the littlest goblin to the most seasoned crafter. We’ll show you how to transform simple beads into wearable Halloween art that everyone will love.
Why DIY Beaded Jewelry is Perfect for a Family Halloween Activity
Halloween crafting brings families together in a way that few other activities can. Everyone can contribute their own ideas and creativity. Beading is particularly well-suited for a family activity because it's so adaptable. Younger children can focus on simple patterns and large beads, while older kids and adults can take on more intricate designs.
It's a screen-free activity that encourages focus and fine motor skills. Plus, the end result is something tangible and personal that you can wear and be proud of. It’s not just about the finished product; it's about the shared experience of creating something together. You can gather around the table with bowls of colorful beads, swap design ideas, and make lasting memories.

Project Ideas for the Youngest Monsters (Ages 3-6)
For little hands, simplicity is key. The focus here is on fun and color, not complex patterns. Look for larger beads that are easy to pick up and string.
1. Googly Eye Monster Bracelets
This is a super simple and highly effective project. Use colorful pony beads and string them onto an elastic cord. The star of the show is a single large bead with a googly eye on it, placed right in the middle. You can find these at most craft stores, or you can even glue a googly eye onto a larger plastic bead yourself.
2. Candy Corn Necklaces
This classic Halloween treat makes a perfect jewelry design. Use orange, yellow, and white beads in a repeating pattern. The pattern can be as simple as one of each color. This helps little ones learn about sequencing and colors while creating a festive accessory.
3. Simple Ghost Charms
All you need for this project are white beads and a black marker. String a series of white beads onto a cord to make the body of a ghost. Then, draw small eyes and a mouth on the top bead. You can create an entire necklace or bracelet full of these cute little ghosts.
Project Ideas for Middle School Spooks (Ages 7-12)
Kids in this age group are ready for more detailed projects. They can handle smaller beads and more intricate patterns, allowing for more creative expression.
1. Spider Web Bracelets
This project uses a combination of black and gray beads with a single spider bead as the centerpiece. You can use seed beads to create a delicate web pattern by stringing them in a zig-zag formation. A metallic or black spider charm can be attached to the center, making it look like it's caught in the web. This is a great way to practice patience and focus on creating a specific design.
2. Skull and Crossbones Bracelets
For a slightly edgier look, consider using skull-shaped beads. You can alternate them with black or red beads to create a bold pattern. This project is simple enough to execute but results in a piece that looks incredibly cool. You can even find glow-in-the-dark skull beads for an extra spooky effect.
3. Witch's Potion Bottle Necklaces
This project is a little more advanced but very rewarding. You can use a small glass or plastic charm shaped like a bottle. Inside, fill it with tiny beads in various colors like green, purple, and black to mimic a potion. Attach it to a chain or beaded cord for a unique and magical necklace.
Project Ideas for Teens & Adults (Ages 13+)
This is where you can really get creative with materials and techniques. Think about more sophisticated designs, using different bead types, and combining them with other elements.
1. Goth Glamour Chokers
Use black velvet ribbon or cord as a base. Add a few well-placed metallic or crystal beads for a touch of sparkle. You can also incorporate small charms like bats, crescent moons, or ornate spider motifs. This creates a stylish and subtle nod to Halloween that can be worn beyond the holiday.
2. Beaded Skull Statement Earrings
This project requires a bit more dexterity and the use of jewelry pliers. You can create intricate patterns using small seed beads to form the shape of a skull. Attach a small skull bead as a dangle, and you have a pair of unique earrings that are both spooky and chic.
3. Haunted House Charm Bracelets
This is a project that tells a story. Use a variety of different charm beads and dangles to represent different elements of a haunted house. Think about a tiny ghost charm, a bat, a pumpkin, and even a miniature tombstone. Alternate these with black and silver beads to create a beautiful and complex piece.
4. Bohemian Halloween Wristlets
This project combines different textures and types of beads for a layered look. You can use wooden beads, lava beads, and glass beads in earthy tones like black, burnt orange, and deep purple. Add a few accent beads like turquoise or silver to make them pop. This is perfect for those who want a more natural and less "costumey" look.

Tips for a Successful Beading Session
To make your family beading session as fun and stress-free as possible, here are a few tips:
-
Prep Your Space: Lay out a mat or a tray to contain the beads. This makes cleanup a breeze and prevents beads from rolling onto the floor.
-
Organize Your Materials: Use small bowls or containers to separate different types and colors of beads. This makes it easier for everyone to find what they need.
-
Start with a Plan: Even if it’s a simple one, having a general idea of the design helps. You can sketch it out on paper first.
-
Use the Right Cord: For younger kids, stretchy elastic cord is the best choice. For more intricate designs, a non-stretch jewelry wire or beading thread works well.
-
Embrace Imperfection: The beauty of DIY is that every piece is unique. Don't worry about making it perfect. The goal is to have fun and create something together.
Conclusion
Halloween is a time for magic and creativity. Making DIY beaded jewelry is a perfect way to embrace the spooky season with your family. These projects are more than just a craft; they're a chance to spend quality time together, unleash your imaginations, and create something truly special.
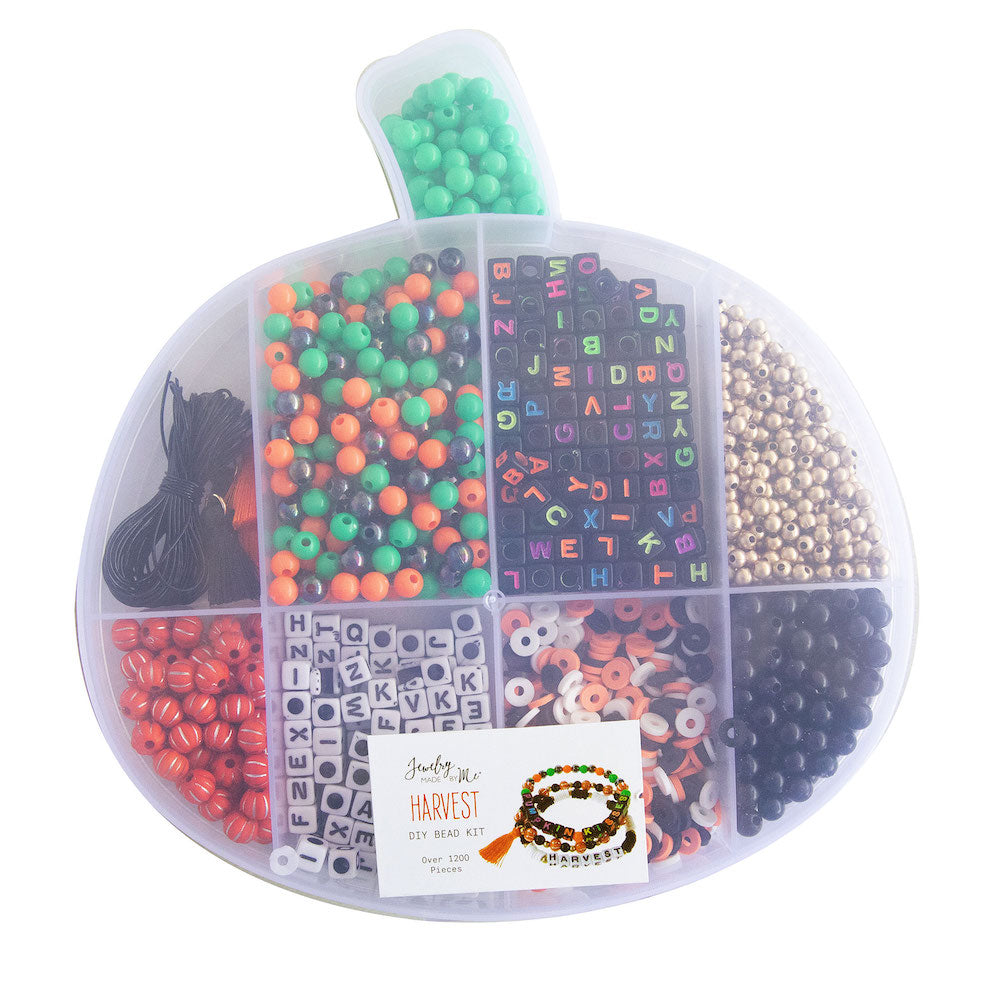
Ready to get started on your own spooky creations? Jewelry Made By Me has everything you need. Our Halloween DIY beaded bracelet kits are perfect for any of these projects. They come with all the beads, cords, and instructions you need to get started right away. All you have to do is choose your favorite kit and start creating.
Shop our Halloween DIY Beaded Bracelet Kits now and make this Halloween unforgettable!
FAQs about DIY Beaded Bracelets for Halloween
Q1: What materials do I need to get started with DIY beaded jewelry?
A1: To start, you'll need a variety of beads, a suitable stringing material (like elastic cord for bracelets or beading wire for necklaces), and a pair of scissors. For more advanced projects, you might also need jewelry pliers, crimp beads, and clasps. A beading mat or tray is also very helpful to keep your workspace organized and prevent beads from rolling away. Our Jewelry Made By Me kits are great because they include all the necessary materials and instructions, making it easy to get started without having to source individual components.
Q2: Are these projects safe for young children?
A2: Yes, these projects can be very safe for young children with proper supervision. For kids aged 3-6, it’s important to use larger beads that are not a choking hazard. Always supervise children during the activity and make sure they do not put beads in their mouths. Elastic cord is also a good choice for this age group as it is easy for them to work with.
Q3: How do I make the bracelets and necklaces stay together?
A3: For elastic cord bracelets, you can tie a secure double or triple knot. A small drop of super glue on the knot can provide extra security. For necklaces or bracelets using beading wire, you will need to use a crimp bead and a clasp. You thread the wire through a crimp bead, then through the clasp, and then back through the crimp bead. Using flat-nose pliers, you then press the crimp bead tightly to secure the wire and the clasp in place.
Q4: Can I reuse the beads from old jewelry?
A4: Absolutely! Repurposing old jewelry is a great way to be sustainable and creative. You can take apart old necklaces, bracelets, or earrings and use the beads to create new and unique Halloween-themed pieces. This is a great way to save money and give old jewelry a new life.
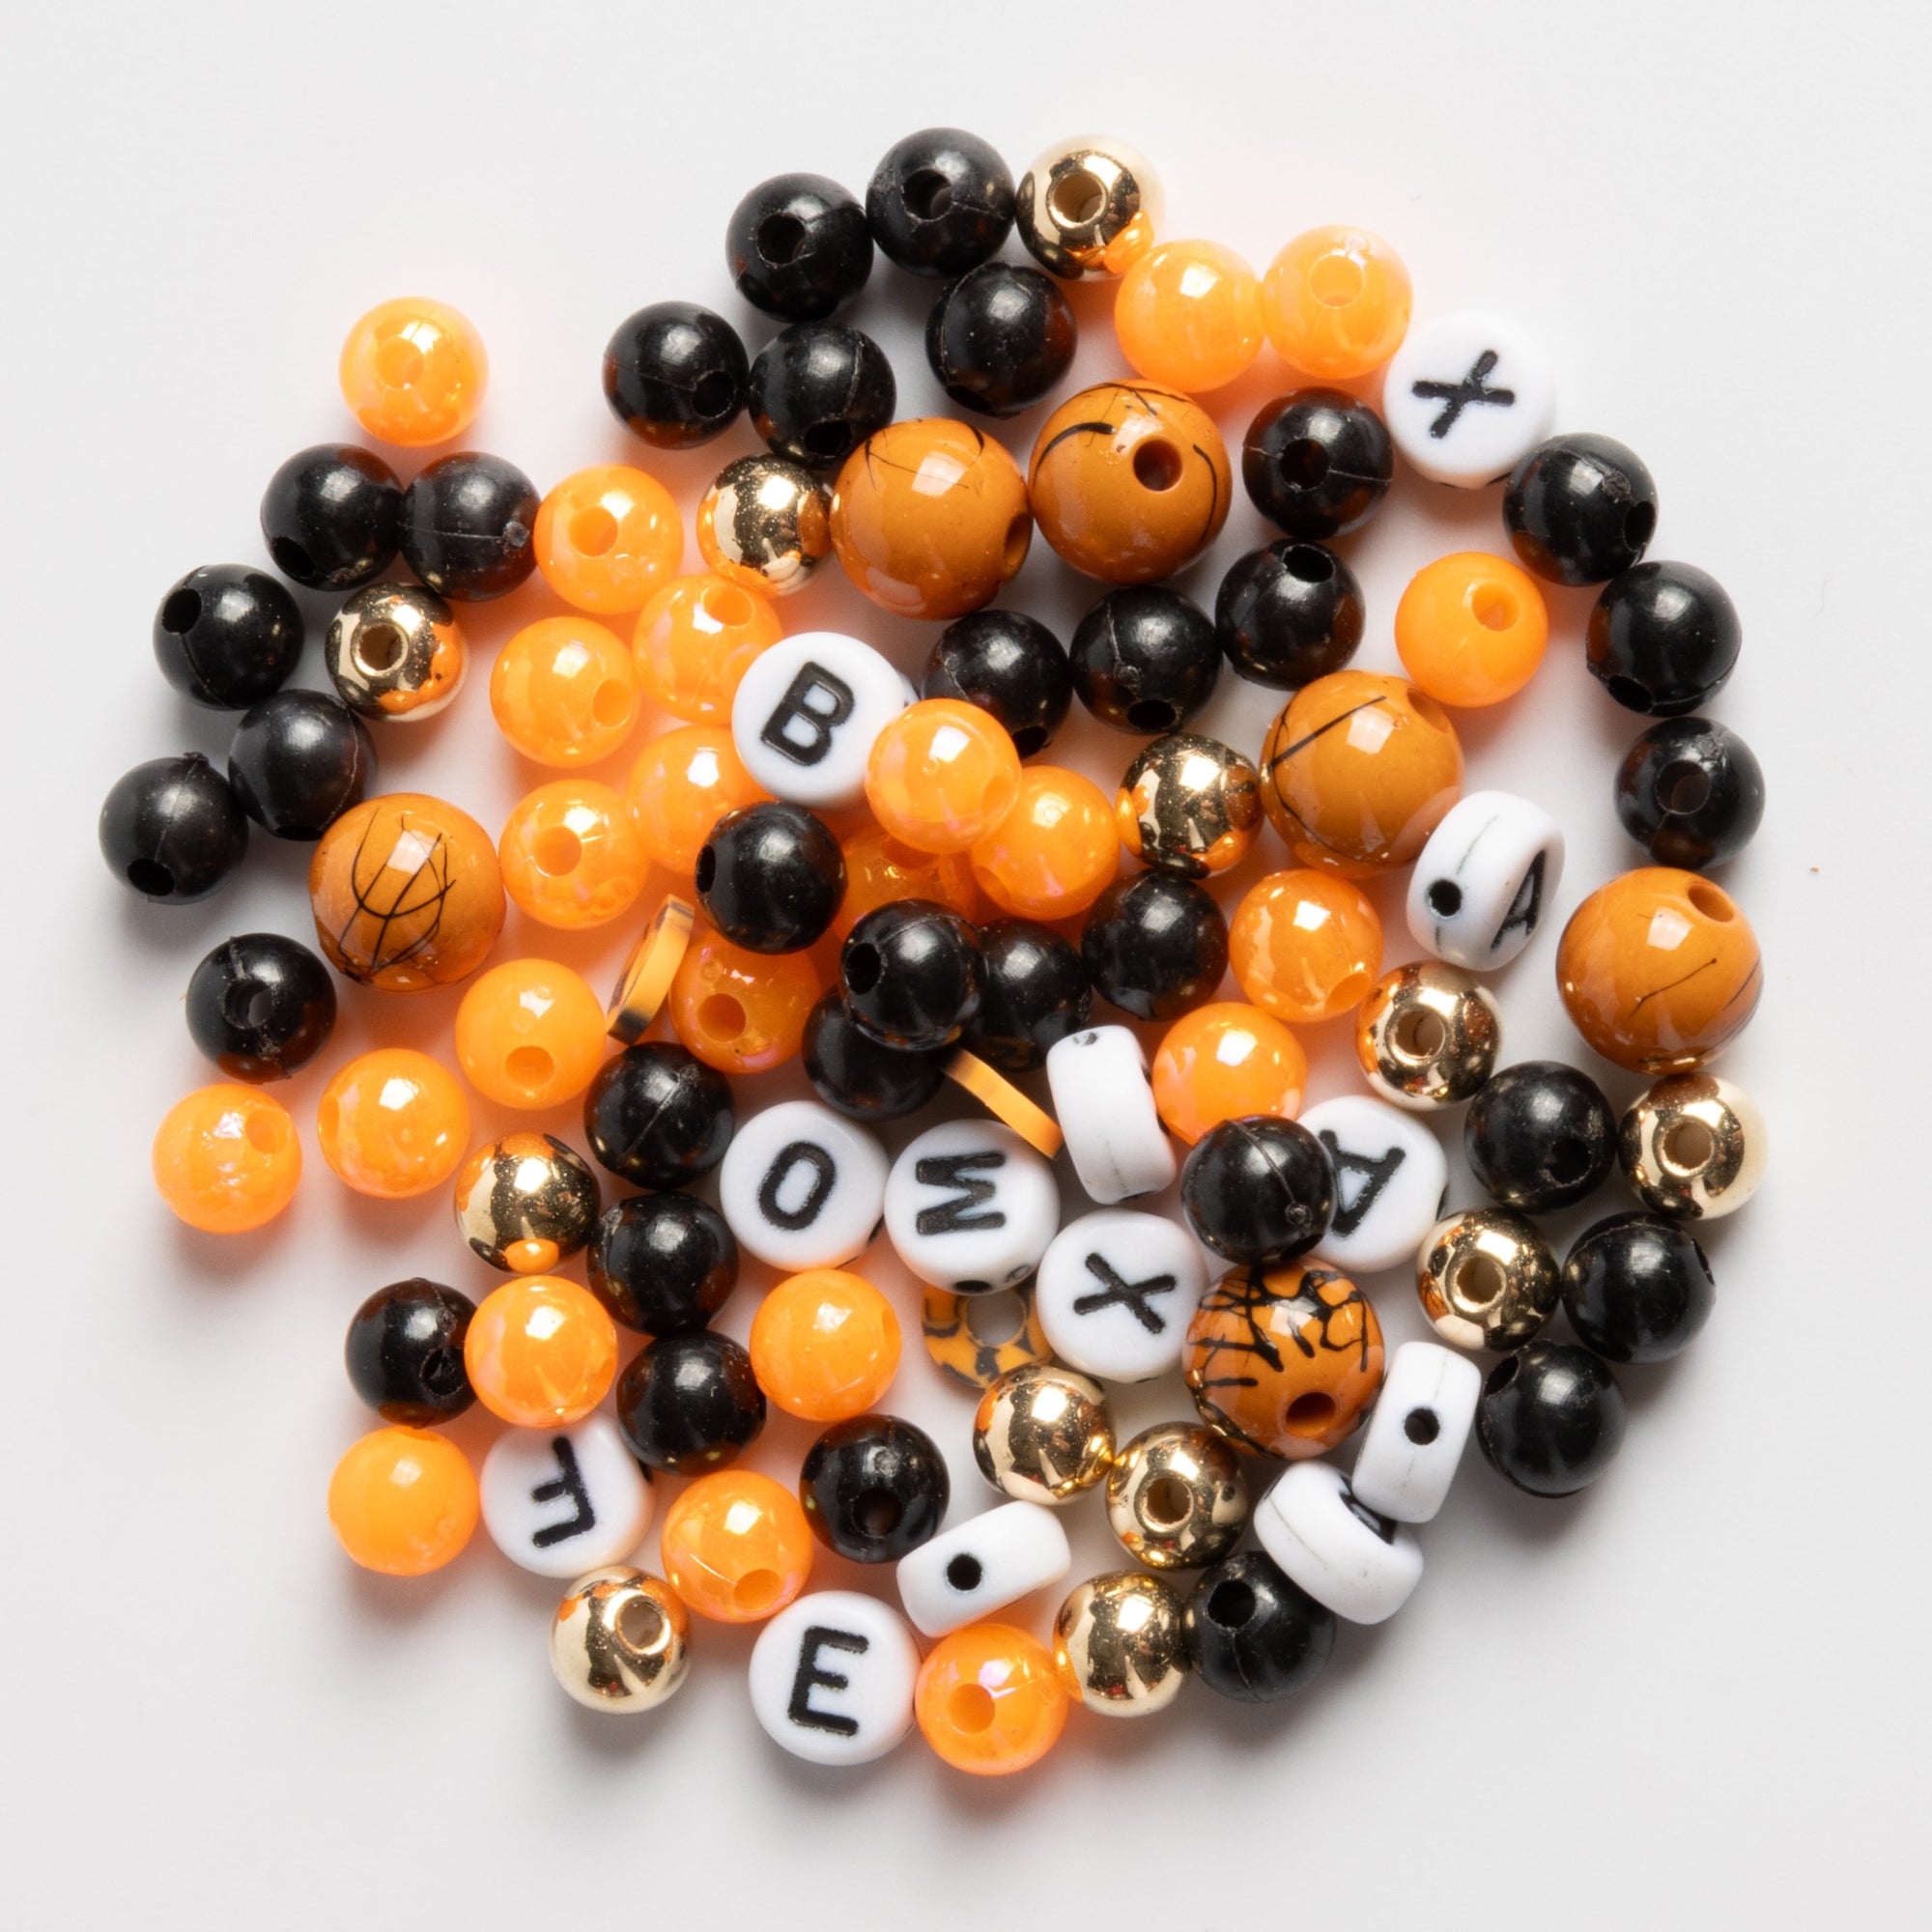
Q5: What are some popular Halloween-themed bead colors?
A5: Classic Halloween colors are black, orange, and white. Other popular colors include deep purple, lime green, and blood red. You can also use metallic beads in silver or gold to add some sparkle. Glow-in-the-dark beads are also a fun choice for a spooky effect.