Halloween is a time of year where creativity truly comes to life. It’s a season of transformation, not just for costumes and home decor, but for our personal style as well. While a spooky costume is the star of the show, it's the accessories that truly make a statement. The right piece of jewelry can elevate your look from a simple outfit to a captivating character.
Forget the flimsy, store-bought accessories that break after one use. This year, you can express your unique style by creating your own hauntingly beautiful jewelry. Crafting your own spooky pieces is not only a fun and rewarding activity, but it also allows you to design something truly one-of-a-kind. Whether you're a seasoned beader or a complete beginner, this guide will walk you through everything you need to know.
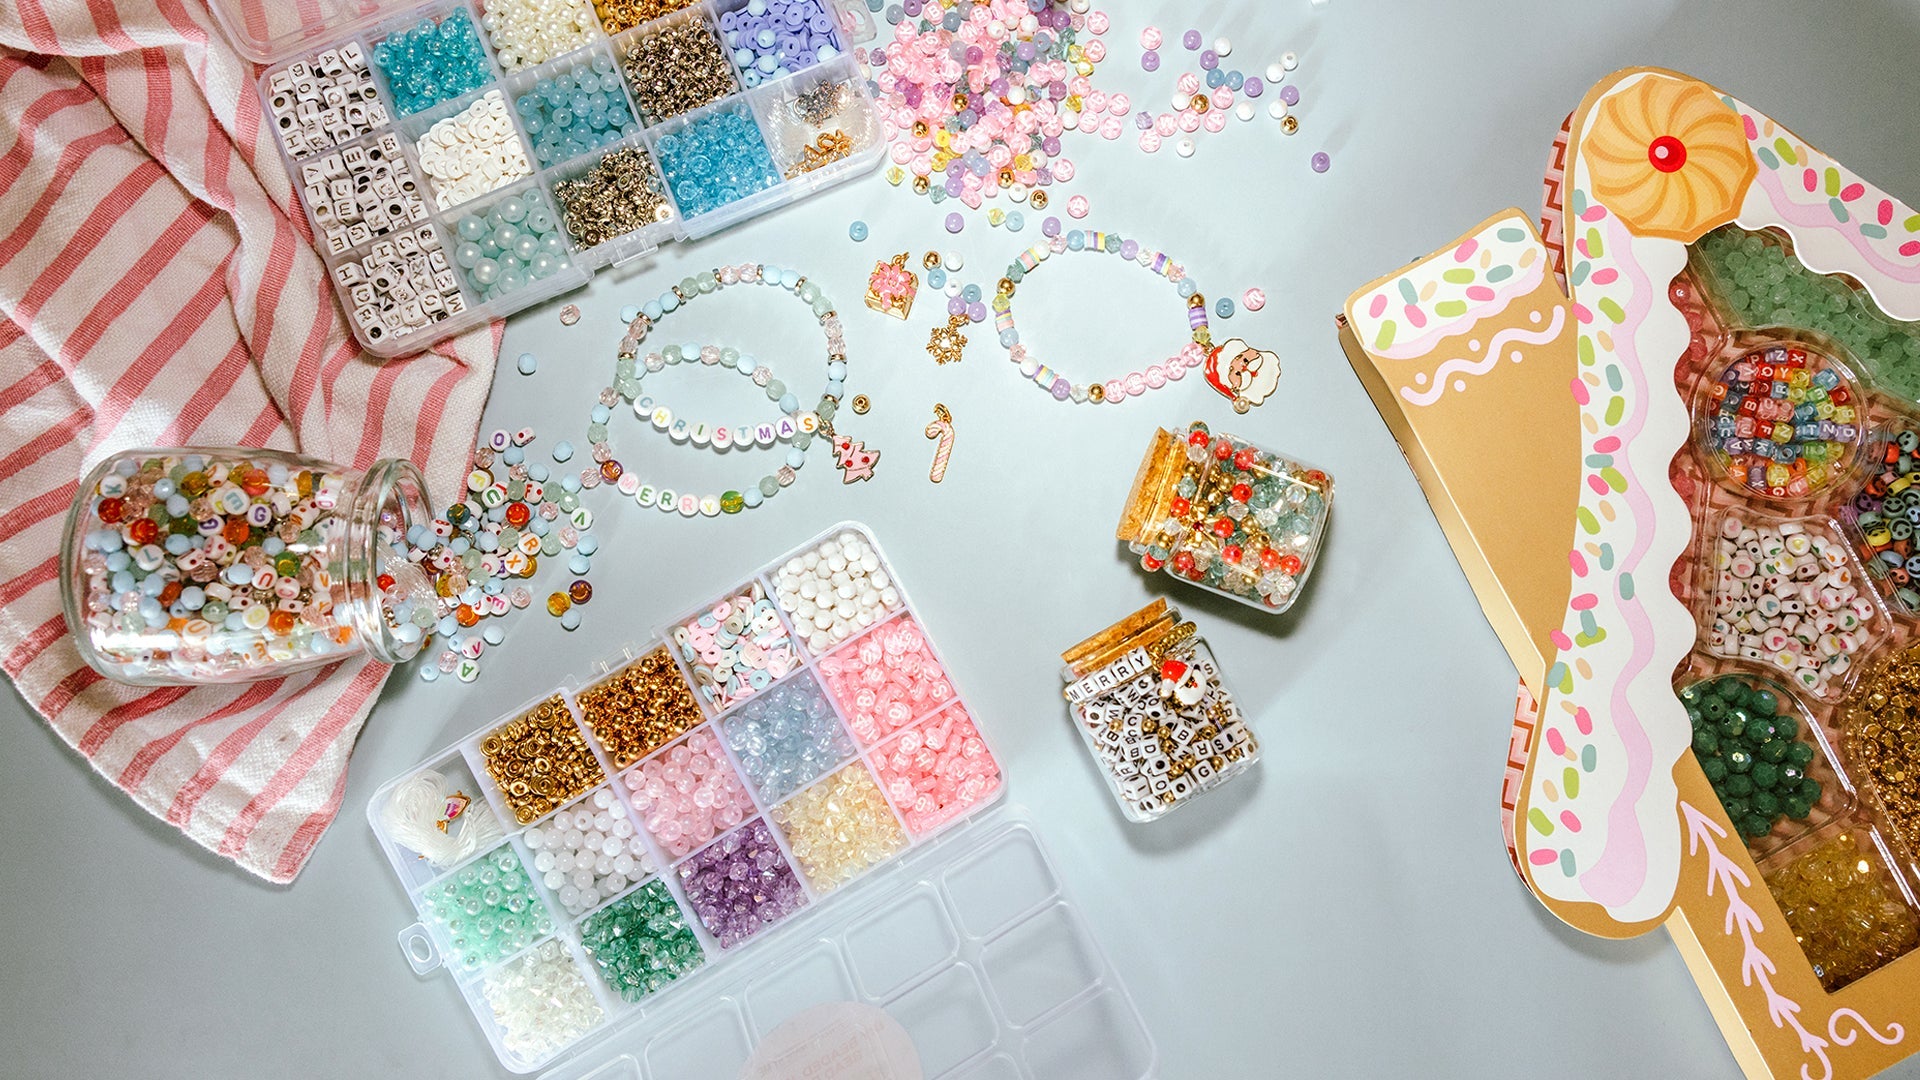
We’ll explore two main styles of Halloween jewelry: the elegant and mysterious "Spooky Chic" and the fun, vibrant "Ghoulishly Glam." We’ll also show you how to transform simple materials into dazzling, custom accessories that will have everyone asking, “Where did you get that?” The best part? You can use your creativity and some basic supplies, like the ones found in a DIY beaded bracelet kit, to get started right away.
Section I: Setting the Stage for Your Spooky Creations
Before you begin, let’s lay the groundwork. The key to successful DIY jewelry is having a plan and the right supplies. You don't need a huge collection of tools to get started. Many projects can be completed with just a few essentials.
Think about the story you want to tell with your jewelry. Are you going for a dark, vintage gothic look? Or are you aiming for a playful, whimsical style? Your answer will guide your choice of colors, charms, and materials.
The Spooky Chic Aesthetic
This style is all about subtlety, elegance, and mystery. It’s for those who want to add a touch of the macabre to their look without being over the top. Think less trick-or-treat, more haunted Victorian manor.
-
Color Palette: Dominated by deep, muted tones. This includes charcoal gray, matte black, antique silver, tarnished gold, deep burgundy, and smoky quartz. A touch of dusty rose or pale lavender can also be used for contrast.
-
Materials: Favor natural or distressed finishes. Use matte beads, oxidized silver charms, black onyx, hematite, and subtle crystal accents. The goal is a mysterious gleam, not a blinding sparkle.
-
Motifs: Think minimalist and classic. Delicate spiderwebs, tiny bat silhouettes, a single raven feather, or a subtle ghost shape integrated into the design.
The Ghoulishly Glam Aesthetic
This is the playful and vibrant side of Halloween. It’s for those who love bright colors, glitter, and bold statement pieces. This style celebrates the fun and festive nature of the holiday.
-
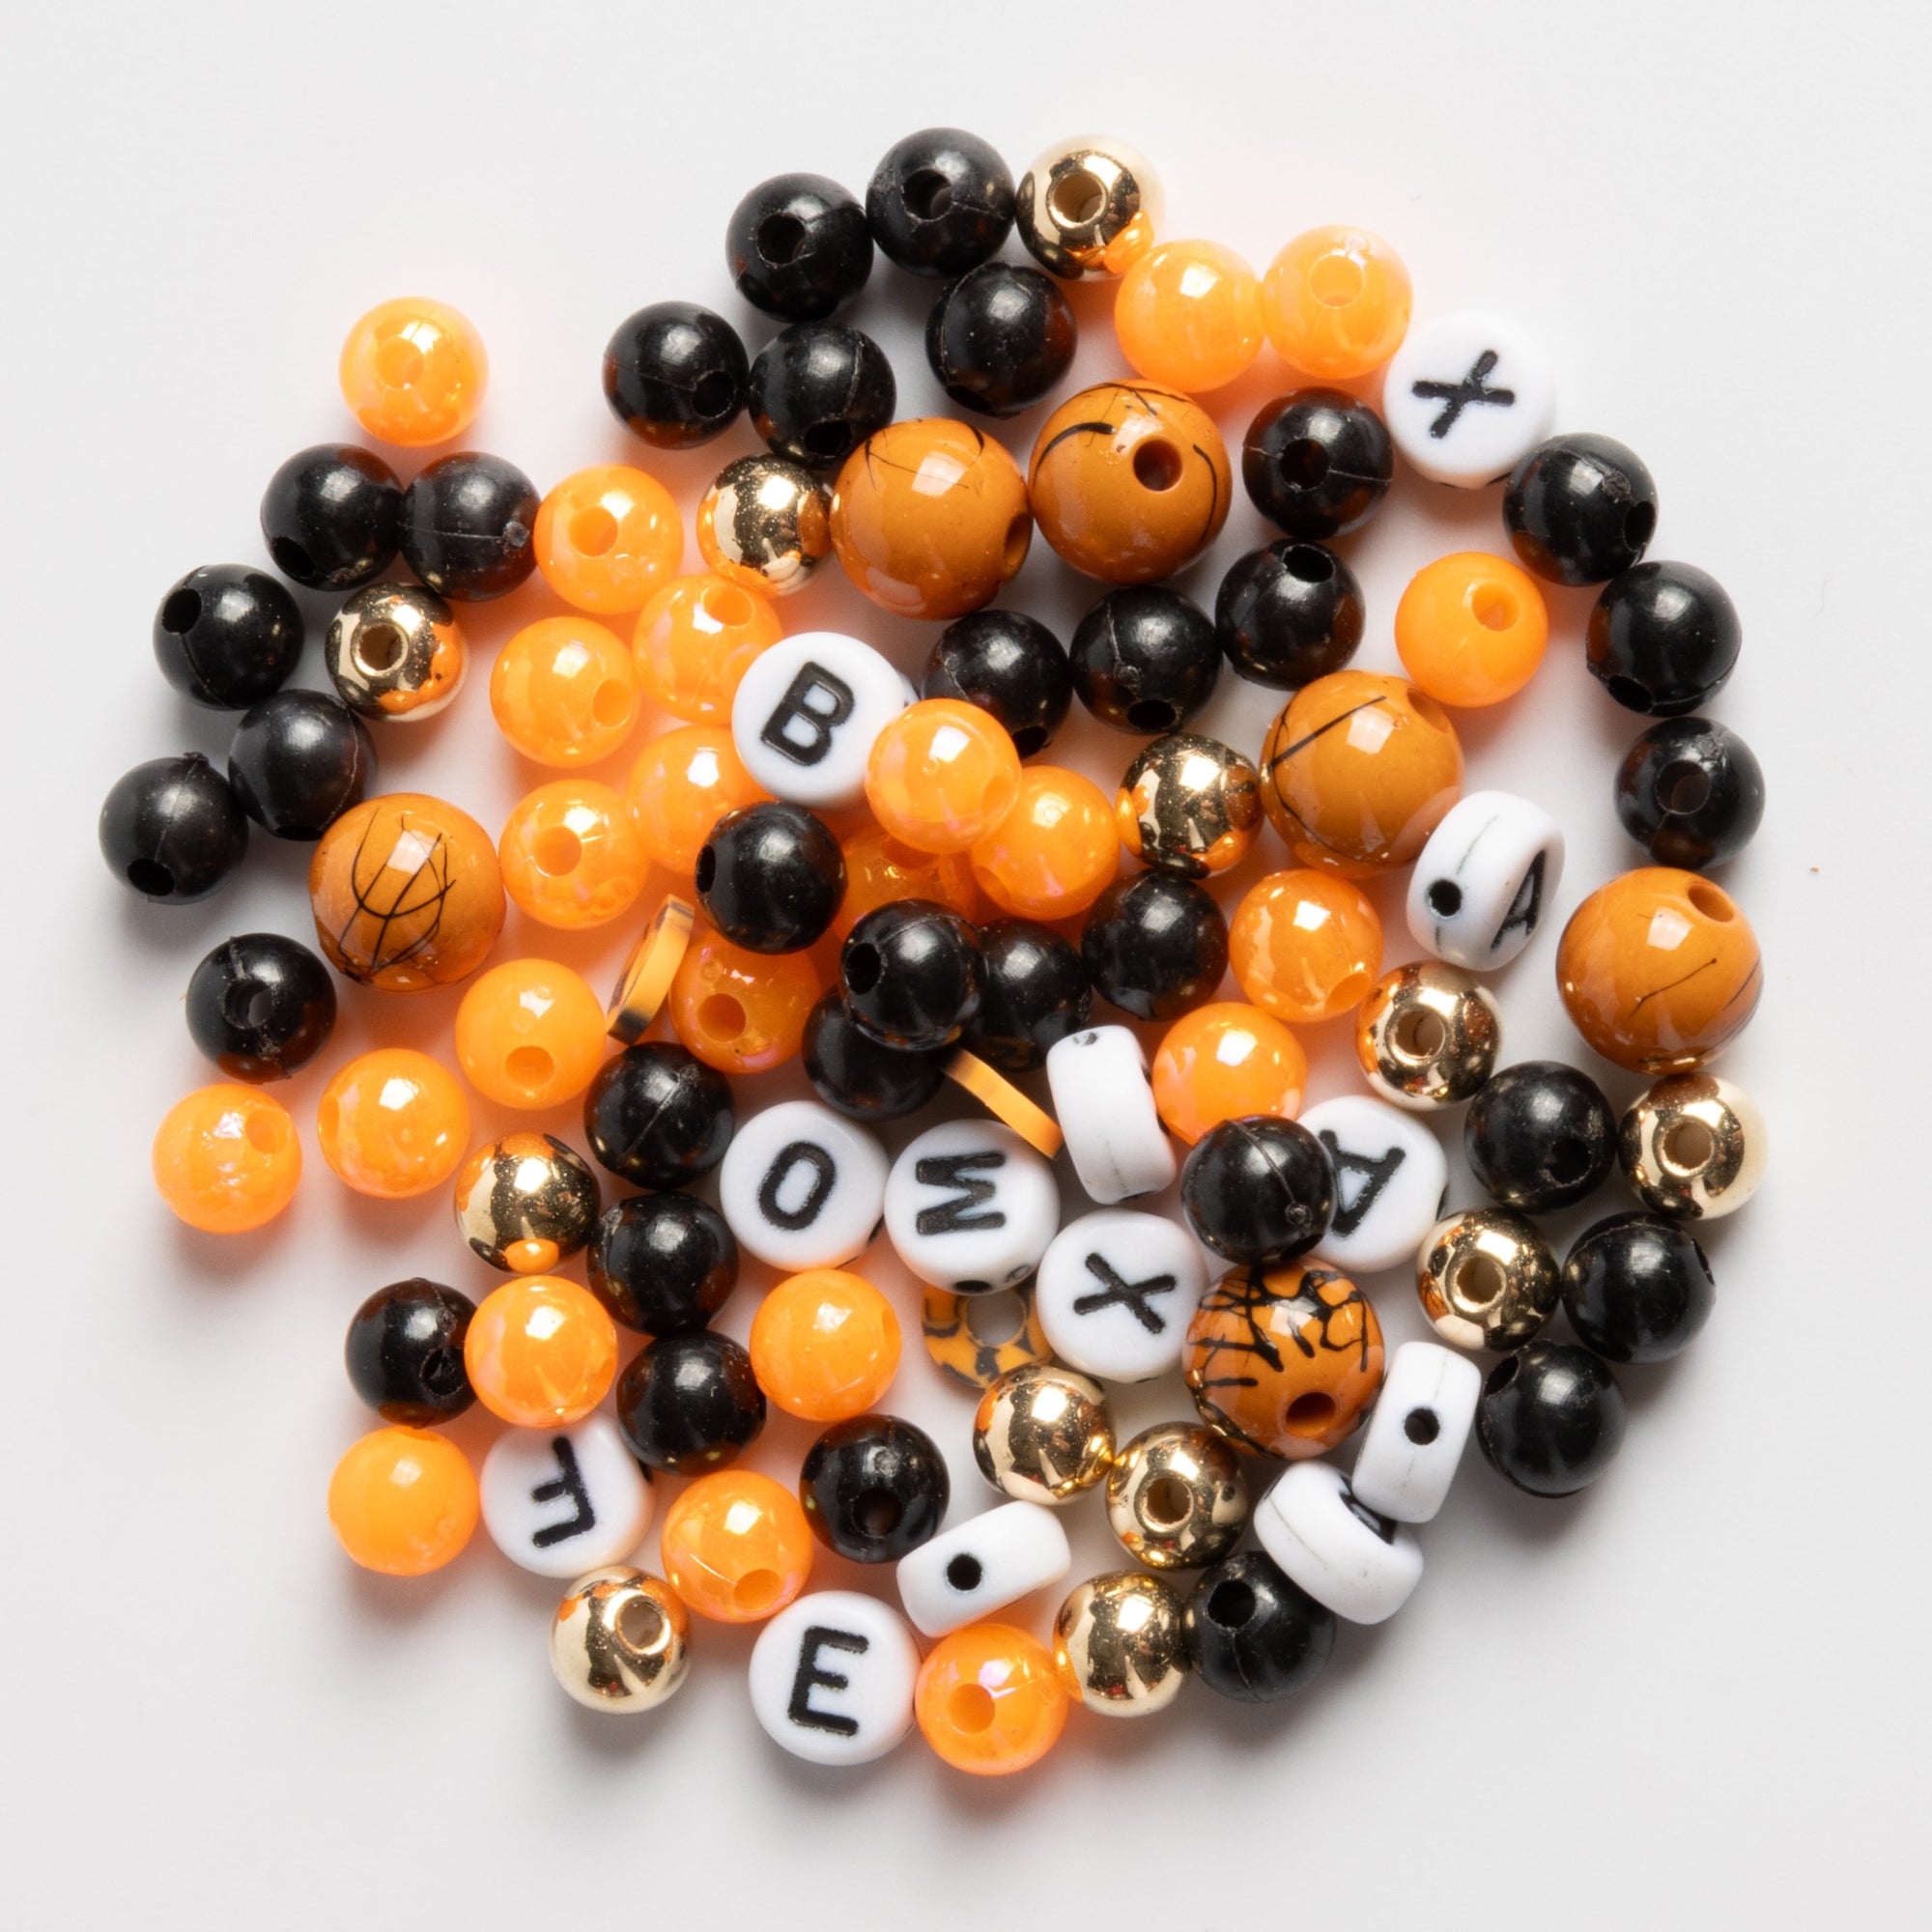
Color Palette: Bright and eye-catching. The classic Halloween orange and black, electric purples, vibrant greens, blood reds, and shimmering golds. Glitter, iridescent finishes, and glow-in-the-dark beads are a must.
-
Materials: Shiny beads, whimsical charms, sparkling crystals, and bold metals. Acrylic and plastic beads are perfect for this style as they come in a wide variety of colors and shapes.
-
Motifs: Classic and bold. Sparkling pumpkins, friendly ghosts, and cute bats. Consider creating pieces that tell a little story, like a group of characters on a charm bracelet.

Section II: DIY Project Inspiration and Tutorials
Now that we have our themes, let’s dive into some specific projects. Each of these can be adapted to fit either the spooky chic or ghoulishly glam aesthetic, depending on the materials you choose.
Project 1: The Haunted Charm Bracelet
This project is a fantastic entry point for beginners, and it's where a DIY beaded bracelet kit from Jewelry Made By Me can be incredibly useful. A kit gives you all the essential components, making it easy to create a professional-looking piece.
-
Gather Your Supplies: You’ll need a beading wire, a clasp, crimp beads, and a variety of beads and charms. If you’re using a DIY beaded bracelet kit, you'll have everything you need.
-
Plan Your Design: Lay out your beads and charms in the order you want them to appear on the bracelet. This helps visualize the final product and prevents mistakes.
-
Start Beading: Take your beading wire and thread it through one side of your clasp. Loop the wire back through a crimp bead and pull it tight. Use crimping pliers to secure the crimp bead.
-
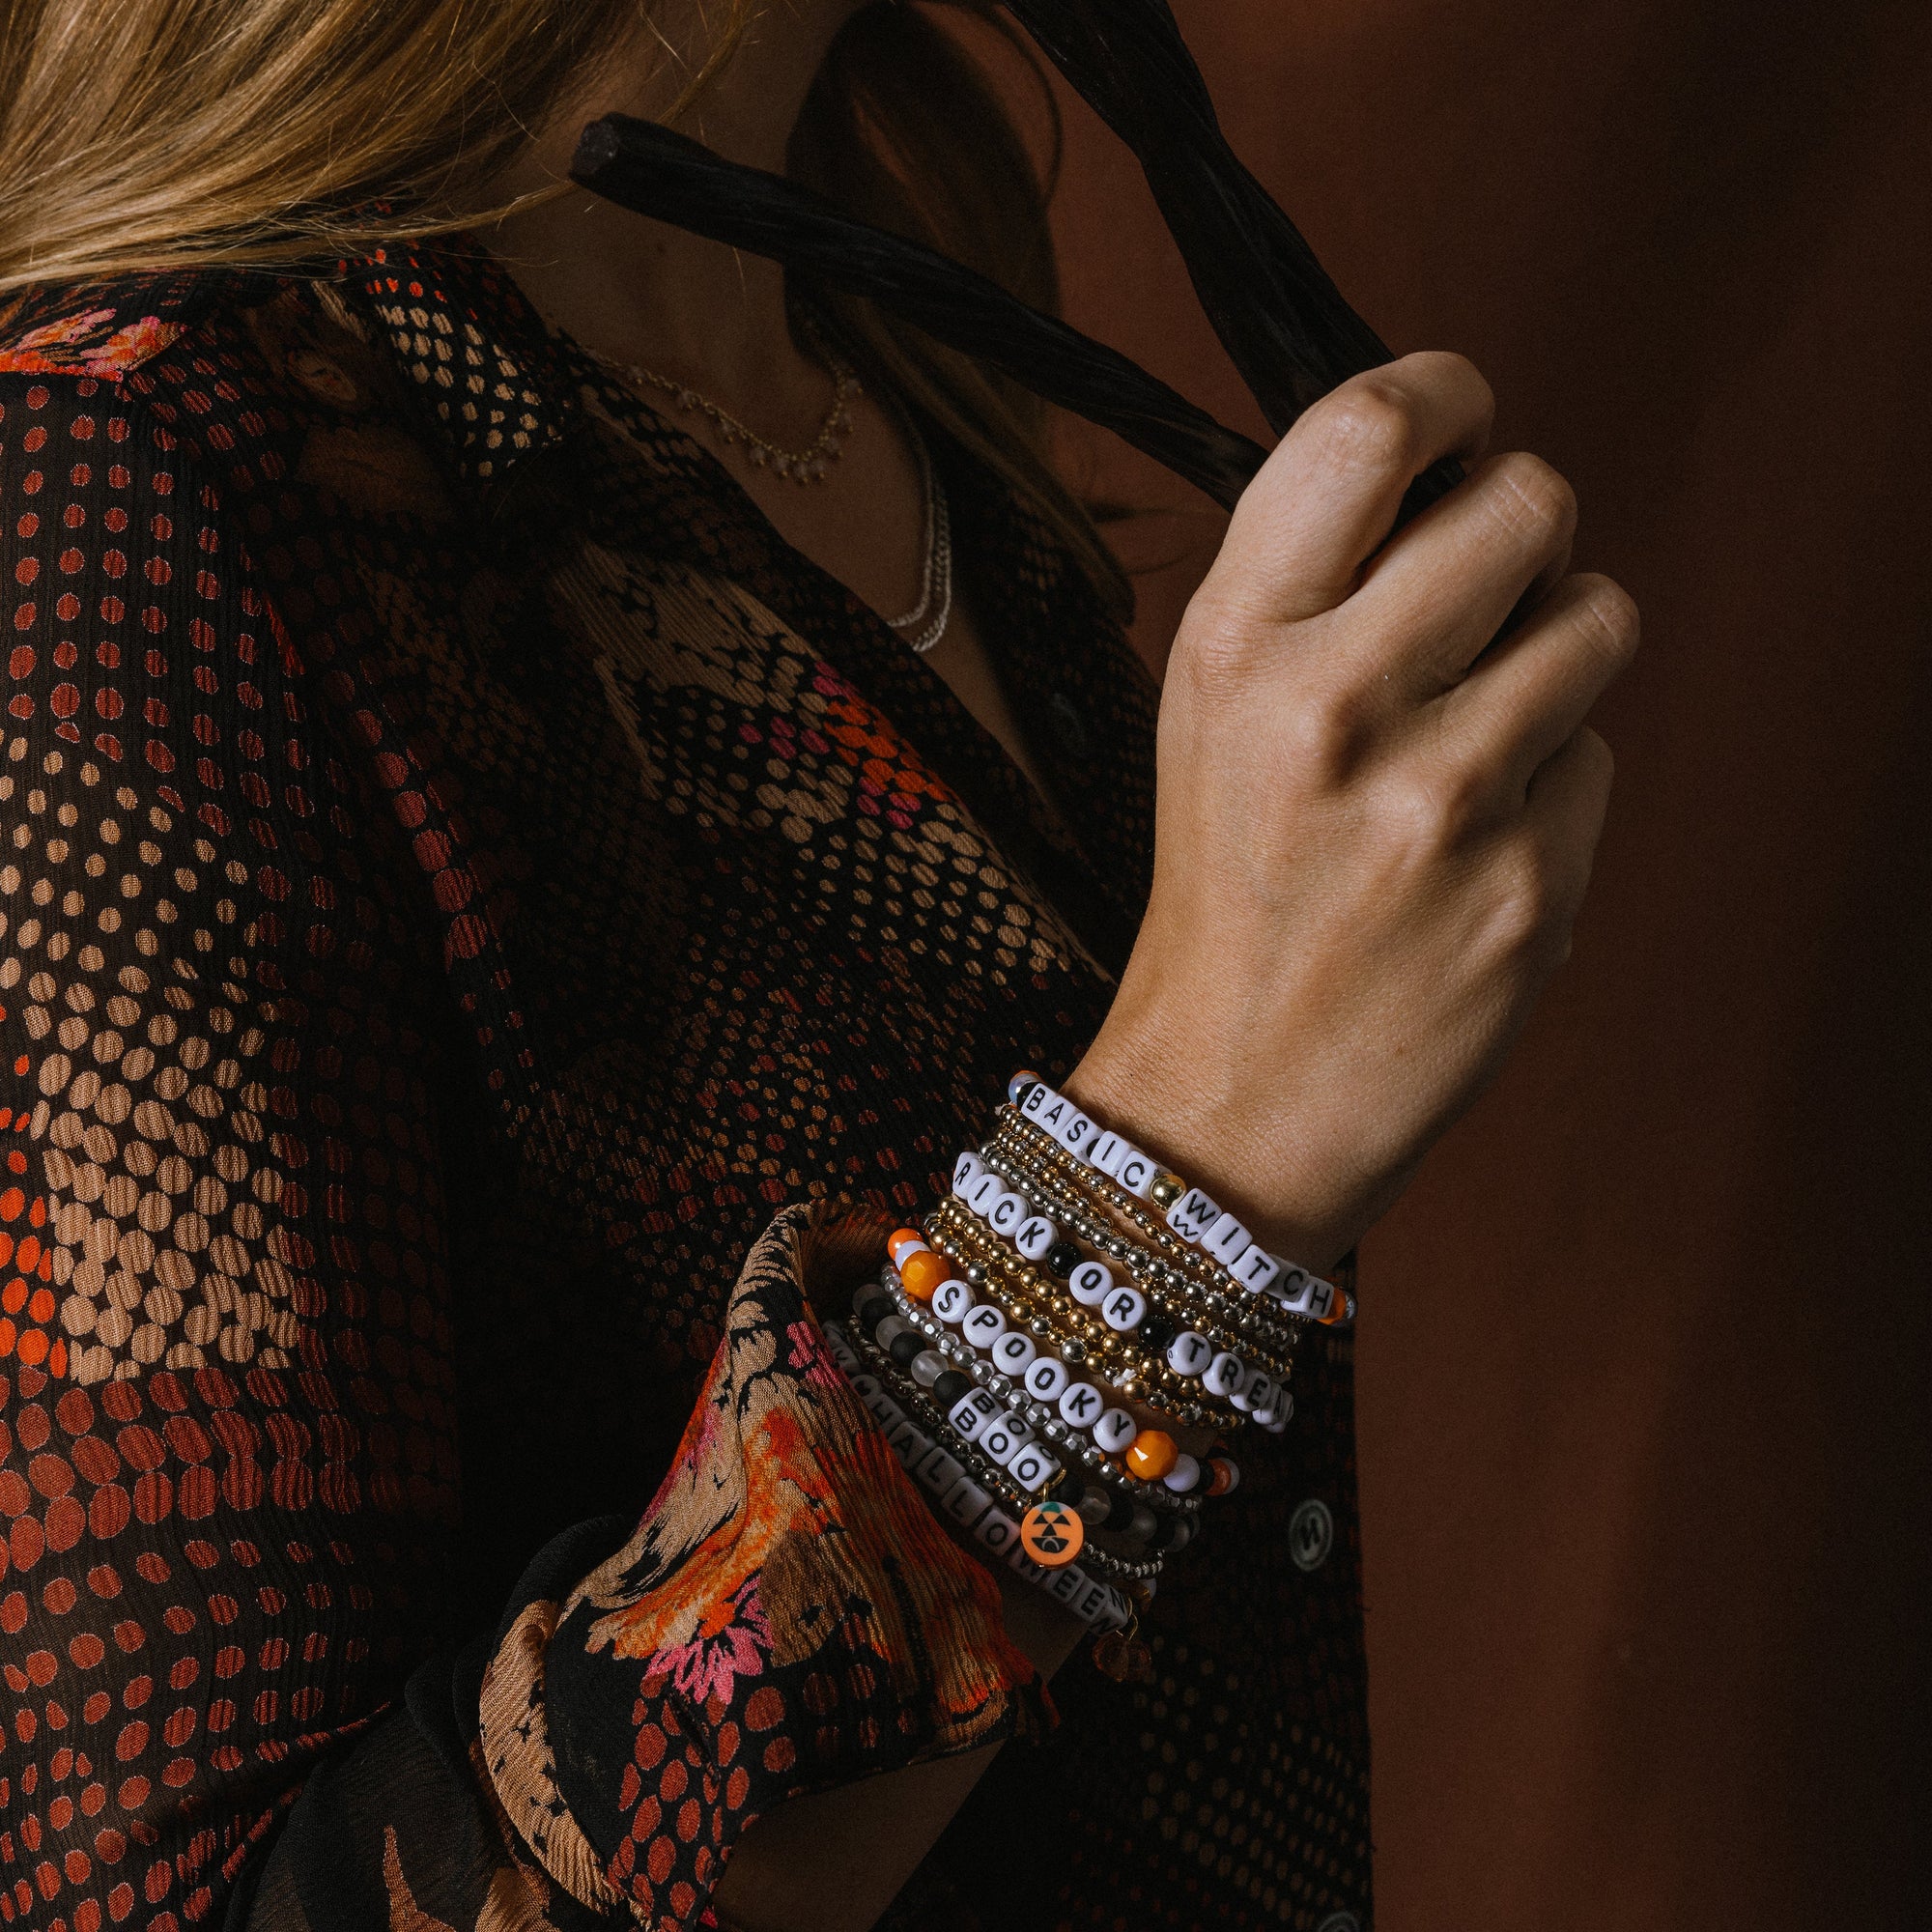
Create Your Pattern: Start adding your beads and charms according to your planned design. You can create repeating patterns or a more random, eclectic look. If you’re making a “Ghoulishly Glam” bracelet, you might alternate between bright orange and black beads, adding a ghost charm in the middle. For a "Spooky Chic" look, use black hematite beads with a single, antique silver skull charm.
-
Finish the Bracelet: Once you've added all your beads, thread the other end of the wire through the other side of the clasp, and loop it back through a crimp bead. Pull it taut, but not so tight that the bracelet becomes stiff. Crimp the bead to secure it. You can trim any excess wire.
Project 2: The Eerie Spiderweb Earrings
These earrings are a delicate and intricate project that adds a touch of subtle creepiness to any outfit. They work beautifully for both "Spooky Chic" and "Ghoulishly Glam" styles.
-
Supplies: Earring hooks, thin wire (24 or 26 gauge), and small beads (black, clear, or white).
-
Create the Frame: Cut a piece of wire about 4 inches long. Using round-nose pliers, form a small loop at one end. This will be the top of the spiderweb.
-
Weave the Web: Create a small circle at the top and then string your beads onto the wire, creating the radiating lines of the web. As you go, use your pliers to bend the wire into a zig-zag pattern, creating the classic web shape.
-
Add the Details: Attach a small plastic spider charm to the center of the web. You can use a jump ring or a dab of strong adhesive.
-
Attach the Earring Hook: Open the loop on the earring hook and slide your spiderweb onto it. Close the loop, and your spooky earrings are ready to wear.
Project 3: The Skull and Bones Necklace
This statement necklace is a bolder project that is perfect for a full Halloween costume. It’s a great way to showcase a central motif.
-
Supplies: Chain, skull beads or charms, various other beads, and jump rings.
-
Assembly: Cut a length of chain to your desired necklace length. Use jump rings to attach skull beads or charms at regular intervals.
-
Personalize It: Between the skull charms, you can add different beads to create a unique look. Consider using faux pearls for a more elegant gothic feel or bright, multi-colored beads for a fun and vibrant design.
-
Finishing Touches: Add a clasp to the ends of the chain using jump rings. You can also add an extender chain to adjust the length.

Section III: Tips for Success
Creating DIY jewelry is about more than just stringing beads. It’s about building a beautiful, lasting piece. Here are some pro tips to help you along your creative journey:
-
Start Simple: If you're a beginner, begin with easy projects like the beaded bracelet. Mastering basic techniques like opening and closing jump rings and using crimping pliers will build your confidence.
-
Consistency is Key: Pay attention to the details. Ensure your knots are secure, your crimps are tight, and your wire is cut cleanly. These small details make a big difference in the professional appearance of your finished piece.
-
Don't Fear Color: Halloween is the perfect time to experiment with bold and unusual color combinations. Think beyond just orange and black. Deep purples, emerald greens, and even electric blues can be incredibly effective.
-
Inspiration is Everywhere: Look for inspiration in classic horror movies, Halloween decor, and even costume ideas. Pinterest and Instagram are great resources for finding unique motifs and color schemes.
-
Invest in Quality Materials: While it's fun to use upcycled materials, using a high-quality kit will ensure your jewelry lasts. DIY beaded bracelet kits from Jewelry Made By Me are a perfect example. They contain durable materials that won’t tarnish or break easily, allowing you to create a piece you can wear for Halloweens to come.
Conclusion
Halloween is more than a single day; it's a season of creative expression and fun. This year, make it extra special by crafting your own unique jewelry. From a simple beaded bracelet to an intricate pair of earrings, you have the power to create accessories that perfectly match your spooky spirit. The process is a rewarding one, and the finished pieces will be a source of pride for years to come.
Ready to start your DIY journey? You have all the inspiration and instructions you need right here. Don’t wait for the spooky season to be in full swing; get a head start on your projects today.
Looking for the perfect starting point? Head over to Jewelry Made By Me to shop our DIY beaded bracelet kits. They include all the high-quality beads, wire, and clasps you need to create your first stunning piece of spooky jewelry.
Frequently Asked Questions (FAQ) for DIY Beaded Jewelry
Q: What are the essential tools I need to start making DIY jewelry?
A: The most essential tools are a pair of needle-nose pliers, wire cutters, and crimping pliers. Needle-nose pliers are used for bending wire and opening and closing jump rings. Wire cutters are for trimming wire and beading cord. Crimp pliers are specifically used to secure crimp beads, which hold your clasp and beads in place. Many DIY kits, including those from Jewelry Made By Me, come with these basic tools to help you get started immediately.
Q: Can I use old or broken jewelry to make new pieces?
A: Absolutely! Upcycling old or broken jewelry is a fantastic and sustainable way to create new pieces. You can reuse beads, charms, and chains from vintage necklaces or single earrings to create something completely new. For example, a single pearl from a broken strand can be painted to look like a tiny ghost, or a tarnished chain can be used to create a gothic choker. This not only gives new life to old items but also adds a unique, vintage flair to your creations.
Q: How do I choose the right beads for my Halloween jewelry?
A: The right beads depend on the style you're going for. For a "Ghoulishly Glam" look, choose brightly colored beads in plastic or glass with shiny, reflective finishes. Look for novelty beads in the shape of pumpkins, bats, or skulls. For a "Spooky Chic" look, opt for matte or dark-colored beads made of natural stone like onyx or hematite. Combine these with metallic beads or oxidized silver for a more sophisticated feel. The key is to match your bead choice to your overall design theme.
Q: Where can I find Halloween-themed charms and pendants?
A: Halloween-themed charms and pendants can be found at most craft supply stores, especially during the fall season. You can also find a vast selection online from specialty bead and jewelry suppliers. Look for motifs like spiders, bats, ghosts, skulls, jack-o'-lanterns, and witch hats. Combining different charms on a single piece, like a bracelet or necklace, can create a fun and personalized "story" that is unique to your creation.
Q: What is the best way to make a DIY beaded bracelet for Halloween?
A: The easiest way to make a beaded bracelet is with a DIY kit. These kits come with everything you need: beading wire, crimp beads, a clasp, and a curated selection of themed beads. The process is simple: thread the wire, secure the clasp with a crimp bead, string your beads in your desired pattern, and then secure the other end of the bracelet with another crimp bead and clasp. This method is fast, reliable, and ensures your bracelet is durable enough to wear all season long.