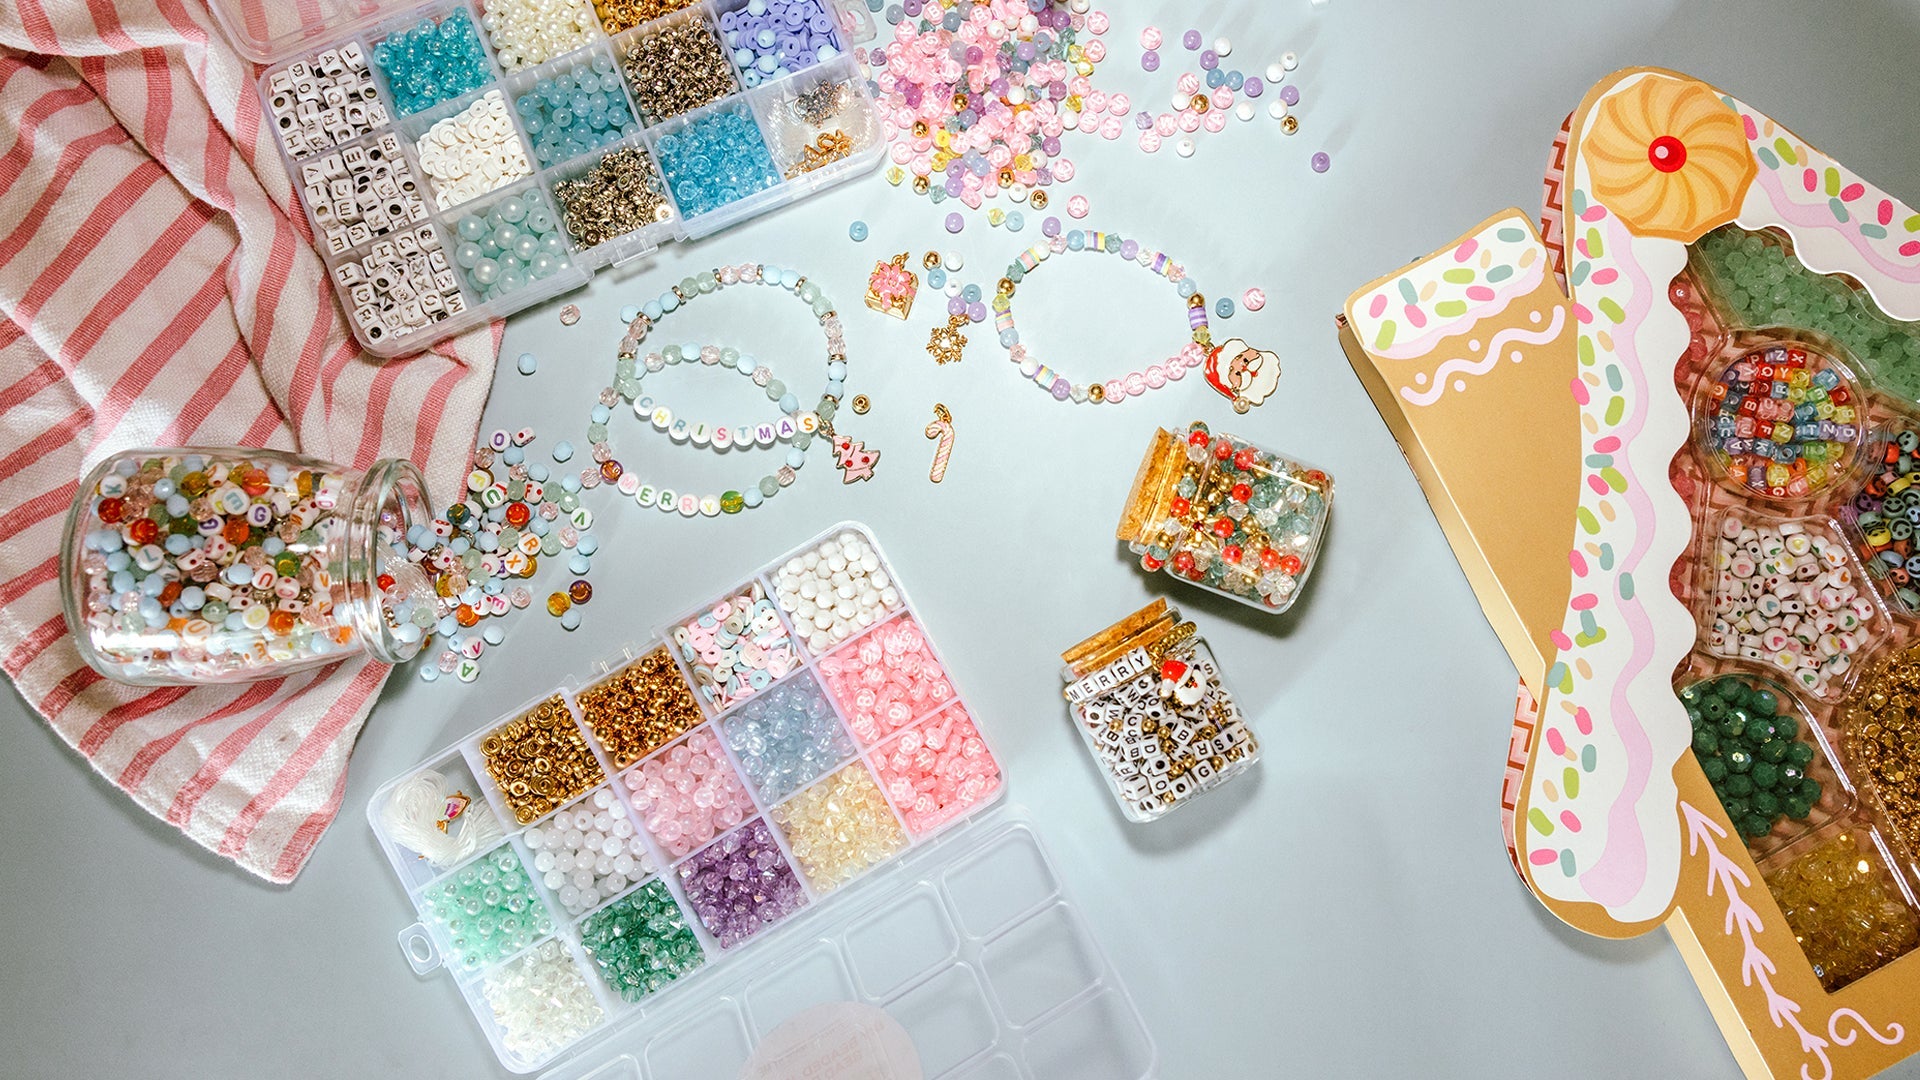
The holiday season is a time for creativity, joy, and making heartfelt gifts. One popular way to get into the festive spirit is by creating DIY holiday bead kits. These kits can be used to make beautiful ornaments, jewelry, and other crafts that make perfect holiday gifts. However, organizing and storing your DIY holiday bead kits can be a challenge. In this article, we will explore effective ways to keep your bead kits organized and ready for your next crafting session.

Why Organize Your DIY Holiday Bead Kits?
Organizing your DIY holiday bead kits has several benefits. First, it saves time. When your beads and tools are well-organized, you can quickly find what you need without searching through a tangled mess. Second, it keeps your beads in good condition, preventing them from getting lost or damaged. Finally, a well-organized workspace can inspire creativity, making your crafting sessions more enjoyable.
Step-by-Step Guide to Organizing Your Bead Kits
1. Sort Your Beads by Type and Color
The first step in organizing your DIY holiday bead kits is to sort your beads. Group beads by type—such as seed beads, glass beads, and wooden beads—and then by color. This makes it easier to find the specific beads you need for a project.
2. Use Storage Containers
Invest in storage containers designed specifically for beads. These containers have multiple compartments, allowing you to separate beads by type and color. Clear containers are ideal because they let you see the contents without opening the lid.
3. Label Everything
Labeling your storage containers is crucial. Use a label maker or write labels by hand to indicate the type and color of beads in each compartment. This will save you time and reduce frustration when looking for specific beads.
4. Store Tools Separately
Keep your crafting tools, such as pliers, scissors, and needles, in a separate container. This prevents them from getting mixed up with your beads and makes them easy to find when you need them.
Creative Storage Solutions
1. Use a Bead Organizer Tray
A bead organizer tray is a shallow tray with multiple compartments. It’s perfect for sorting beads while you work on a project. Some trays even come with a lid, making it easy to store your beads when you need to take a break.
2. Magnetic Storage
Magnetic storage solutions, such as magnetic strips or boards, can be used to hold metal tools and containers with metal lids. This keeps your tools within easy reach and frees up space on your work surface.
3. Stackable Drawers
Stackable drawers are a great way to maximize vertical space. You can find clear plastic drawers that allow you to see the contents, or colorful drawers that add a festive touch to your craft room.
4. Bead Storage Tubes
Bead storage tubes are clear plastic tubes with caps. They are perfect for storing small beads and can be easily labeled. You can store the tubes in a rack or a drawer, keeping your beads organized and easily accessible.

Tips for Maintaining an Organized Workspace
1. Clean Up After Each Session
After each crafting session, take a few minutes to clean up your workspace. Put beads back in their designated containers, and store your tools in their proper place. This keeps your workspace tidy and ready for your next project.
2. Regularly Check Inventory
Periodically check your bead inventory to ensure you have enough supplies for your projects. Make a list of beads and tools you need to replenish, so you can stay stocked up and avoid interruptions in your crafting.
3. Create a Designated Crafting Area
If possible, set up a designated area for your DIY holiday bead kits. This could be a corner of a room or a dedicated craft room. Having a specific area for crafting helps keep your supplies organized and contained.
Storing Finished Projects
Once you have completed your holiday bead projects, you will need a safe place to store them until you are ready to give them as gifts or display them. Here are some tips for storing finished projects:
1. Use Soft Pouches
Store delicate beadwork in soft pouches to prevent damage. You can use fabric pouches, small boxes lined with tissue paper, or even ziplock bags.
2. Label Your Projects
Label finished projects with the date and recipient’s name. This helps you keep track of which projects are ready to be gifted and ensures that you don’t accidentally give the same gift to someone twice.
3. Display Your Work
If you prefer to display your finished projects, consider using a decorative tray or a shadow box. This not only keeps your work safe but also adds a festive touch to your home décor.
Conclusion
Organizing and storing your DIY holiday bead kits doesn’t have to be a daunting task. By sorting your beads, using appropriate storage containers, and maintaining a tidy workspace, you can make your crafting sessions more enjoyable and efficient. Remember to store your finished projects carefully so they remain in perfect condition until you are ready to share them with your loved ones. Happy crafting!
Shop Jewelry Made By Me for Your DIY Jewelry Kits!
Ready to elevate your crafting experience? Visit Jewelry Made By Me for a fantastic selection of DIY jewelry kits that provide everything you need to create beautiful pieces. With a variety of beads, tools, and charms, you can unleash your creativity and make unique jewelry items that reflect your personal style. Don’t miss out on the opportunity to bring your crafting vision to life—head over to our shop today and start your next project!


