The holiday season is a time for giving, and there's no better way to show your loved ones how much you care than with personalized gifts. One of the most creative and heartfelt ways to create personalized holiday gifts is by using DIY bead kits. These kits allow you to craft unique, custom jewelry pieces that are perfect for friends and family. In this article, we’ll guide you through the process of creating personalized holiday gifts with DIY bead kits.
Why Choose DIY Bead Kits?
DIY bead kits are an excellent choice for personalized holiday gifts for several reasons:
- Customization: You can tailor each piece to the recipient’s tastes and preferences.
- Creativity: These kits allow you to express your creativity and craft something truly unique.
- Cost-Effective: DIY bead kits are often more affordable than buying pre-made jewelry.
- Fun Activity: Creating jewelry can be a fun and relaxing activity.

Getting Started with DIY Bead Kits
What You’ll Need
To get started, you’ll need a few basic supplies:
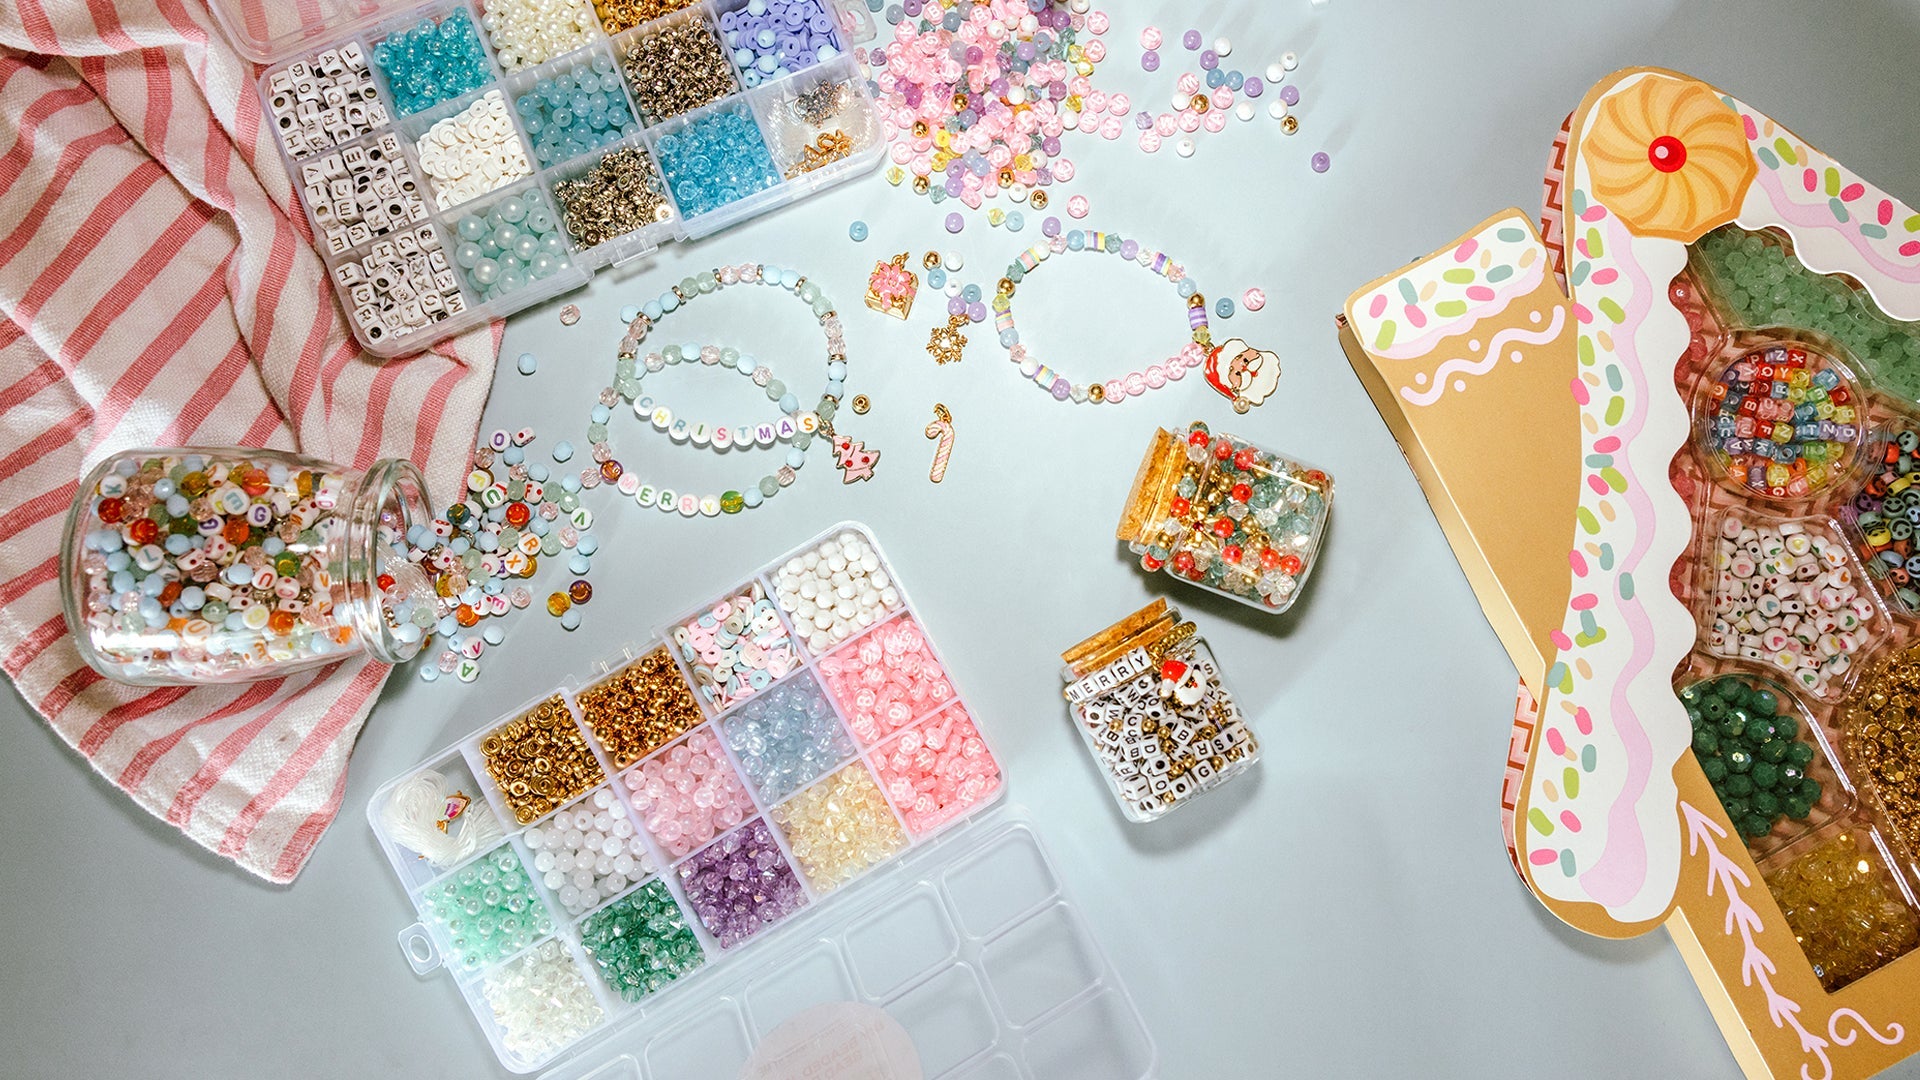
- Bead Kit: Choose a kit that includes a variety of beads, strings, and clasps.
- Tools: You’ll need pliers, scissors, and a bead mat or tray to keep your beads organized.
- Design Ideas: Have some design ideas in mind, or look for inspiration online.
Choosing the Right Bead Kit
There are many different bead kits available, so it’s important to choose one that suits your needs. Here are some things to consider:
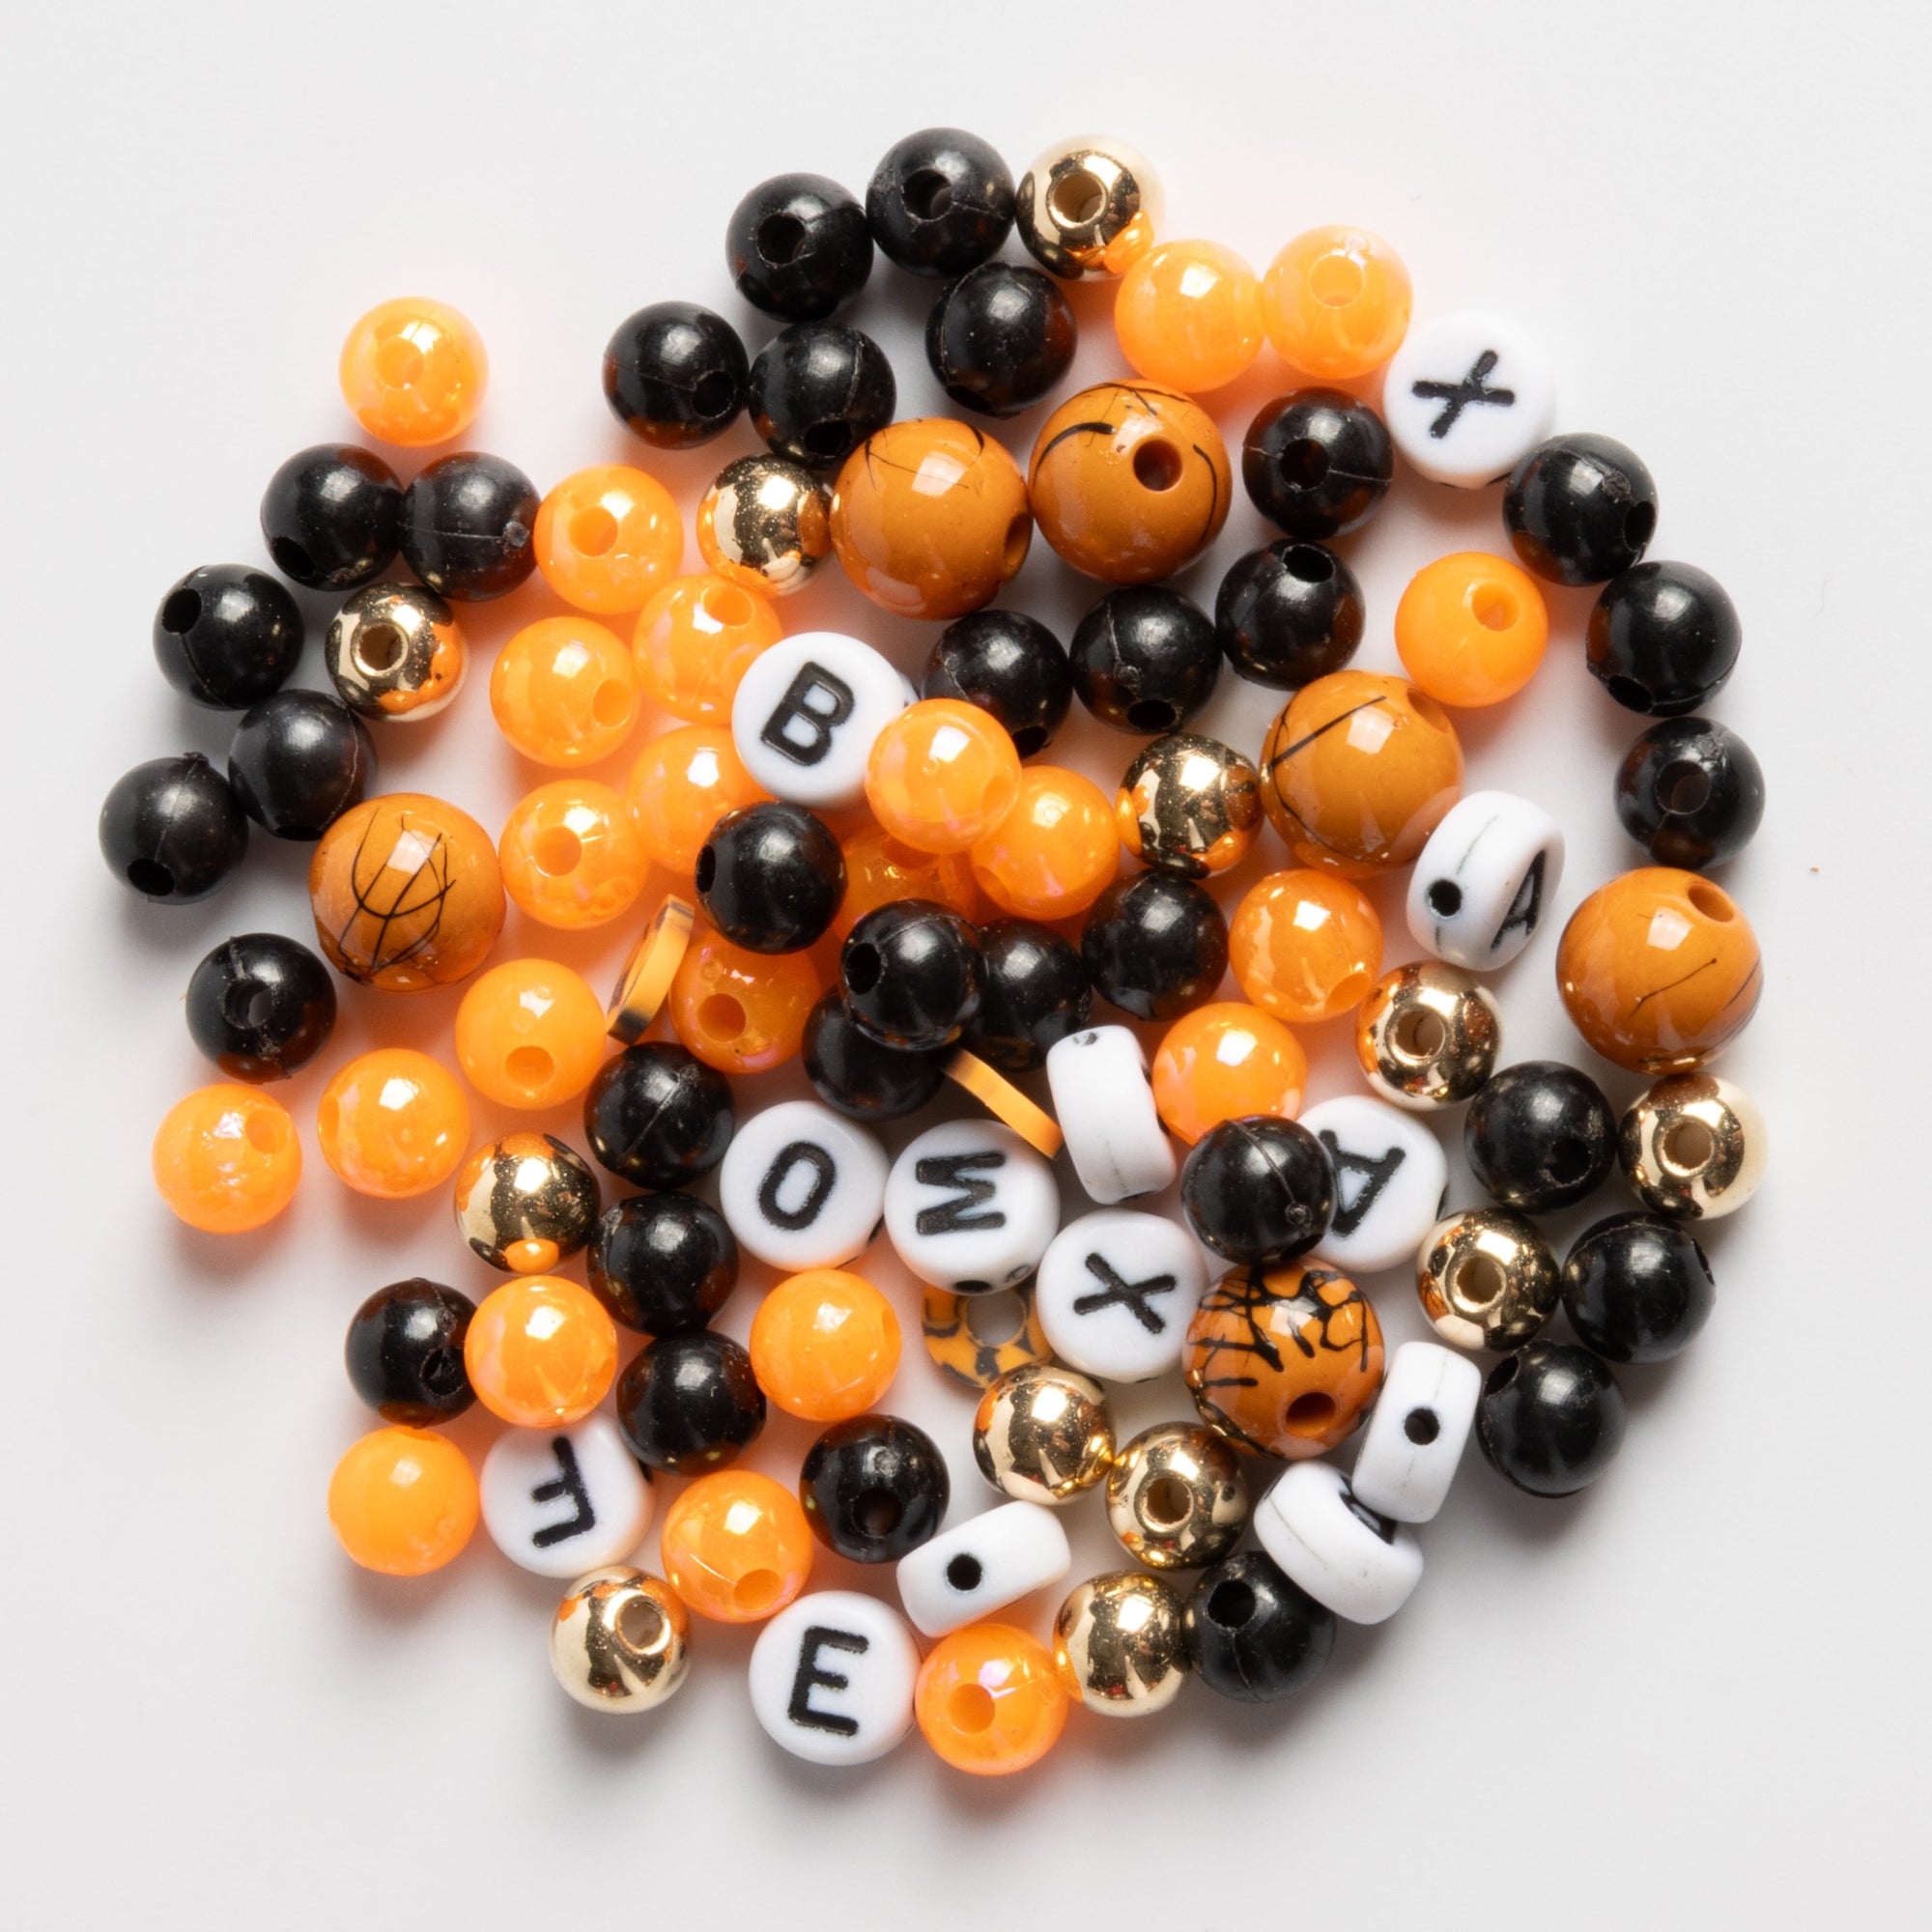
- Variety of Beads: Look for kits that offer a wide range of bead shapes, sizes, and colors.
- Quality: Make sure the beads and materials are of high quality to ensure your jewelry will last.
- Skill Level: Some kits are designed for beginners, while others are more advanced. Choose a kit that matches your skill level.
Designing Your Personalized Gifts
Understanding Your Recipient’s Style
Before you start creating your jewelry, think about the style and preferences of the person you’re making it for. Do they prefer bold, statement pieces or delicate, minimalist designs? Understanding their tastes will help you create something they’ll love.
Planning Your Design
Once you have an idea of what you want to create, it’s time to plan your design. Here are some tips to help you get started:
- Sketch It Out: Draw a rough sketch of your design to visualize how it will look.
- Lay Out Your Beads: Arrange your beads on a bead mat or tray to see how they look together before you start stringing them.
- Consider the Length: Make sure the necklace, bracelet, or earrings are the right length for the recipient.
Creating Your Jewelry
Now that you have your design planned out, it’s time to start creating! Here’s a step-by-step guide to help you:
- Cut the String: Cut a piece of string or wire to the desired length, leaving extra for tying knots or attaching clasps.
- String the Beads: Start stringing your beads according to your design. Use a bead stopper or tape at one end to prevent beads from sliding off.
- Attach the Clasp: Once you’ve finished stringing the beads, attach the clasp to the ends of the string or wire using pliers.
- Secure the Beads: Tie knots or use crimp beads to secure the ends and ensure the beads stay in place.
- Finishing Touches: Add any final touches, such as charms or pendants, to complete your design.
Personalizing Your Gifts
Adding Initials or Names
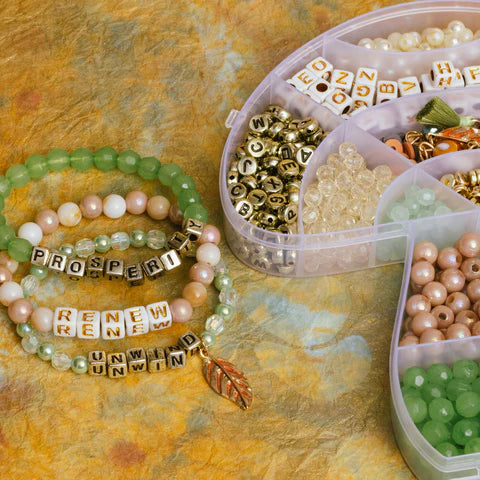
One of the easiest ways to personalize your jewelry is by adding initials or names. You can use letter beads or charms to spell out the recipient’s name or initials.
Using Birthstones
Incorporating birthstones into your design is another great way to personalize your jewelry. Each birthstone has its own unique meaning and significance, making it a thoughtful and meaningful addition.
Custom Colors
Choose bead colors that have special meaning to the recipient. Perhaps they have a favorite color, or you can use colors that represent a special memory or occasion.

Packaging Your Handmade Gifts
Once you’ve finished creating your personalized jewelry, it’s important to package it nicely. A beautiful presentation can make your gift even more special. Here are some ideas for packaging your handmade gifts:
- Gift Boxes: Use small gift boxes to protect your jewelry and add a touch of elegance.
- Organza Bags: These delicate bags are perfect for holding jewelry and can be tied with a ribbon for a lovely presentation.
- Handwritten Notes: Include a handwritten note to add a personal touch and let the recipient know how much you care.
Conclusion
Creating personalized holiday gifts with DIY bead kits is a wonderful way to show your loved ones how much you care. By taking the time to design and create custom jewelry, you’re giving a gift that is truly one-of-a-kind. With the tips and guidance provided in this article, you’ll be well on your way to crafting beautiful, personalized gifts that your friends and family will cherish for years to come.
So, gather your bead kits, unleash your creativity, and start making memories with personalized holiday gifts this season.
Shop DIY Jewelry Kits at Jewelry Made By Me
Ready to get started on your personalized jewelry-making journey? Visit Jewelry Made By Me for a fantastic selection of DIY bead kits that cater to all skill levels. Our kits include a variety of high-quality beads, tools, and project inspirations that make it easy to create beautiful, custom pieces. Whether you’re crafting a unique gift or a special treat for yourself, our kits provide everything you need to unleash your creativity. Don’t wait any longer—explore our collection today and begin crafting memorable, heartfelt jewelry that your loved ones will treasure!


