Creating your own resin jewelry at home can be a fun and rewarding hobby. Whether you're interested in making resin pendants, resin pet charms, or any type of stunning resin jewelry, this guide will walk you through the process step-by-step. With a little patience and creativity, you can craft beautiful pieces that you and your friends will love to wear. Let's dive into the world of resin jewelry making!
What You Need to Get Started
Before you begin your resin jewelry-making journey, you'll need to gather some essential supplies. Here's a list to get you started:
- Epoxy Resin: This is the key material for your jewelry. Make sure to choose a high-quality, crystal-clear resin for the best results.
- Resin Molds: These come in various shapes and sizes. Silicone molds are highly recommended for easy release.
- Mixing Cups and Sticks: Use disposable cups and sticks to mix your resin.
- Protective Gear: Gloves, goggles, and a mask to protect yourself from fumes and skin contact.
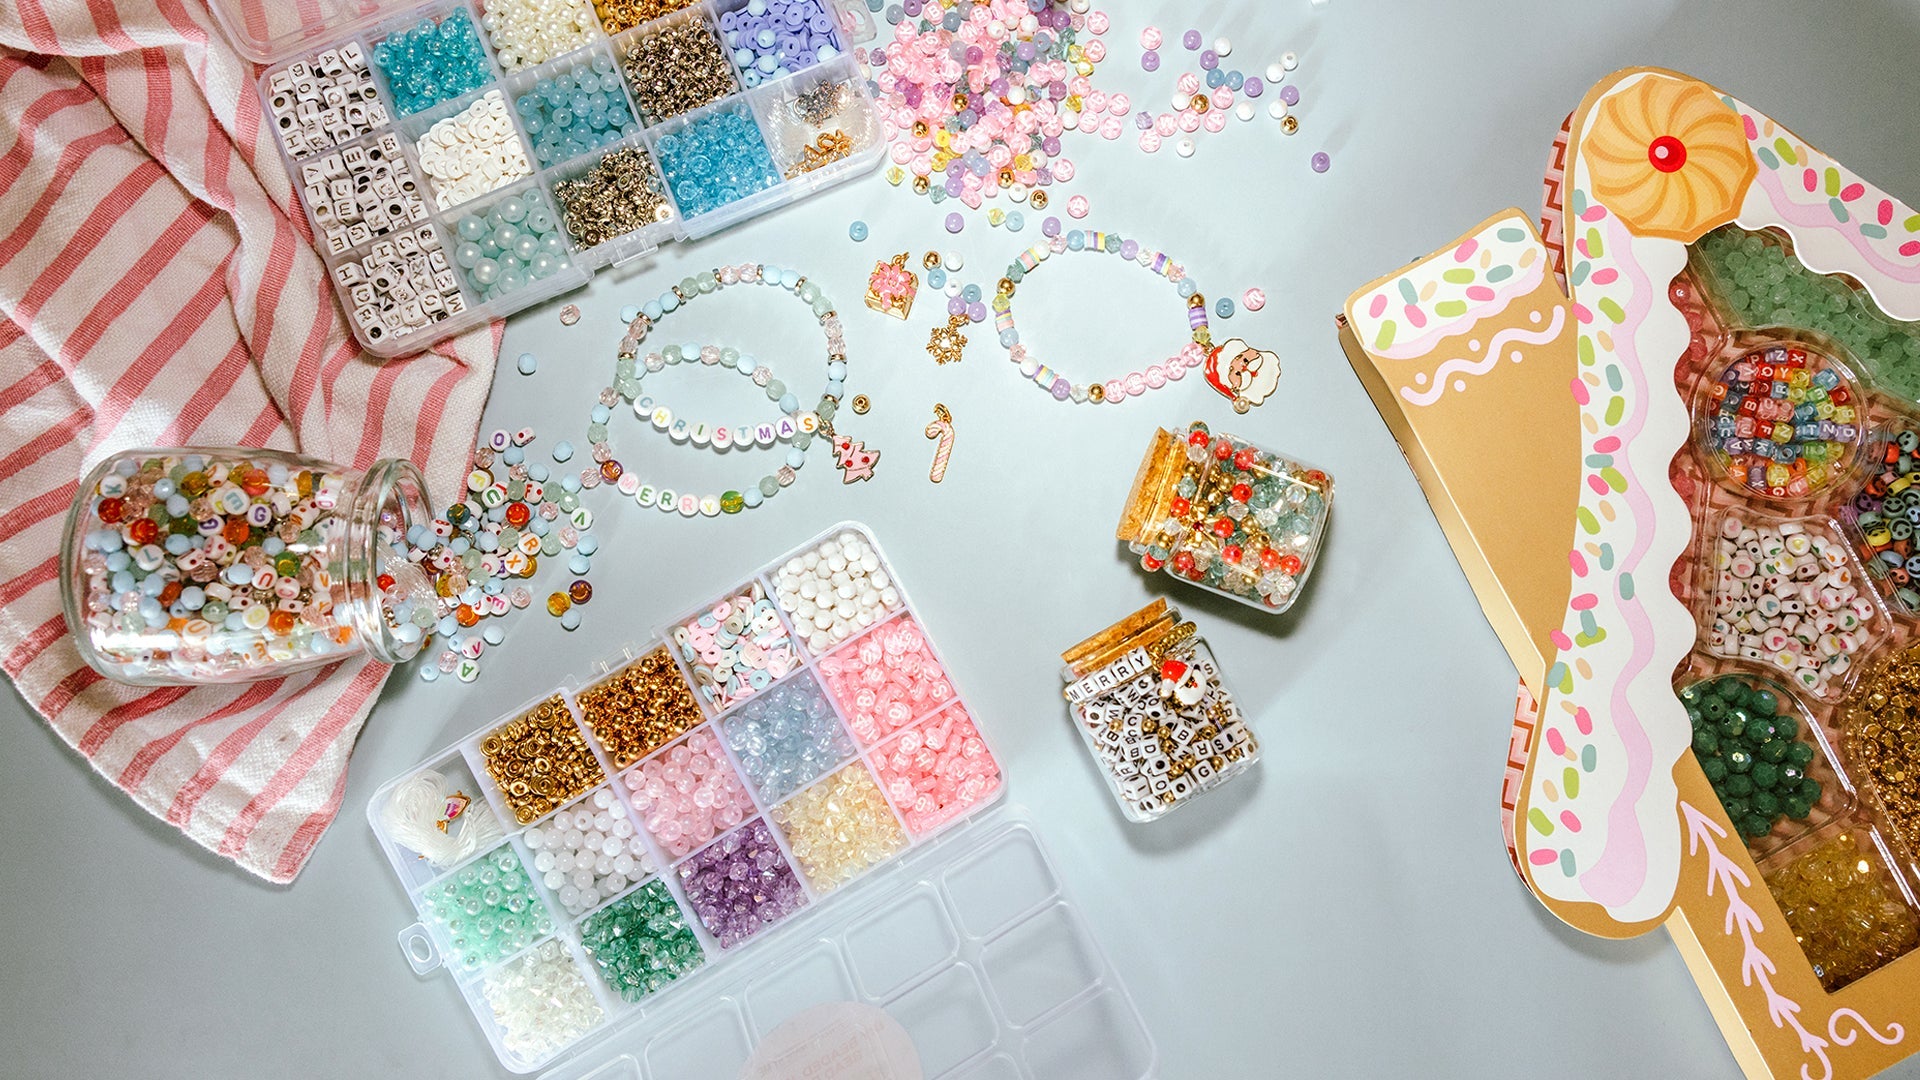
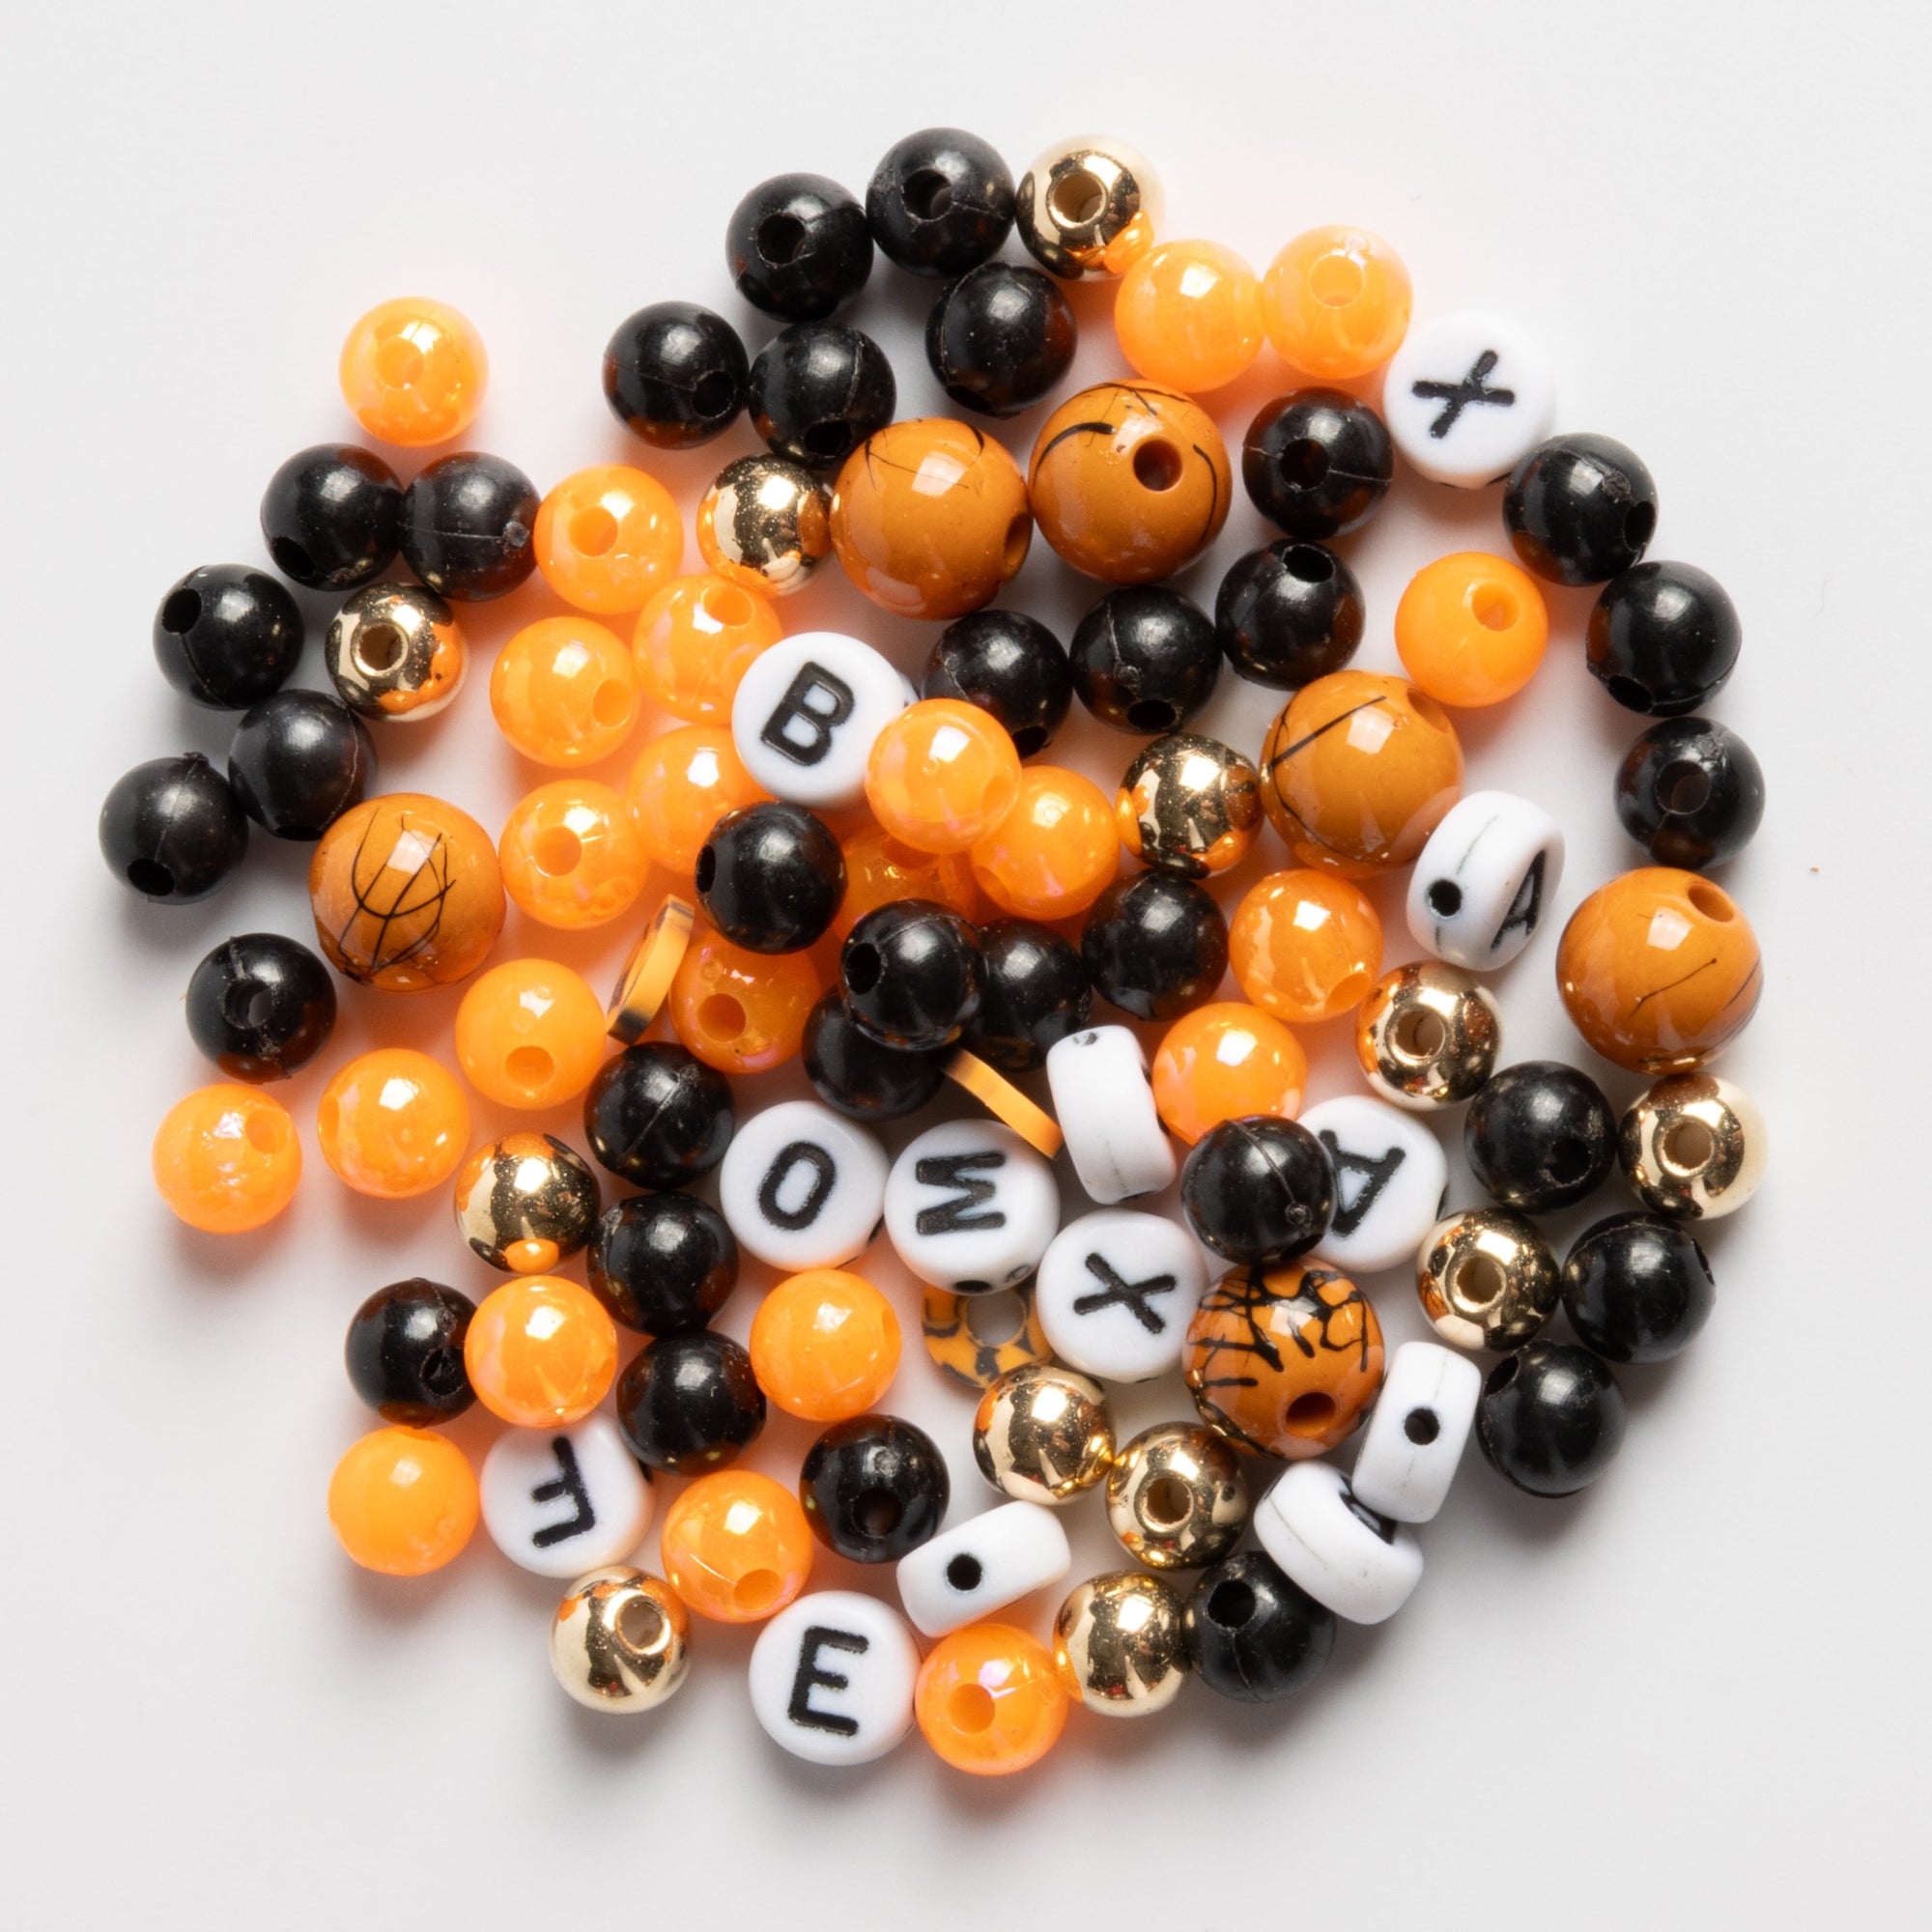
- Decorative Items: Glitter, dried flowers, beads, or any other small items you'd like to embed in your jewelry.
- Jewelry Findings: These are the metal parts you'll use to turn your resin pieces into wearable jewelry, such as earring hooks and necklace chains.

Step-by-Step Guide to Making Resin Jewelry
Step 1: Prepare Your Workspace
Set up a clean, well-ventilated area to work in. Cover your workspace with a plastic sheet or newspaper to protect it from resin spills. Ensure you have all your materials ready before you start.
Step 2: Mix the Resin
Read the instructions on your resin package carefully. Typically, you'll need to mix two parts of resin with one part of hardener. Use a disposable cup and stick to mix the resin thoroughly for a few minutes. Make sure there are no streaks left in the mixture.
Step 3: Add Color and Decorations
Now it's time to get creative! Add color to your resin using resin dyes or alcohol inks. Stir the color in gently until you achieve your desired shade. If you're using decorative items like glitter or dried flowers, add them to the resin and mix gently.
Step 4: Pour the Resin into Molds
Carefully pour the mixed resin into your molds. Use a toothpick to help position any decorative items or to remove air bubbles. Be sure to fill the molds to the brim for a smooth finish.
Step 5: Let the Resin Cure
Leave your resin pieces to cure according to the manufacturer's instructions. This usually takes 24 to 48 hours. Be patient and avoid touching the resin during this time to prevent any imperfections.
Tips for Perfect Resin Jewelry
- Avoid Bubbles: To minimize bubbles in your resin, mix slowly and let the resin sit for a few minutes before pouring. You can also use a heat gun to pop any bubbles on the surface.
- Layering: For multi-layered designs, pour the resin in stages. Let each layer cure slightly before adding the next.
- Experiment: Don't be afraid to experiment with different colors and materials. You can create stunning effects by layering colors or embedding unique items in your resin.
Creating Resin Pet Charms
Resin pet charms are a delightful way to celebrate your furry friends. You can embed small photos or even a lock of fur in the resin to create a personalized charm. Here's how:
Step 1: Prepare the Photo or Fur
If you're using a photo, print it on regular paper and cut it to fit the mold. For fur, trim a small, clean piece that will fit inside the mold.
Step 2: Seal the Photo
To prevent the photo from getting damaged by the resin, seal it with a layer of clear tape or glue. This will protect the ink from smudging.
Step 3: Embed in Resin
Pour a thin layer of resin into the mold and place the photo or fur on top. Gently pour more resin over it until the mold is full. Use a toothpick to position the photo or fur and remove any bubbles.
Step 4: Cure and Finish
Let the charm cure completely before removing it from the mold. Once cured, attach a jump ring or a keychain loop to turn it into a wearable charm.

Turning Resin Pieces into Jewelry
Once your resin pieces are fully cured, it's time to turn them into stunning jewelry. Here are a few ideas:
Making a Resin Pendant
- Drill a small hole in the top of your resin piece.
- Insert a screw eye pin into the hole and secure it with glue.
- Attach a necklace chain or cord to the eye pin.
Creating Earrings
- Use earring hooks and jump rings to attach your resin pieces.
- Consider making a matching set by using similar colors or designs.
Crafting Bracelets
- Connect multiple resin pieces with jump rings.
- Add a clasp to complete the bracelet.
Conclusion
Making resin jewelry at home is a rewarding and creative hobby. With the right materials and a bit of practice, you can craft stunning resin pendants, pet charms, and more. Remember to take your time and enjoy the process. Happy crafting!
Shop Jewelry Made By Me for Your Resin Supplies!
Ready to start your resin jewelry-making journey? Visit Jewelry Made By Me to find all the essential supplies you need, from high-quality epoxy resin to beautiful molds and decorative items. Don't miss out on the chance to create stunning pieces that reflect your unique style. Shop now and let your creativity shine!