Beaded bracelets have long been a timeless accessory, versatile, stylish, and personal. But have you ever wanted to create your own adjustable beaded bracelets at home? Whether you’re gifting a friend, accessorizing your outfit, or simply indulging in a relaxing craft, making your own adjustable bracelets is easier than you think. Plus, you can customize every element to match your unique style.
At Jewelry Made By Me, we’re passionate about empowering you to create beautiful jewelry that fits perfectly, literally. That’s why we’ve put together this simple, step-by-step guide on how to make adjustable beaded bracelets, along with tips on choosing the right materials and techniques. Ready to get crafting? Let’s dive in!
Why Choose Adjustable Beaded Bracelets?
Adjustable bracelets are a favorite because they fit comfortably on any wrist size, no fussing with clasps or sizing guesswork. Their sliding knot mechanism allows easy adjustment for both children and adults, making them perfect for gifts and personal use alike.
Beaded bracelets add color, texture, and charm to your look, and when you make them yourself, you get to decide every detail, from bead color and size to the cord material and knot style.

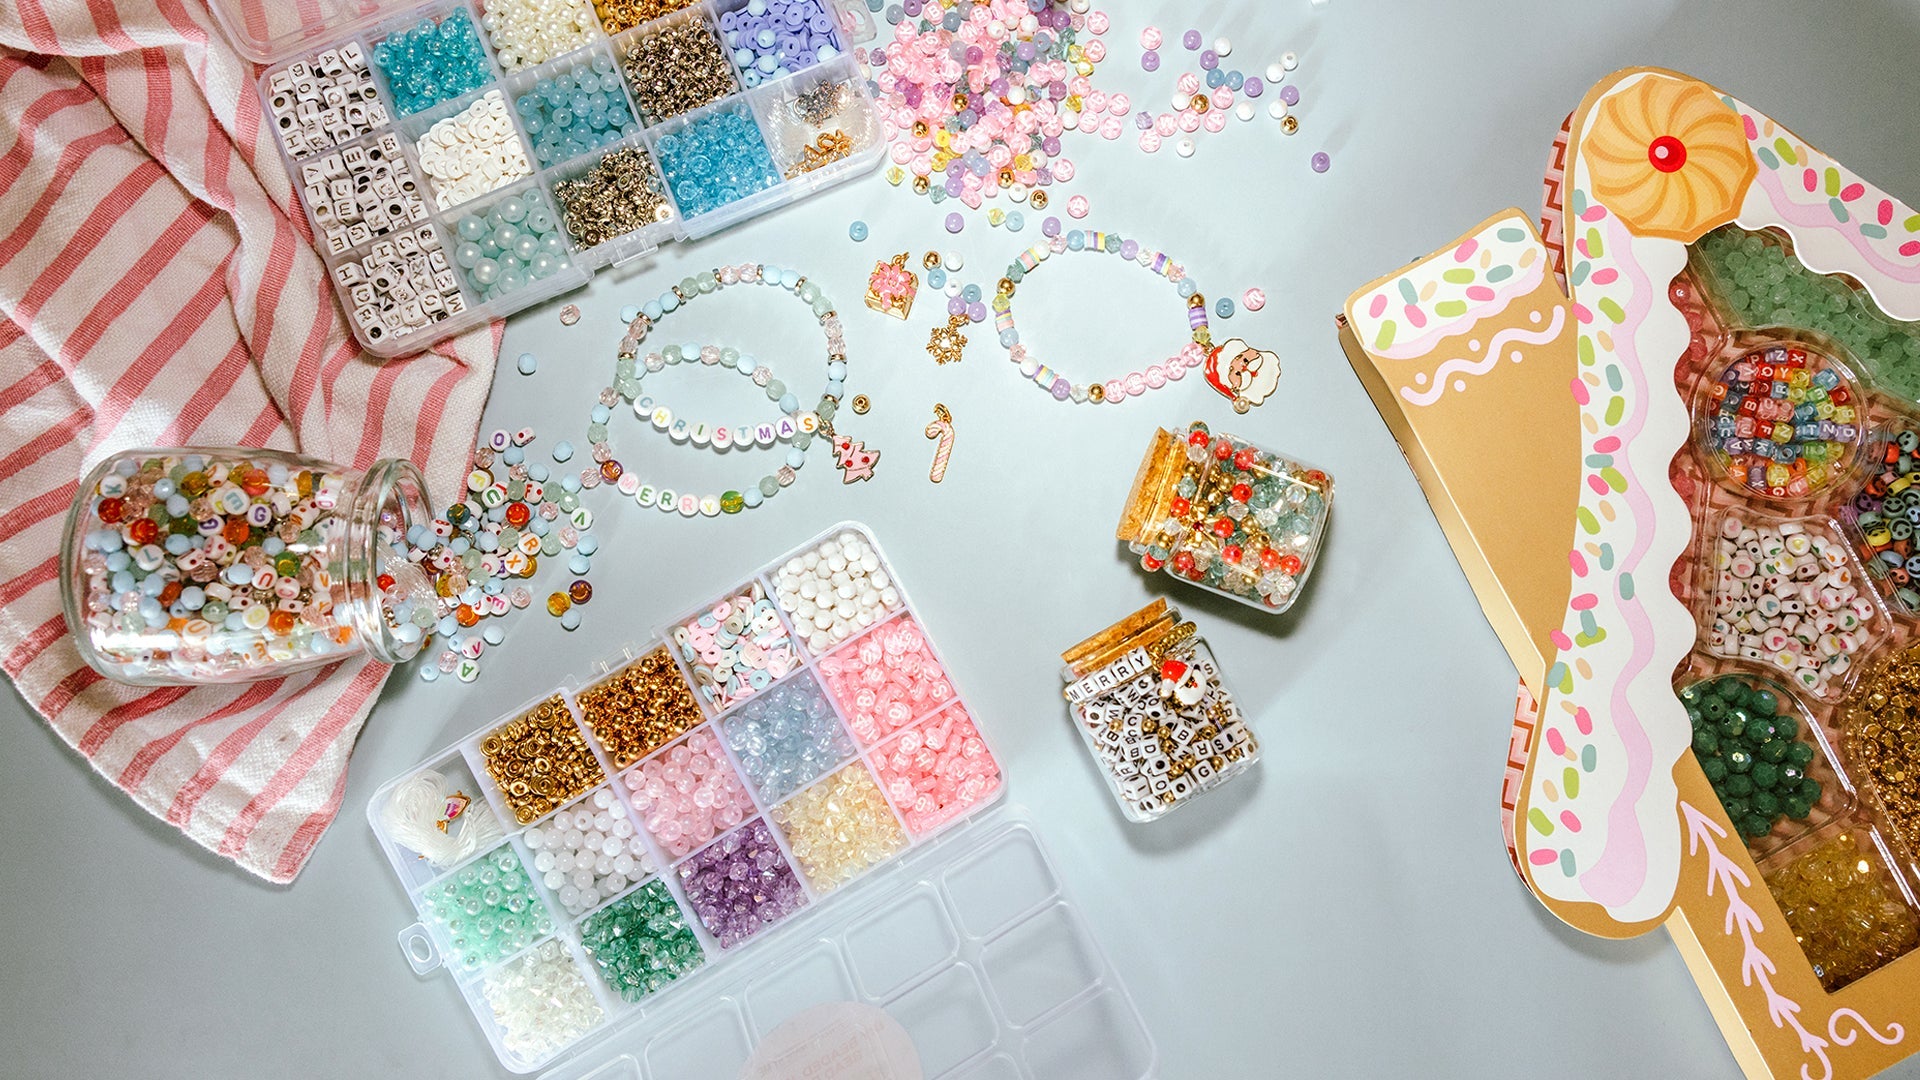
Materials You’ll Need
Before you start, gather your supplies. You can find everything you need in one place with Jewelry Made By Me’s DIY beaded bracelet kits, but here’s a quick rundown of the essentials:
-
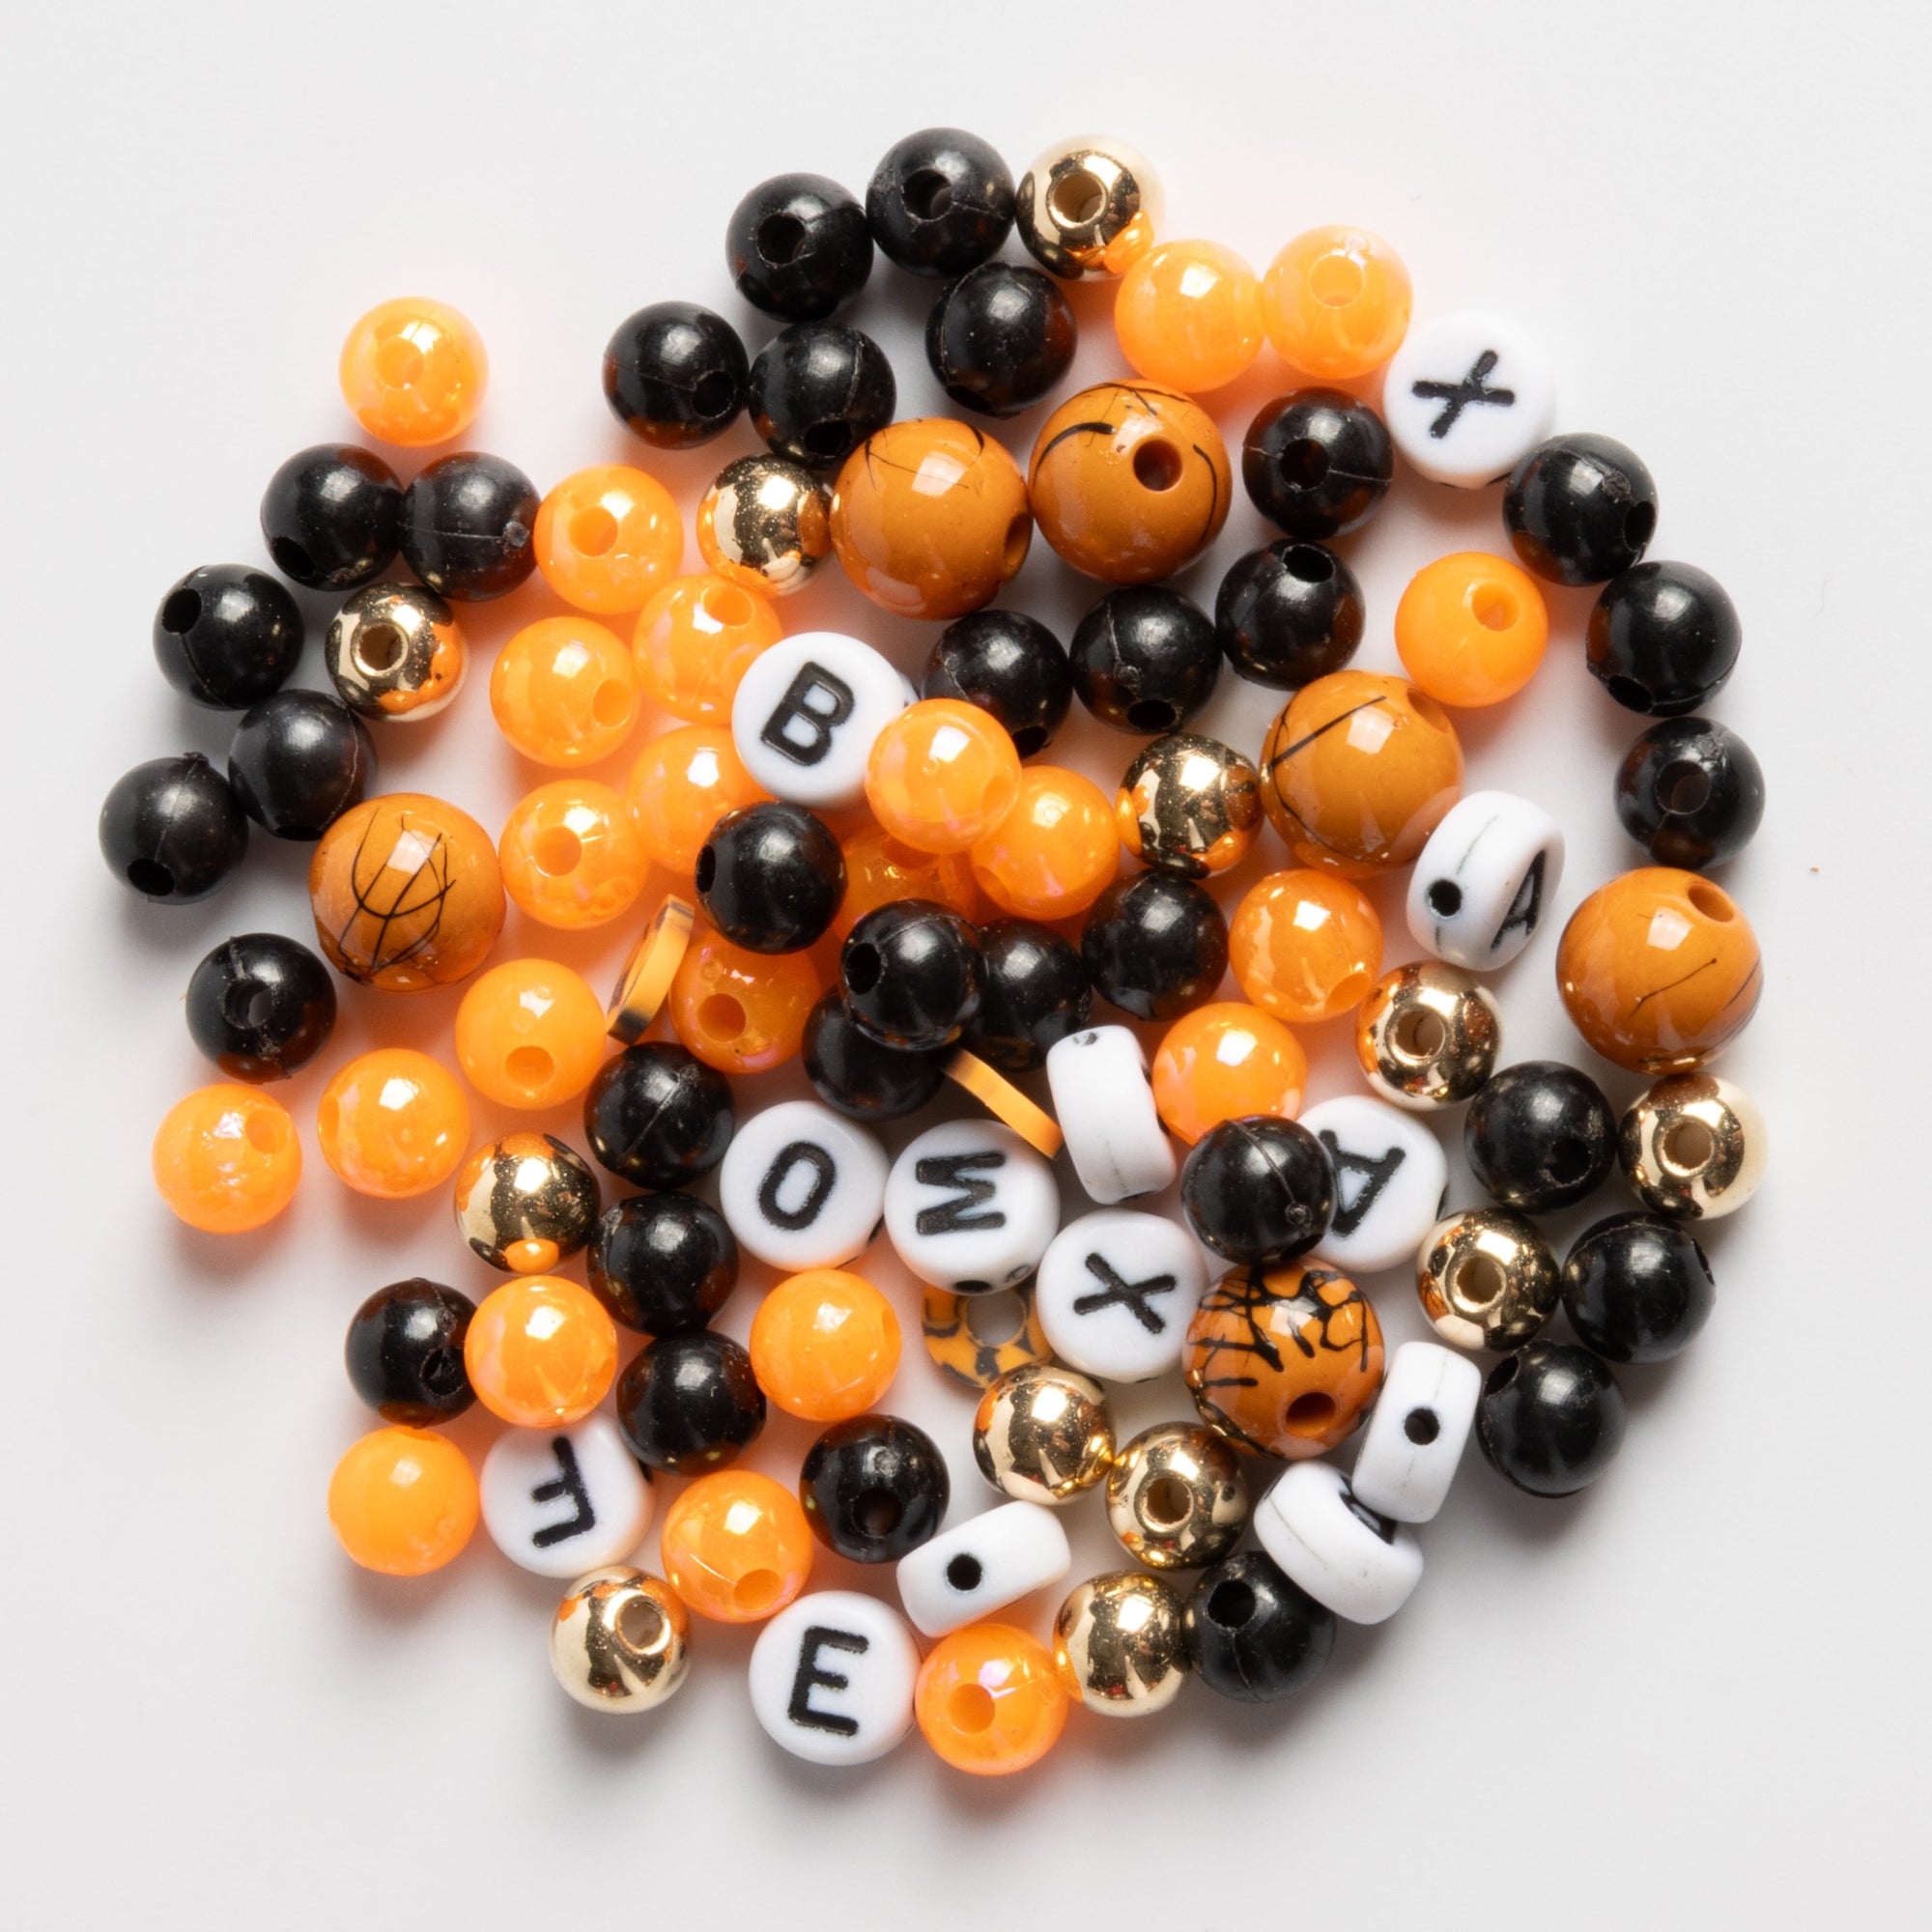
Beads: Choose beads based on your preferred style. Glass beads for a glossy finish, wooden beads for a natural vibe, or metal beads for a chic, modern look.
-
Bracelet Cord: Nylon cord is popular for its durability and smooth texture. Waxed cotton or leather cords offer a more rustic feel.
-
Scissors: To cut your cord.
-
Tape or Clipboard: To hold your bracelet steady while you work.
-
Optional: Bead stopper or small clips to keep beads from sliding off as you work.
Step-by-Step Guide to Making Your Adjustable Beaded Bracelet
Step 1: Measure and Cut Your Cord
Cut two pieces of cord. One should be about 12 inches long (this is your main bracelet cord), and the other about 10 inches (used for the adjustable sliding knot). You’ll want extra length to accommodate the knots and adjustments.
Step 2: String Your Beads
Start by folding the longer cord in half and string your chosen beads onto both strands, sliding them towards the center. Make sure the beads are evenly spaced and cover about 3-4 inches of the cord, depending on your wrist size.
Step 3: Secure the Beads
Tie an overhand knot on each end of the beads to keep them in place. These knots act like stoppers so the beads don’t slide around.
Step 4: Create the Sliding Knot
This knot is what makes your bracelet adjustable. Lay the two cords parallel. Take the shorter cord and wrap it tightly around both strands about 1-2 inches from the beads. Wrap it around 4-6 times, then thread the end through the loops you created. Pull tight to form a neat sliding knot.
Repeat this step on the other side to complete the adjustable mechanism.
Step 5: Trim and Finish
Trim any excess cord, but leave a small tail to avoid unraveling. You can secure the ends with a dab of clear nail polish or jewelry glue if desired.
And there you have it, a beautiful, adjustable beaded bracelet made by you!
Tips for Customizing Your Bracelet
-
Mix and match bead sizes and colors for a unique look.
-
Try adding charms between beads for extra personality.
-
Use different knot styles or add multiple sliding knots for advanced designs.
-
Experiment with different cord materials for texture and durability.

Why DIY Beaded Bracelets Are Worth It
Making your own jewelry is not just a fun craft; it’s a creative outlet and a way to wear something truly personal. Adjustable beaded bracelets are quick to make, affordable, and a fantastic introduction to jewelry making. Plus, handmade bracelets make heartfelt gifts that friends and family will cherish.
Shop Jewelry Made By Me for Your DIY Beaded Bracelet Kits
If you’re ready to start crafting but want to skip the hassle of gathering individual supplies, Jewelry Made By Me has you covered. Our DIY beaded bracelet kits include carefully curated beads, durable cords, and easy-to-follow instructions, everything you need to make stunning adjustable bracelets at home.
Explore our kits today and unleash your creativity with Jewelry Made By Me. Whether you’re a beginner or a seasoned maker, we’ve got the perfect kit for you.
Conclusion
Adjustable beaded bracelets are stylish, functional, and a joy to make. With just a few materials and simple techniques, you can craft beautiful bracelets tailored to your style and wrist size. Ready to start your DIY jewelry journey? Grab a kit from Jewelry Made By Me and make your next bracelet masterpiece!