Creating bead bracelets is not only a fun DIY activity but also a great way to bring friends together for a memorable gathering. Whether you're a crafting novice or a seasoned jewelry maker, hosting a bead bracelet-making party can be an enjoyable experience for everyone involved. In this guide, we’ll walk you through everything you need to know to host a successful bead bracelet-making party.

Planning Your Bead Bracelet Party
The first step to hosting a bead bracelet-making party is careful planning. Here’s what you need to consider:
Choose a Date and Time
Select a date and time that works for most of your friends. It’s best to send out invitations a few weeks in advance to ensure that everyone has enough time to plan. Consider hosting the party on a weekend afternoon or evening when people are likely to be free.
Decide on the Venue
Your home is a great place to host the party, especially if you have a spacious living room or dining area. Alternatively, you can consider renting a community room or using a local craft studio. Make sure there’s enough space for everyone to work comfortably.
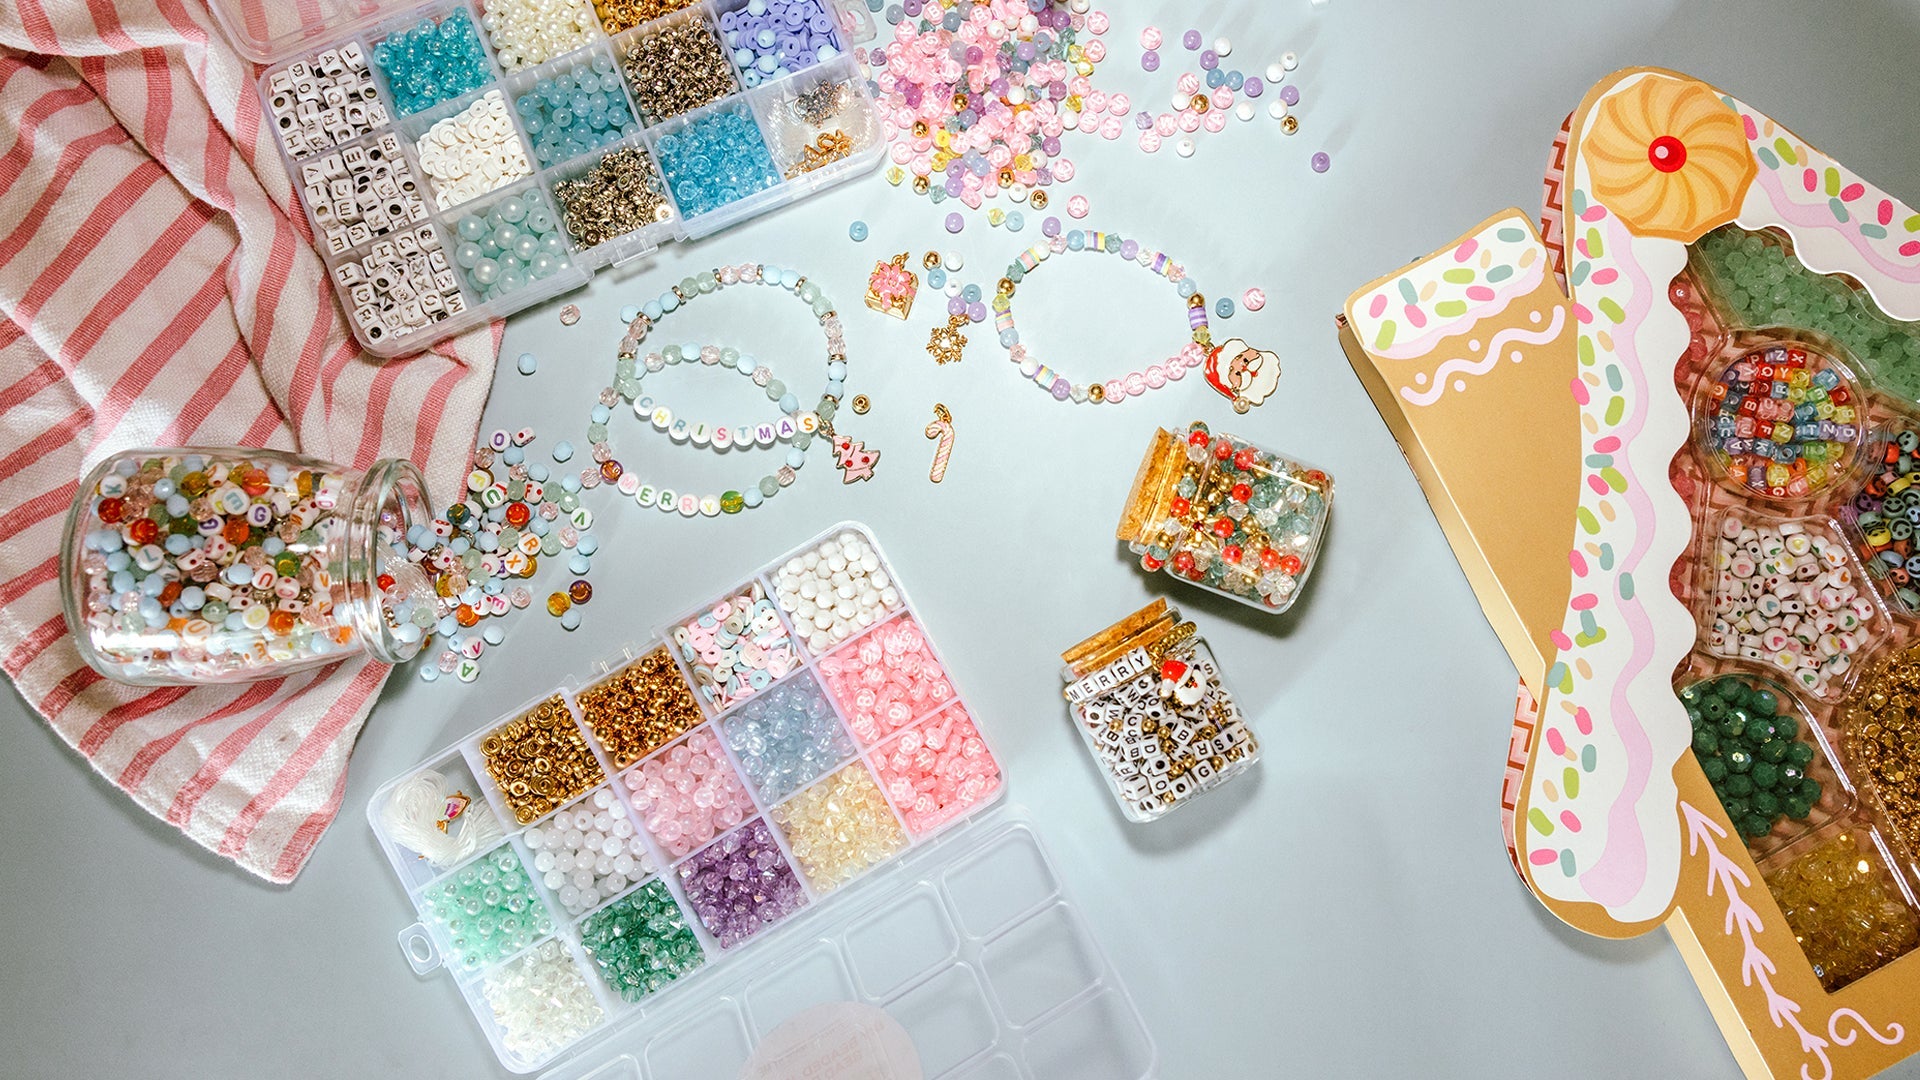
Gather the Supplies
Essential supplies you’ll need include:
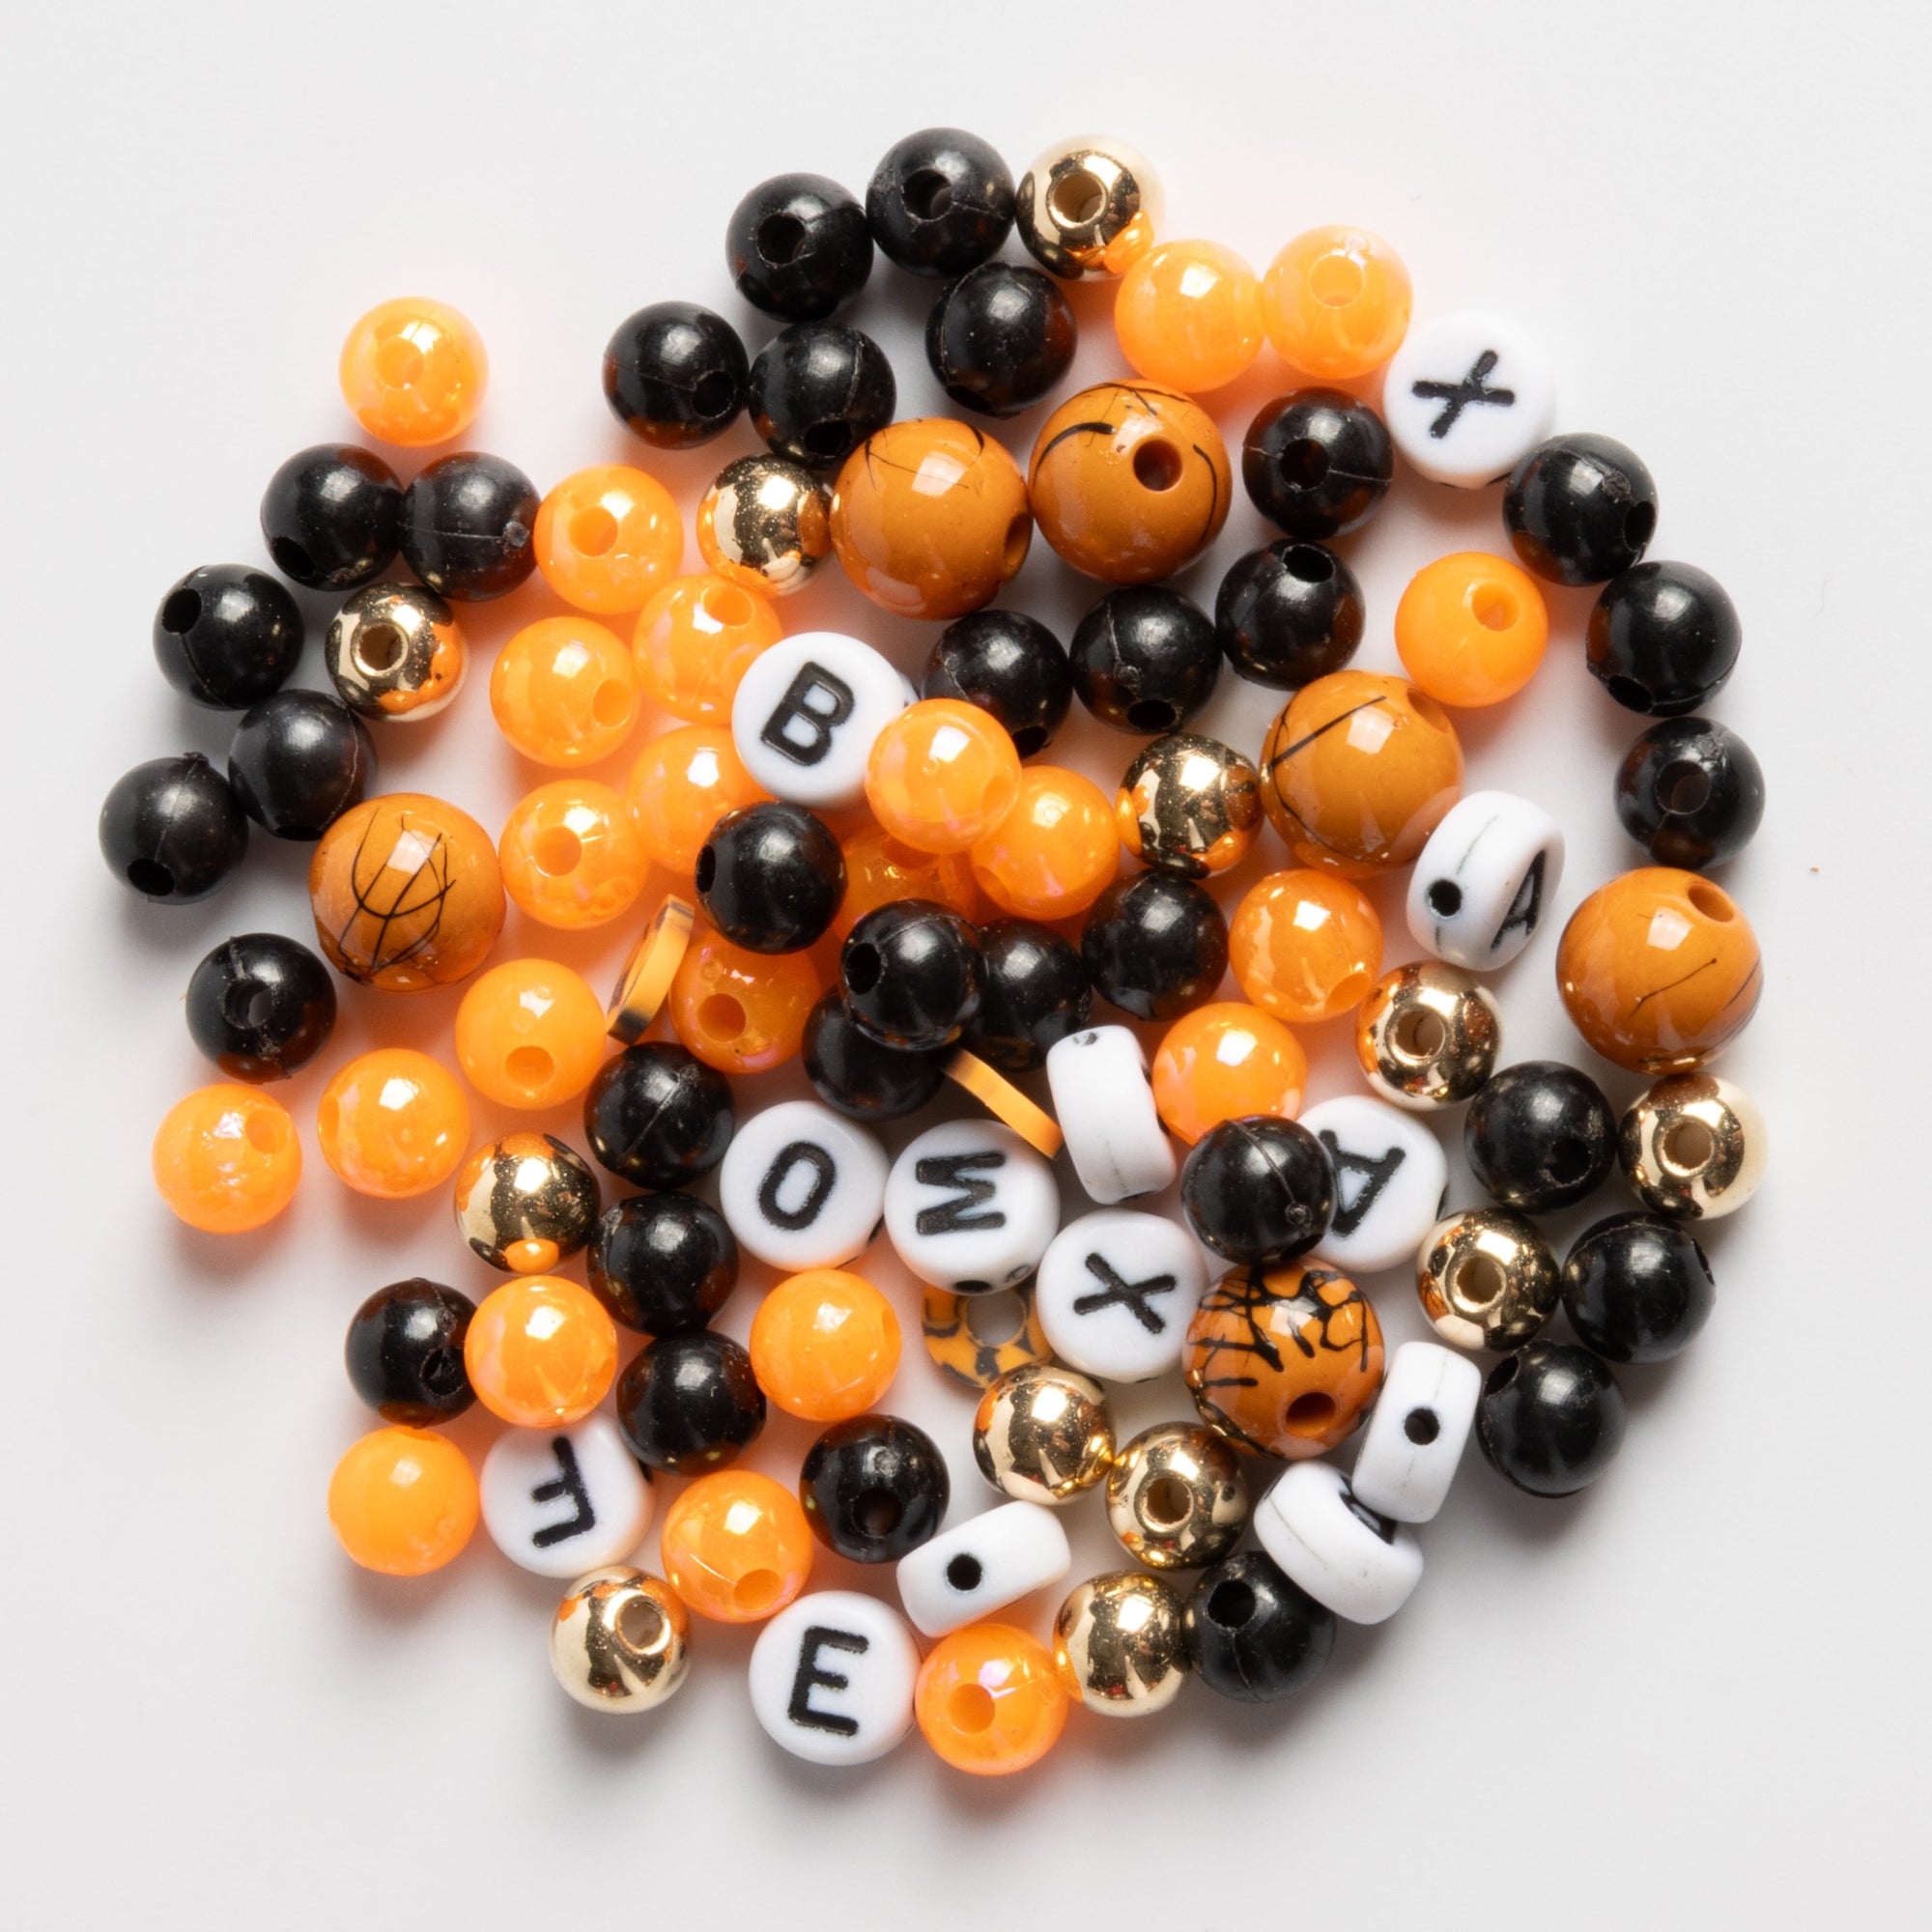
- Assorted beads (in various shapes, sizes, and colors)
- Elastic cord or wire for stringing
- Scissors
- Crimp beads and crimping tools
- Clasps (optional)
- Bead trays or small containers to organize beads
You can purchase these items from craft stores or online retailers. Buying in bulk might save you money if you’re expecting a large group.
Set a Theme
While a theme isn’t necessary, it can add an extra layer of fun to your party. Consider themes like "Tropical Paradise," with bright and colorful beads, or "Bohemian Chic," featuring earth tones and wooden beads. A theme can help guide the selection of beads and decorations.
Setting Up for the Party
Once you've got your supplies and venue ready, it's time to set up for the big day.
Organize Your Beads and Tools
Arrange the beads in trays or bowls so that they’re easily accessible to your guests. Organizing beads by color or type can help your friends find what they need more efficiently. Make sure all tools are within reach and that there are enough scissors and crimping tools for everyone.
Prepare the Space
Set up tables and chairs to accommodate all your guests. Cover tables with tablecloths to protect them from spills or scratches. You might also want to set up a separate area for snacks and drinks so that the crafting space doesn’t get too crowded.
Create an Inspiration Station
Set up an inspiration station with examples of finished bead bracelets to spark creativity. You can also provide magazines or printouts with design ideas. Encourage guests to experiment with different patterns and color combinations.

Hosting the Party
Now that everything is set up, it’s time to welcome your guests and start the party.
Welcome Your Guests
Greet your friends as they arrive and show them to the crafting area. Provide a brief overview of the supplies available and how to use the tools. If any of your friends are new to bracelet-making, offer a quick demonstration on how to start.
Encourage Creativity
Remind your guests that there are no rules when it comes to designing their bracelets. Encourage them to mix and match beads, try new techniques, and create something truly unique. Offer guidance if someone needs help but let everyone enjoy the process at their own pace.
Keep the Energy Up
Play some background music to keep the energy lively. Consider creating a playlist with a mix of upbeat and relaxing tunes to match the mood. If your friends enjoy games, you can introduce fun challenges like a timed bracelet-making contest.
Provide Refreshments
Keep your guests energized with a selection of snacks and drinks. Finger foods like cheese plates, fruit skewers, and mini sandwiches are ideal as they’re easy to eat without interrupting the crafting. Don’t forget to offer a variety of beverages, including non-alcoholic options.
Wrapping Up the Party
As the party winds down, make sure everyone leaves with a smile and their new creations.
Showcase the Finished Bracelets
Encourage your friends to showcase their completed bracelets. Set up a mini "gallery" where everyone can display their work and admire each other’s creativity. Consider taking photos to capture the moment and share them with your guests later.
Send Guests Home with a Goodie Bag
As a token of appreciation, prepare goodie bags for your friends to take home. Include small items like extra beads, elastic cords, or a DIY bracelet kit. This gesture will leave a lasting impression and encourage your guests to continue crafting on their own.
Clean Up Together
Invite your guests to help with the cleanup process. Many hands make light work, and it can be a nice way to extend the social aspect of the gathering. Once everything is tidied up, take a moment to relax and enjoy the satisfaction of a successful party.
Conclusion
Hosting a bead bracelet-making party with friends is a wonderful way to bond, unleash creativity, and take home a handmade treasure. With careful planning, the right supplies, and a welcoming atmosphere, you can create an unforgettable experience for everyone involved. So gather your friends, get your beads ready, and enjoy the art of bracelet making!
Shop Jewelry Made By Me for Your DIY Bead Jewelry!
Ready to take your bead bracelet-making skills to the next level? Explore our exclusive collection of high-quality beads, tools, and DIY kits at Jewelry Made By Me! Whether you're looking for unique beads to inspire your next creation or complete kits to get started, we have everything you need to unleash your creativity. Visit our website today and start crafting beautiful, personalized jewelry that reflects your style!