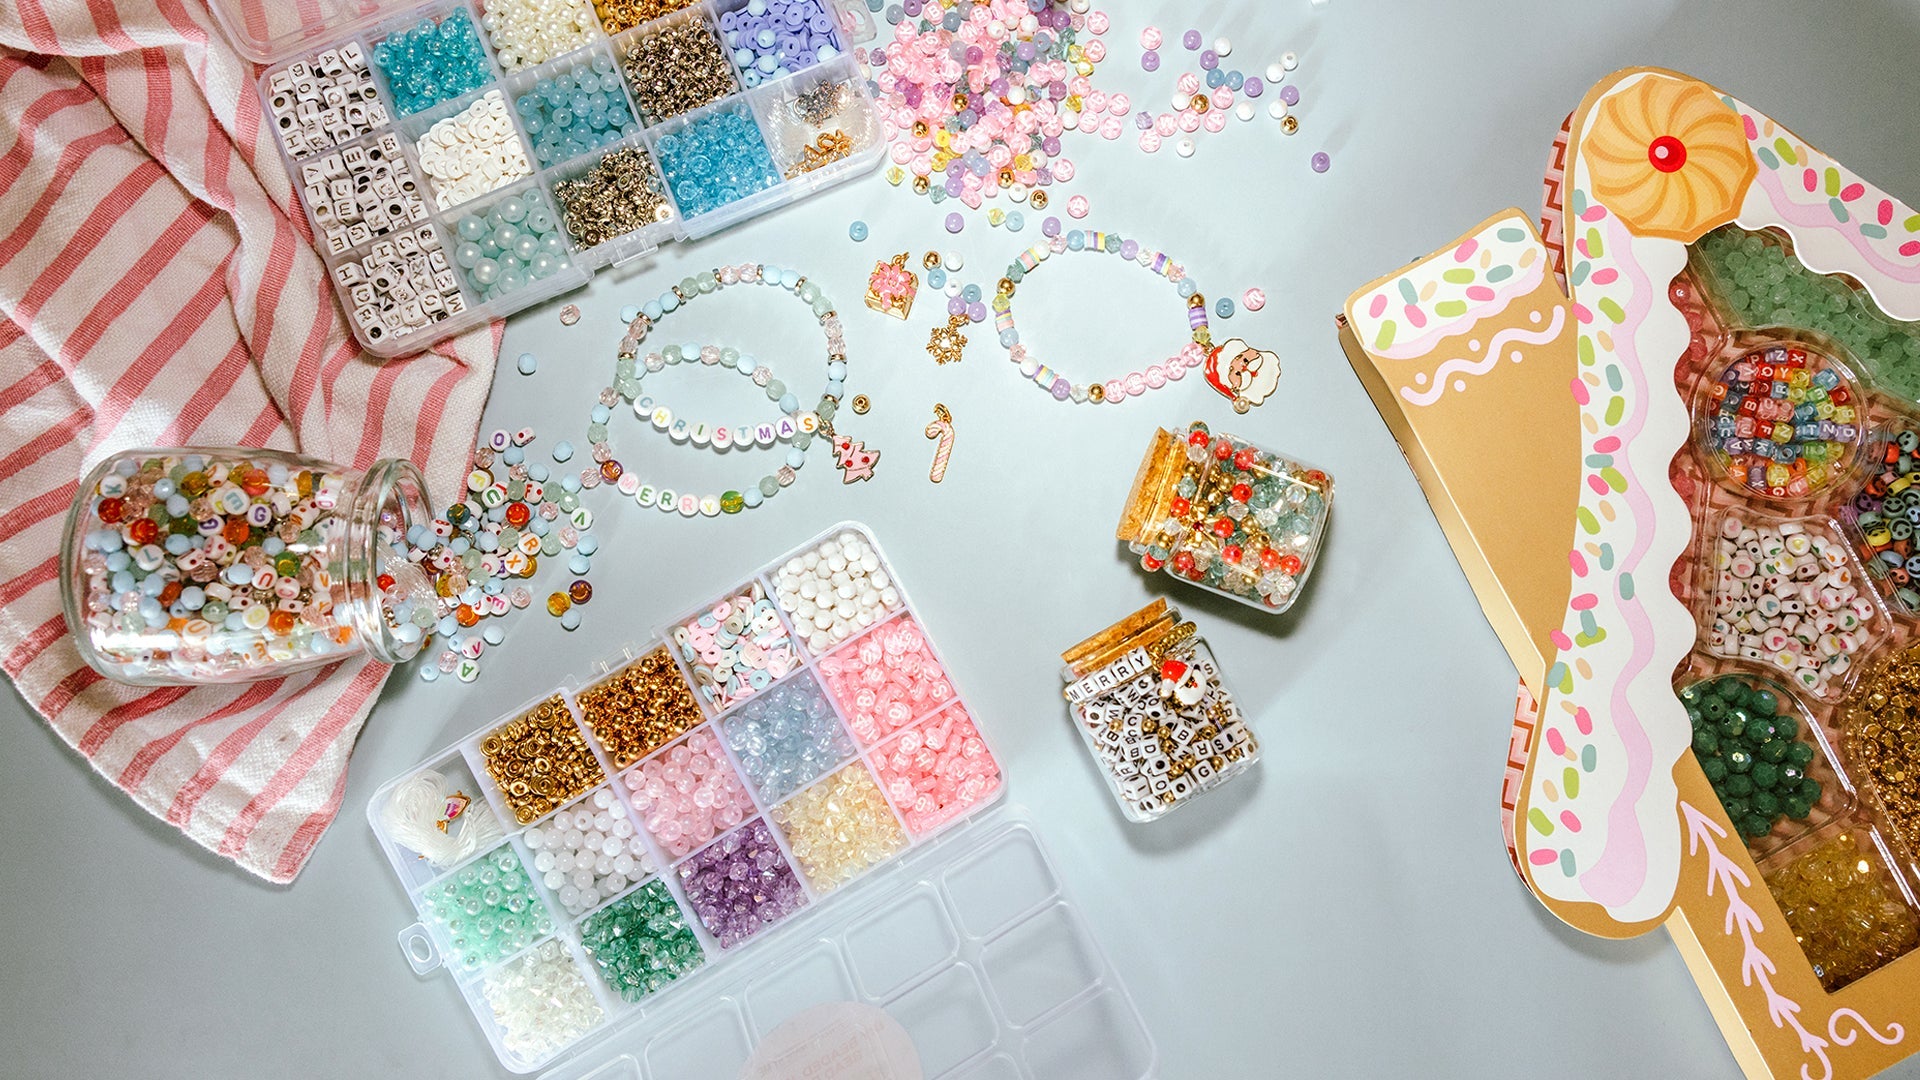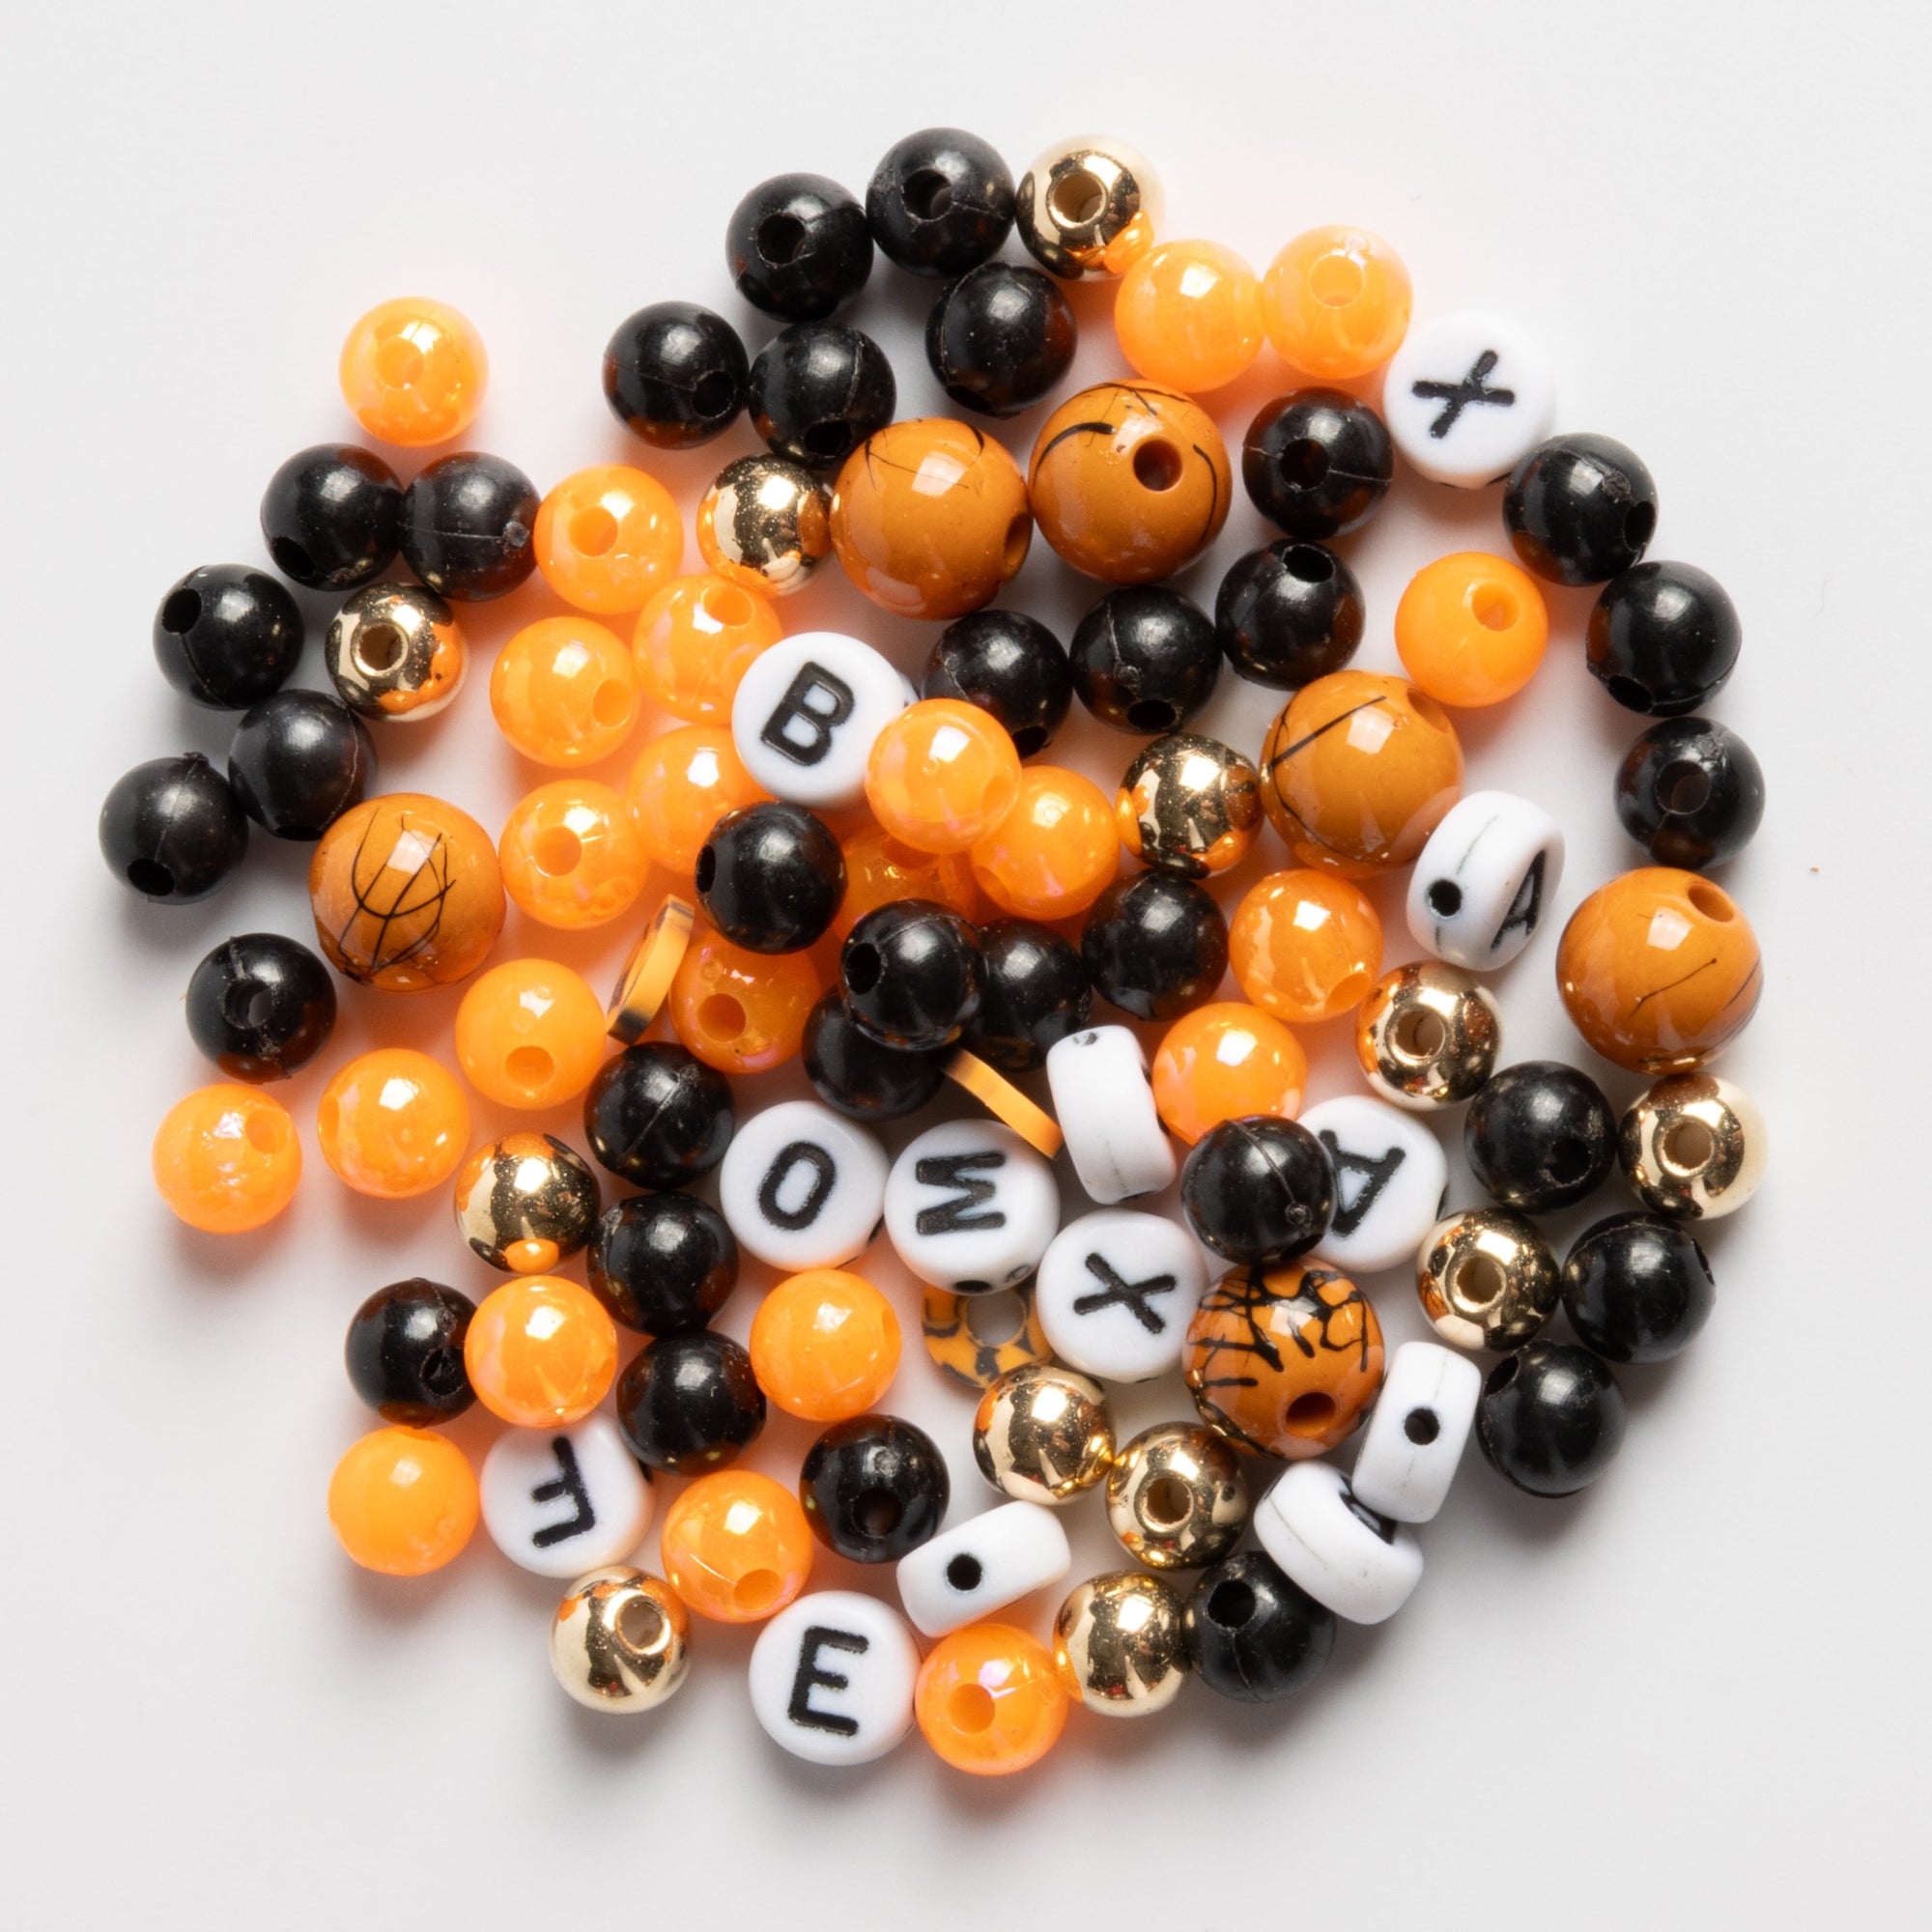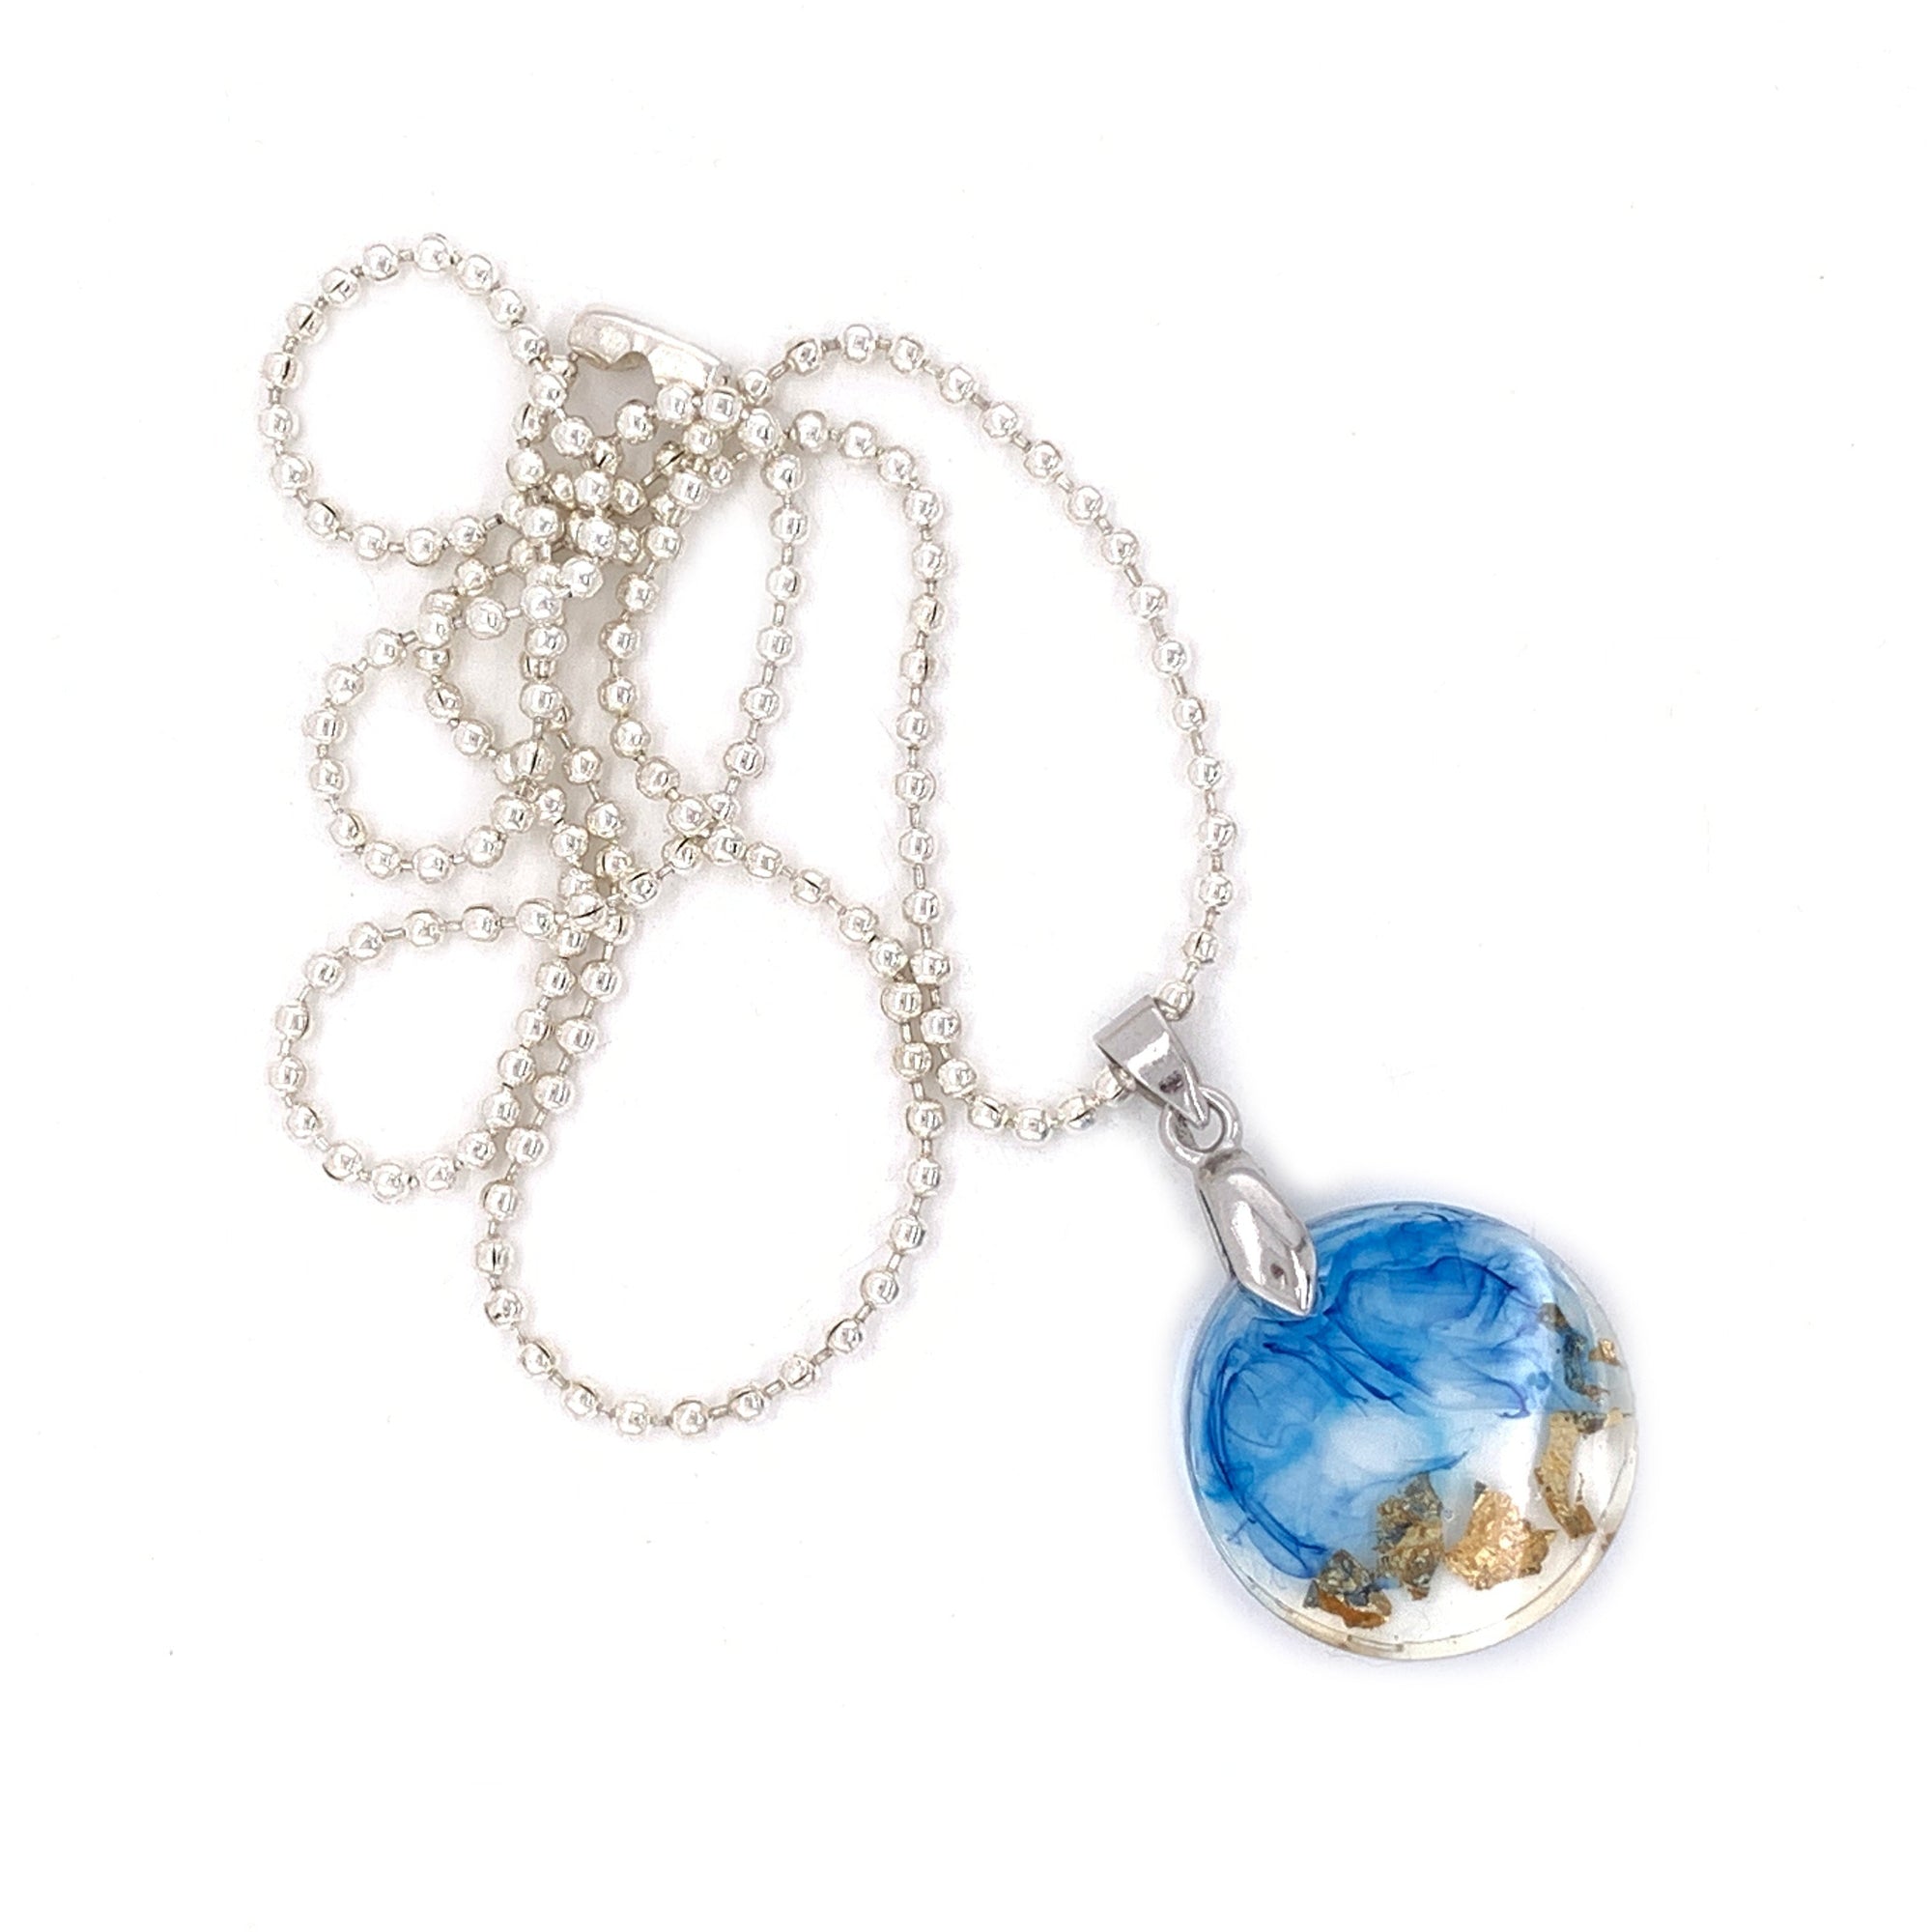
Creating resin jewelry can be a rewarding and creative hobby, allowing you to craft unique pieces that capture your personal style. Whether you're designing necklaces, earrings, or pet charms, achieving a crystal-clear resin finish is crucial for showcasing the beauty of your creations. In this guide, we'll walk you through the steps to master a pristine resin finish, ensuring that your jewelry pieces shine with professional quality.
Understanding Resin Basics
Before diving into the process, it's important to have a solid understanding of the resin itself. Resin is a versatile material used in various crafts, known for its glass-like transparency. When working with resin, you typically mix two components: the resin and the hardener. The key to a crystal-clear finish lies in the quality of the resin you choose and how well you mix it.
Choosing the Right Resin
When selecting resin for jewelry making, look for a product specifically designed for creating a crystal-clear finish. High-quality resins are less likely to yellow over time and will provide the clarity you need for your pieces. Popular options include epoxy resin and UV resin, each with its own benefits. Epoxy resin is great for larger projects, while UV resin cures quickly under a UV light, making it ideal for smaller, detailed work like pet charms.

Preparing Your Workspace
Creating a clean and organized workspace is essential for a successful resin project. Dust and debris can easily become trapped in the resin, causing imperfections in the finish. Here are some tips for preparing your workspace:
- Clean Surface: Wipe down your work area to ensure it's free of dust and particles.
- Ventilation: Work in a well-ventilated space to avoid inhaling fumes.
- Protective Gear: Use gloves and a mask to protect your skin and lungs from resin exposure.
Mixing Resin Properly
Achieving a crystal-clear finish starts with properly mixing your resin and hardener. Follow these steps for the best results:
Measure Accurately
Carefully measure the resin and hardener according to the manufacturer's instructions. Precision is key, as incorrect ratios can lead to a cloudy finish or incomplete curing.
Mix Thoroughly
Stir the mixture slowly and thoroughly for the recommended time. Fast stirring can introduce air bubbles, which are the enemy of a clear finish. Scrape the sides and bottom of the mixing container to ensure all components are fully integrated.
Pouring and Curing
Once your resin is mixed, it's time to pour it into your molds. Here are some tips to ensure a smooth finish:
Pour Slowly
Pour the resin slowly into your mold to minimize air bubbles. If bubbles do appear, gently pass a heat gun or torch over the surface to pop them. Be cautious not to overheat the resin, as this can cause it to yellow or burn.
Let It Set
Allow the resin to cure in a dust-free environment. The curing time will depend on the type of resin used, so refer to the manufacturer's guidelines. During this time, avoid moving or disturbing the molds to prevent imperfections.
Finishing Touches
Once your resin has fully cured, it's time to add the finishing touches that will make your jewelry stand out.
Sanding and Polishing
If the surface of your resin piece is uneven or has rough edges, gently sand it with fine-grit sandpaper. Follow up with a polishing compound to restore the shine and clarity of the resin. This step is especially important for pet charms, where smoothness is crucial for comfort and aesthetics.
Adding Embellishments
For a personalized touch, consider adding embellishments to your resin jewelry. This could include glitter, dried flowers, or small charms. Just ensure any additions are securely embedded in the resin before it fully cures.

Troubleshooting Common Issues
Despite your best efforts, issues can arise when working with resin. Here are some common problems and how to address them:
Cloudy Finish
A cloudy finish can result from improper mixing or curing conditions. To prevent this, ensure you're measuring and mixing accurately, and curing in a stable environment.
Sticky Surface
If your resin feels sticky or tacky, it may not have cured completely. This can occur if the resin and hardener ratios are incorrect. Unfortunately, once resin cures improperly, it may need to be removed and redone.
Bubbles
Air bubbles are a common challenge when working with resin. To minimize bubbles, mix slowly, pour carefully, and use a heat gun or torch to eliminate any that appear.
Conclusion
Creating resin jewelry with a crystal-clear finish requires attention to detail and patience, but the results are well worth the effort. By choosing high-quality resin, preparing your workspace, and following proper mixing and curing techniques, you'll be able to craft stunning pieces that shine with clarity. Whether you're making pet charms or intricate necklaces, a flawless resin finish will elevate your creations to professional standards.
Embrace the creativity and precision of resin jewelry making, and soon you'll be showcasing your unique designs with pride.
Shop Jewelry Made By Me
Ready to showcase your unique style with stunning resin jewelry? Explore our collection of handcrafted pieces that feature crystal-clear finishes and personalized designs. Each item is made with care and attention to detail, ensuring you receive a one-of-a-kind accessory that reflects your individuality. Don't miss out—shop Jewelry Made By Me now and find the perfect piece to elevate your jewelry collection!