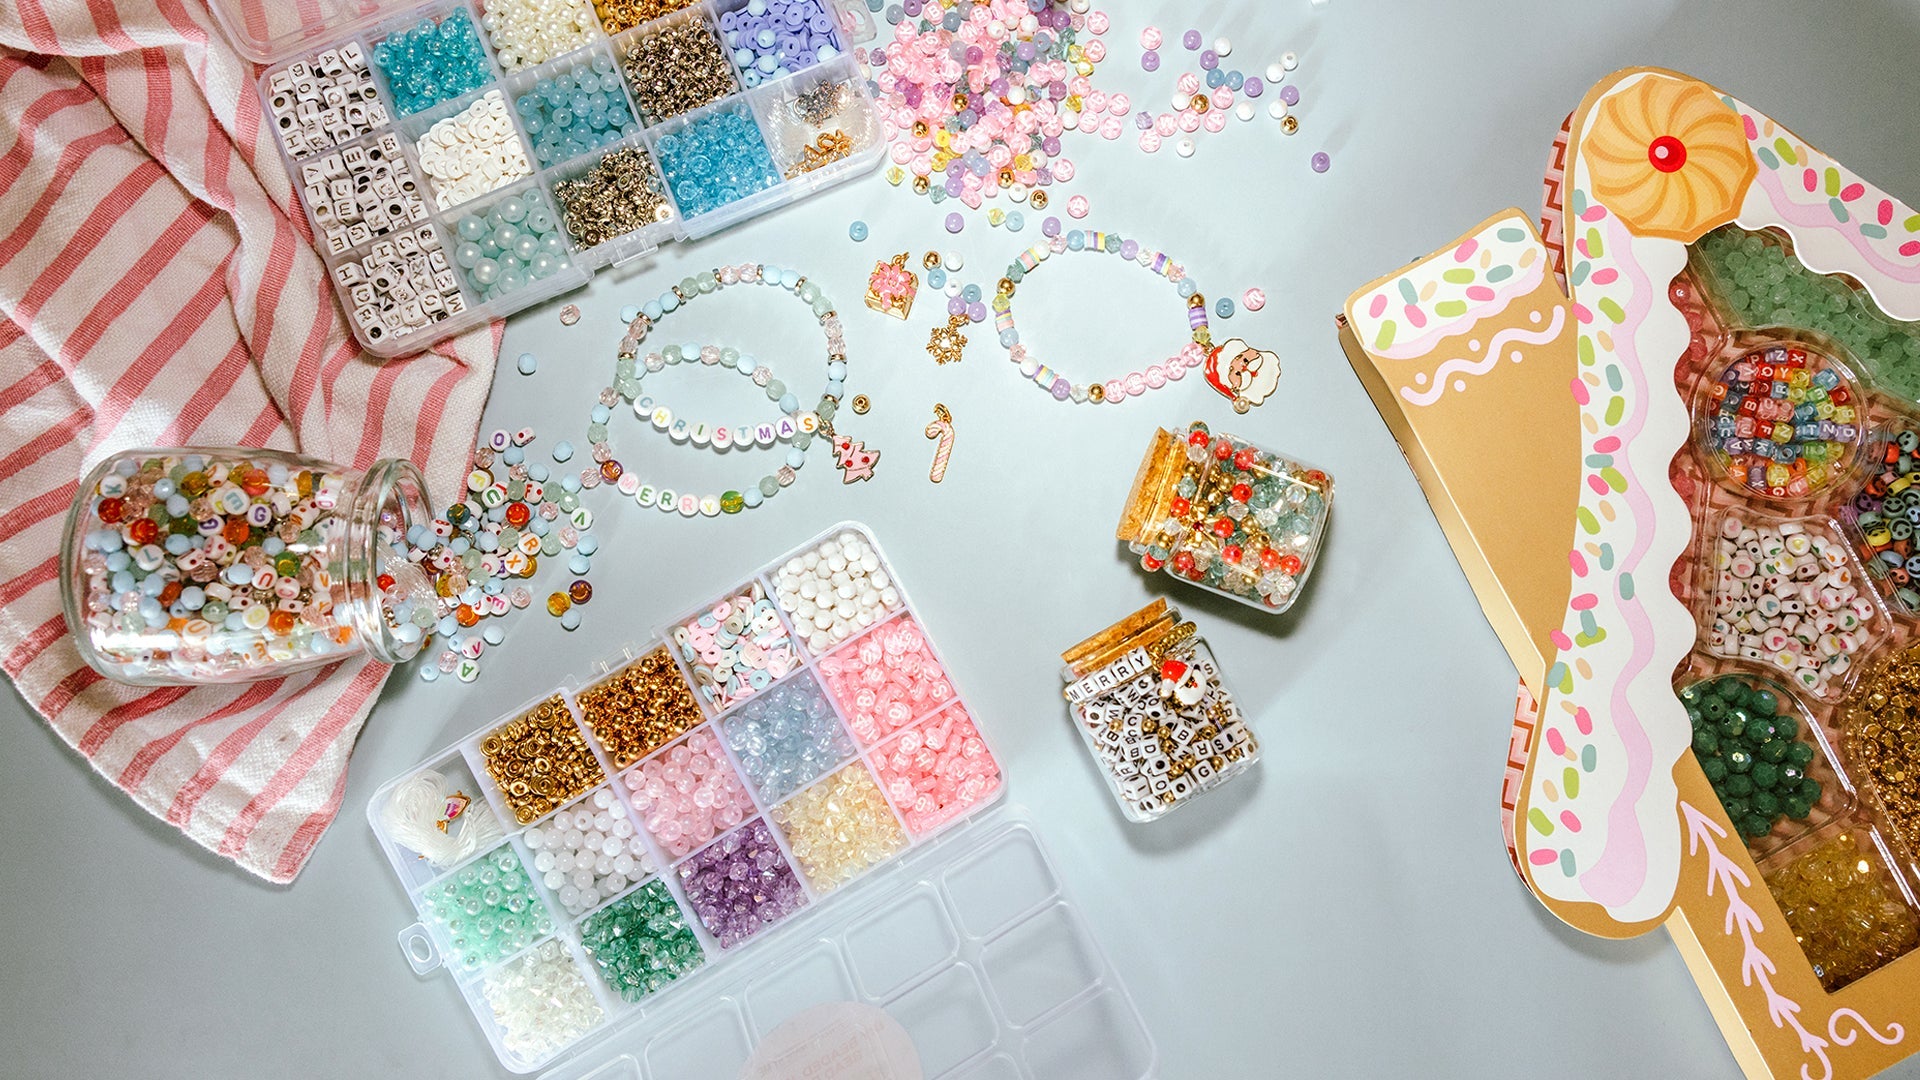
Are you ready to transform a simple DIY bracelet kit into a cherished keepsake? Whether you're crafting beaded bracelets, friendship bracelets, or any other type of DIY accessory, adding personal touches can elevate your creation from ordinary to extraordinary. In this guide, we'll walk you through the steps to make your DIY bracelet truly special. Crafting a bracelet is not just about stringing beads together; it's about telling a story and weaving emotions into a tangible piece of art. With a little creativity and thoughtfulness, you can turn a simple accessory into a meaningful keepsake that holds sentimental value for years to come.
Choosing the Right Materials
The first step in creating a unique bracelet is selecting the right materials. The beads, strings, and clasps you choose will set the foundation for your design and overall aesthetic. Quality materials are essential, as they not only enhance the look of your bracelet but also ensure its longevity. Consider investing in high-quality beads and durable strings that will withstand daily wear and tear. The right materials can transform your bracelet from a basic craft project into a piece of wearable art.
Beads: The Heart of Your Design
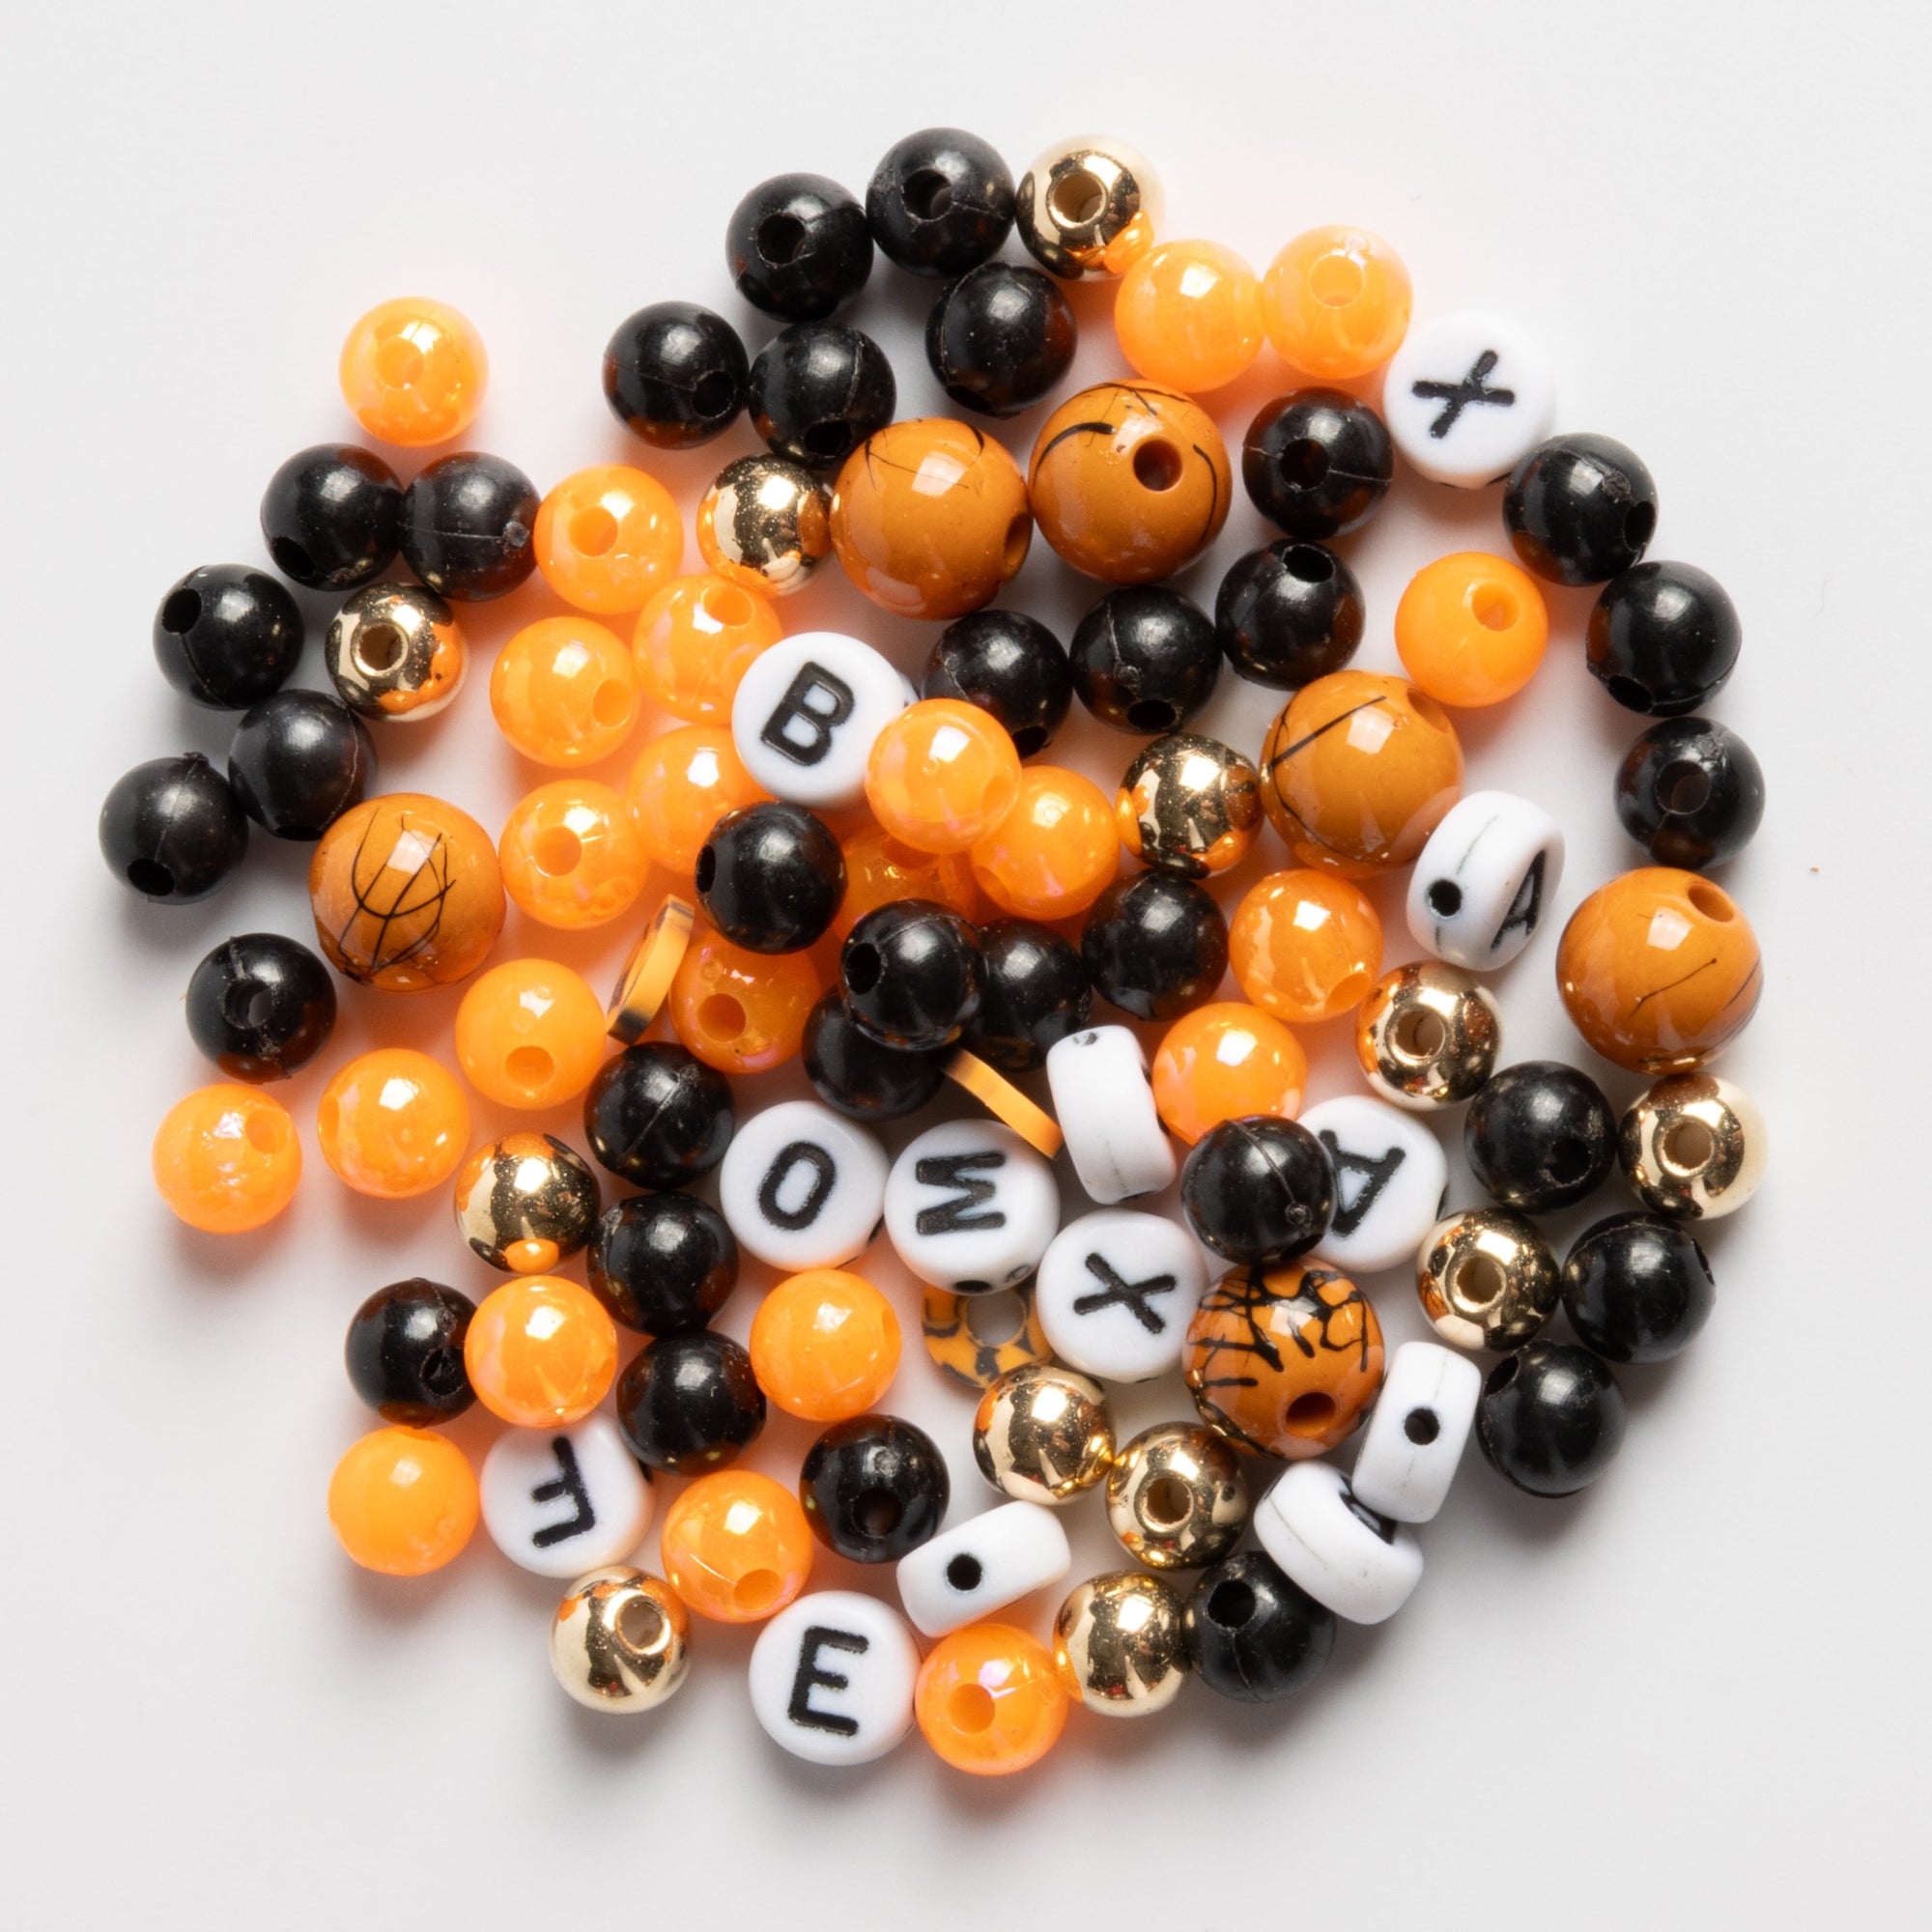
When selecting beads, think about the message or feeling you want your bracelet to convey. Do you want it to be vibrant and playful, or elegant and understated? Consider using a mix of textures and sizes to add visual interest. Glass beads, wooden beads, and gemstones each bring their own charm and can be combined to reflect your personal style. Additionally, think about incorporating unique bead shapes, such as teardrop or faceted beads, to add a dynamic element to your design. Mixing and matching different materials can create a captivating bracelet that truly stands out.
Strings and Clasps: The Backbone of Your Bracelet
The type of string you use will affect the bracelet's durability and comfort. Elastic strings are great for easy wear, while leather cords add a rustic touch. For clasps, consider magnetic closures for convenience or toggle clasps for a classic look. Ensure that the materials you choose can withstand everyday wear. Experiment with different string colors and textures to complement your bead selection, creating a harmonious and cohesive design. Don't be afraid to mix metals for clasps to add a modern twist, or use antique finishes for a vintage feel.

Adding Personal Touches
Infusing your bracelet with personal elements is key to making it memorable. Here are some ideas to inspire you:
Incorporate Meaningful Symbols
Add beads or charms that hold significance to you or the person who will wear the bracelet. For example, include a charm that represents a shared interest or a bead in the recipient's birthstone color. These small details can make a big impact and turn the bracelet into a meaningful keepsake. Consider using symbols that represent important life events or milestones, such as hearts for love, anchors for stability, or stars for achievement. By thoughtfully selecting symbols that resonate with the wearer, you create a bracelet that tells a personal story.
Use Color to Tell a Story
Colors can evoke emotions and memories. Think about the feelings you want your bracelet to inspire. For a friendship bracelet, you might use colors that remind you of fun times spent together. Alternatively, choose colors that align with the wearer's personal style or favorite hues. Explore color psychology to convey specific emotions, such as blue for tranquility or red for passion. By carefully selecting your color palette, you can create a bracelet that not only looks beautiful but also evokes a meaningful emotional response.
Include Personalized Engravings
If you want to take personalization a step further, consider adding engraved charms or beads with initials, dates, or short messages. This can be a heartfelt way to commemorate a special occasion or relationship. Engravings can be done on metal or wood beads, offering a subtle yet powerful personal touch. Consider engraving motivational quotes or significant dates that hold sentimental value, making your bracelet a timeless reminder of cherished memories and connections.
Mastering Techniques for a Professional Finish
Creating a bracelet that looks polished and professional involves mastering a few key techniques. These techniques not only enhance the aesthetic appeal of your bracelet but also ensure its durability and functionality. With practice and patience, you can achieve a professional finish that rivals store-bought jewelry.
Knotting: Secure and Stylish
Proper knotting is crucial for ensuring your bracelet stays intact. For beaded bracelets, use techniques like the surgeon's knot or square knot to secure your design. Practice makes perfect, so take your time to ensure each knot is tight and even. Experiment with decorative knotting techniques, such as macramé, to add an intricate and stylish element to your bracelet. Knotting can also be used to create adjustable closures, allowing for a customizable fit that enhances comfort and wearability.
Crimping: The Art of Finishing
For bracelets that use metal clasps, crimping is essential. A crimp bead or tube is used to hold the ends of the string securely. Use crimping pliers to flatten the crimp, ensuring it grips the string tightly. This will give your bracelet a neat and professional finish. Mastering crimping techniques can also open up possibilities for adding multi-strand designs, allowing you to create complex and layered bracelets that are both elegant and sturdy.
Balancing Bead Patterns
When designing your bracelet, aim for a balanced pattern. Symmetry can create a sense of harmony, while asymmetry can add interest and a modern flair. Lay out your beads before stringing them to visualize the final design and make adjustments as needed. Consider using a bead board to experiment with different arrangements and patterns before committing to a final design. Balancing bead patterns involves understanding the visual weight of different beads and distributing them evenly to create a cohesive and visually pleasing bracelet.

Packaging and Presentation
Once your bracelet is complete, consider how you'll present it. Thoughtful packaging can enhance the gifting experience and make your bracelet feel even more special. Presentation is an opportunity to showcase the care and creativity that went into crafting your bracelet, turning the act of giving into a memorable experience.
Choose a Thoughtful Box or Bag
Select a box or bag that complements the bracelet's style. A rustic jute bag might suit a bohemian design, while a sleek velvet box would complement a sophisticated piece. Add a personal touch with a handwritten note or a tag that explains the significance behind your design. Consider eco-friendly packaging options to align with sustainable values, such as recycled paper or reusable pouches. Thoughtful packaging not only protects your bracelet but also elevates the overall presentation, making it a memorable gift.
Create a Lasting Impression
Presentation is about more than just appearance—it's about the story you tell. Consider sharing the inspiration behind your bracelet or the techniques you used. This can add depth to your gift and make it more memorable for the recipient. Personal anecdotes or stories about the creation process can create a deeper emotional connection, transforming your bracelet from a simple accessory into a cherished keepsake. Encourage the recipient to share their own stories or memories associated with the bracelet, creating a meaningful exchange of creativity and sentiment.
Sharing Your Craft with Others
Creating a DIY bracelet is not only a rewarding personal project but also an opportunity to share your creativity with others. Consider hosting a bracelet-making party or workshop to teach friends and family how to make their own keepsakes. Sharing your skills and passion can inspire others and create lasting memories. Organize themed workshops where participants can create bracelets for specific occasions, such as friendship bracelets for a bachelorette party or birthstone bracelets for birthdays. By fostering a creative community, you can encourage others to explore their artistic potential and create their own unique keepsakes.
Conclusion
Turning a DIY bracelet kit into a keepsake is all about adding personal touches and mastering crafting techniques. By carefully selecting materials, incorporating meaningful elements, and presenting your creation thoughtfully, you can craft a bracelet that is not just an accessory but a cherished memory. Whether you're making a friendship bracelet or exploring new designs, let your creativity shine and enjoy the process of creating something truly special. Happy crafting! Remember, the true beauty of a keepsake bracelet lies in the love and care you invest in its creation, making it a timeless reminder of the bonds and memories it represents.
Shop Jewelry Made By Me for Your DIY Bead Jewelry
Ready to start your DIY bracelet journey? Explore our exclusive collection of high-quality beads, strings, and clasps at Jewelry Made By Me! Whether you're crafting a vibrant friendship bracelet or an elegant keepsake, we have everything you need to bring your creative vision to life. Don't miss out on the chance to create something truly special—shop now and let your imagination shine!


