Creating elastic bracelets is a fun and rewarding hobby that allows you to express your creativity and style. Whether you're a beginner or an experienced jewelry maker, mastering the art of elastic bracelet stringing can elevate your craft. In this guide, we'll explore essential tips for achieving elastic bracelet stringing success, ensuring that your creations are both beautiful and durable. From selecting the right materials to finalizing your bracelet with professional touches, these tips will help you produce high-quality pieces every time.
Choosing the Right Elastic Cord
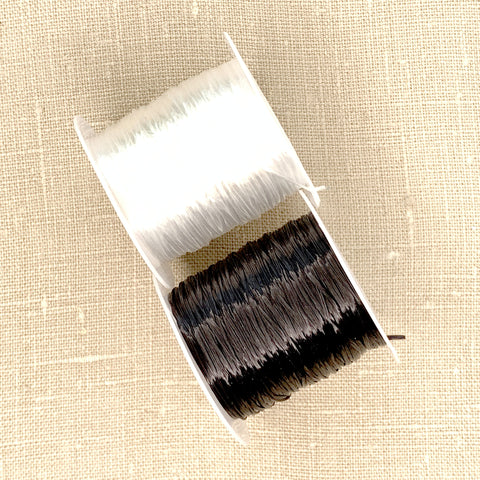
The foundation of any elastic bracelet is the elastic cord itself. Selecting the right type and thickness of cord is crucial for the durability and appearance of your bracelet. The right cord can make a significant difference in how well the bracelet holds up over time and how comfortable it is to wear. It's essential to consider the type of beads you plan to use and how they will interact with the elastic cord.

Types of Elastic Cord
There are several types of elastic cords available, each with its own characteristics:
- Elastic Floss: This type of cord is soft, flexible, and easy to work with. It is ideal for lightweight beads and simple designs. Elastic floss is often made of multiple strands, which gives it a unique texture and stretchability.
- Elastic Thread: Thicker and stronger than elastic floss, elastic thread is suitable for heavier beads and more intricate patterns. It provides more durability and can handle the weight of larger beads without sagging.
- Stretch Magic: A popular choice among jewelry makers, Stretch Magic is a clear, strong, and durable cord that works well with a variety of beads. It is especially favored for its resilience and elasticity, making it a versatile option for many projects.
Cord Thickness
The thickness of your elastic cord should match the size and weight of your beads. As a general rule:
- Use a thinner cord (0.5mm to 0.8mm) for small, lightweight beads. Thinner cords are more flexible and can pass through smaller bead holes, making them ideal for delicate designs.
- Use a thicker cord (1mm to 1.5mm) for larger, heavier beads. Thicker cords provide more support and durability, ensuring that your bracelet maintains its shape and strength over time.
Choosing the right thickness also affects the overall appearance of your bracelet. A well-matched cord enhances the design and ensures the beads are securely held in place.
Preparing Your Materials
Before you start stringing your bracelet, gather all necessary materials and tools to ensure a smooth and efficient process. Preparation is key to avoiding interruptions and ensuring a seamless crafting experience. Having everything you need within reach will help you stay focused and productive.
Beads
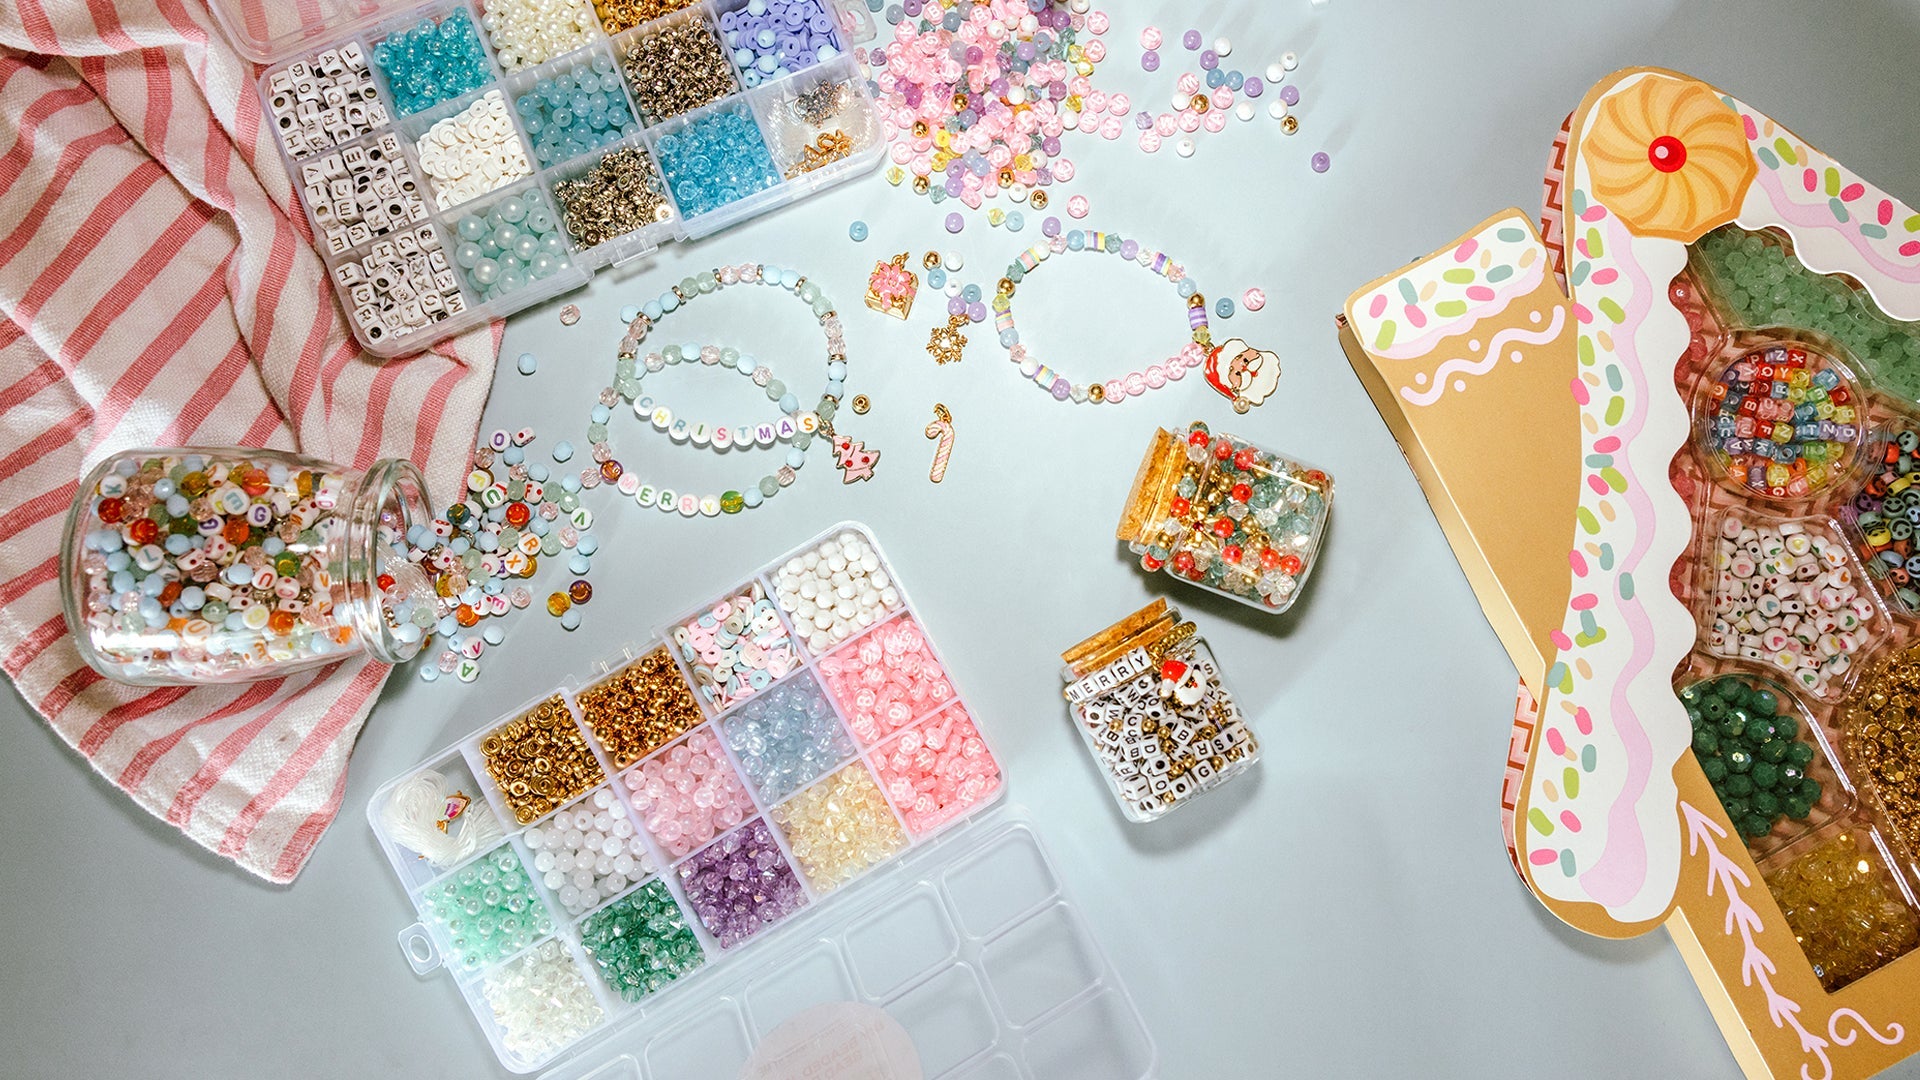
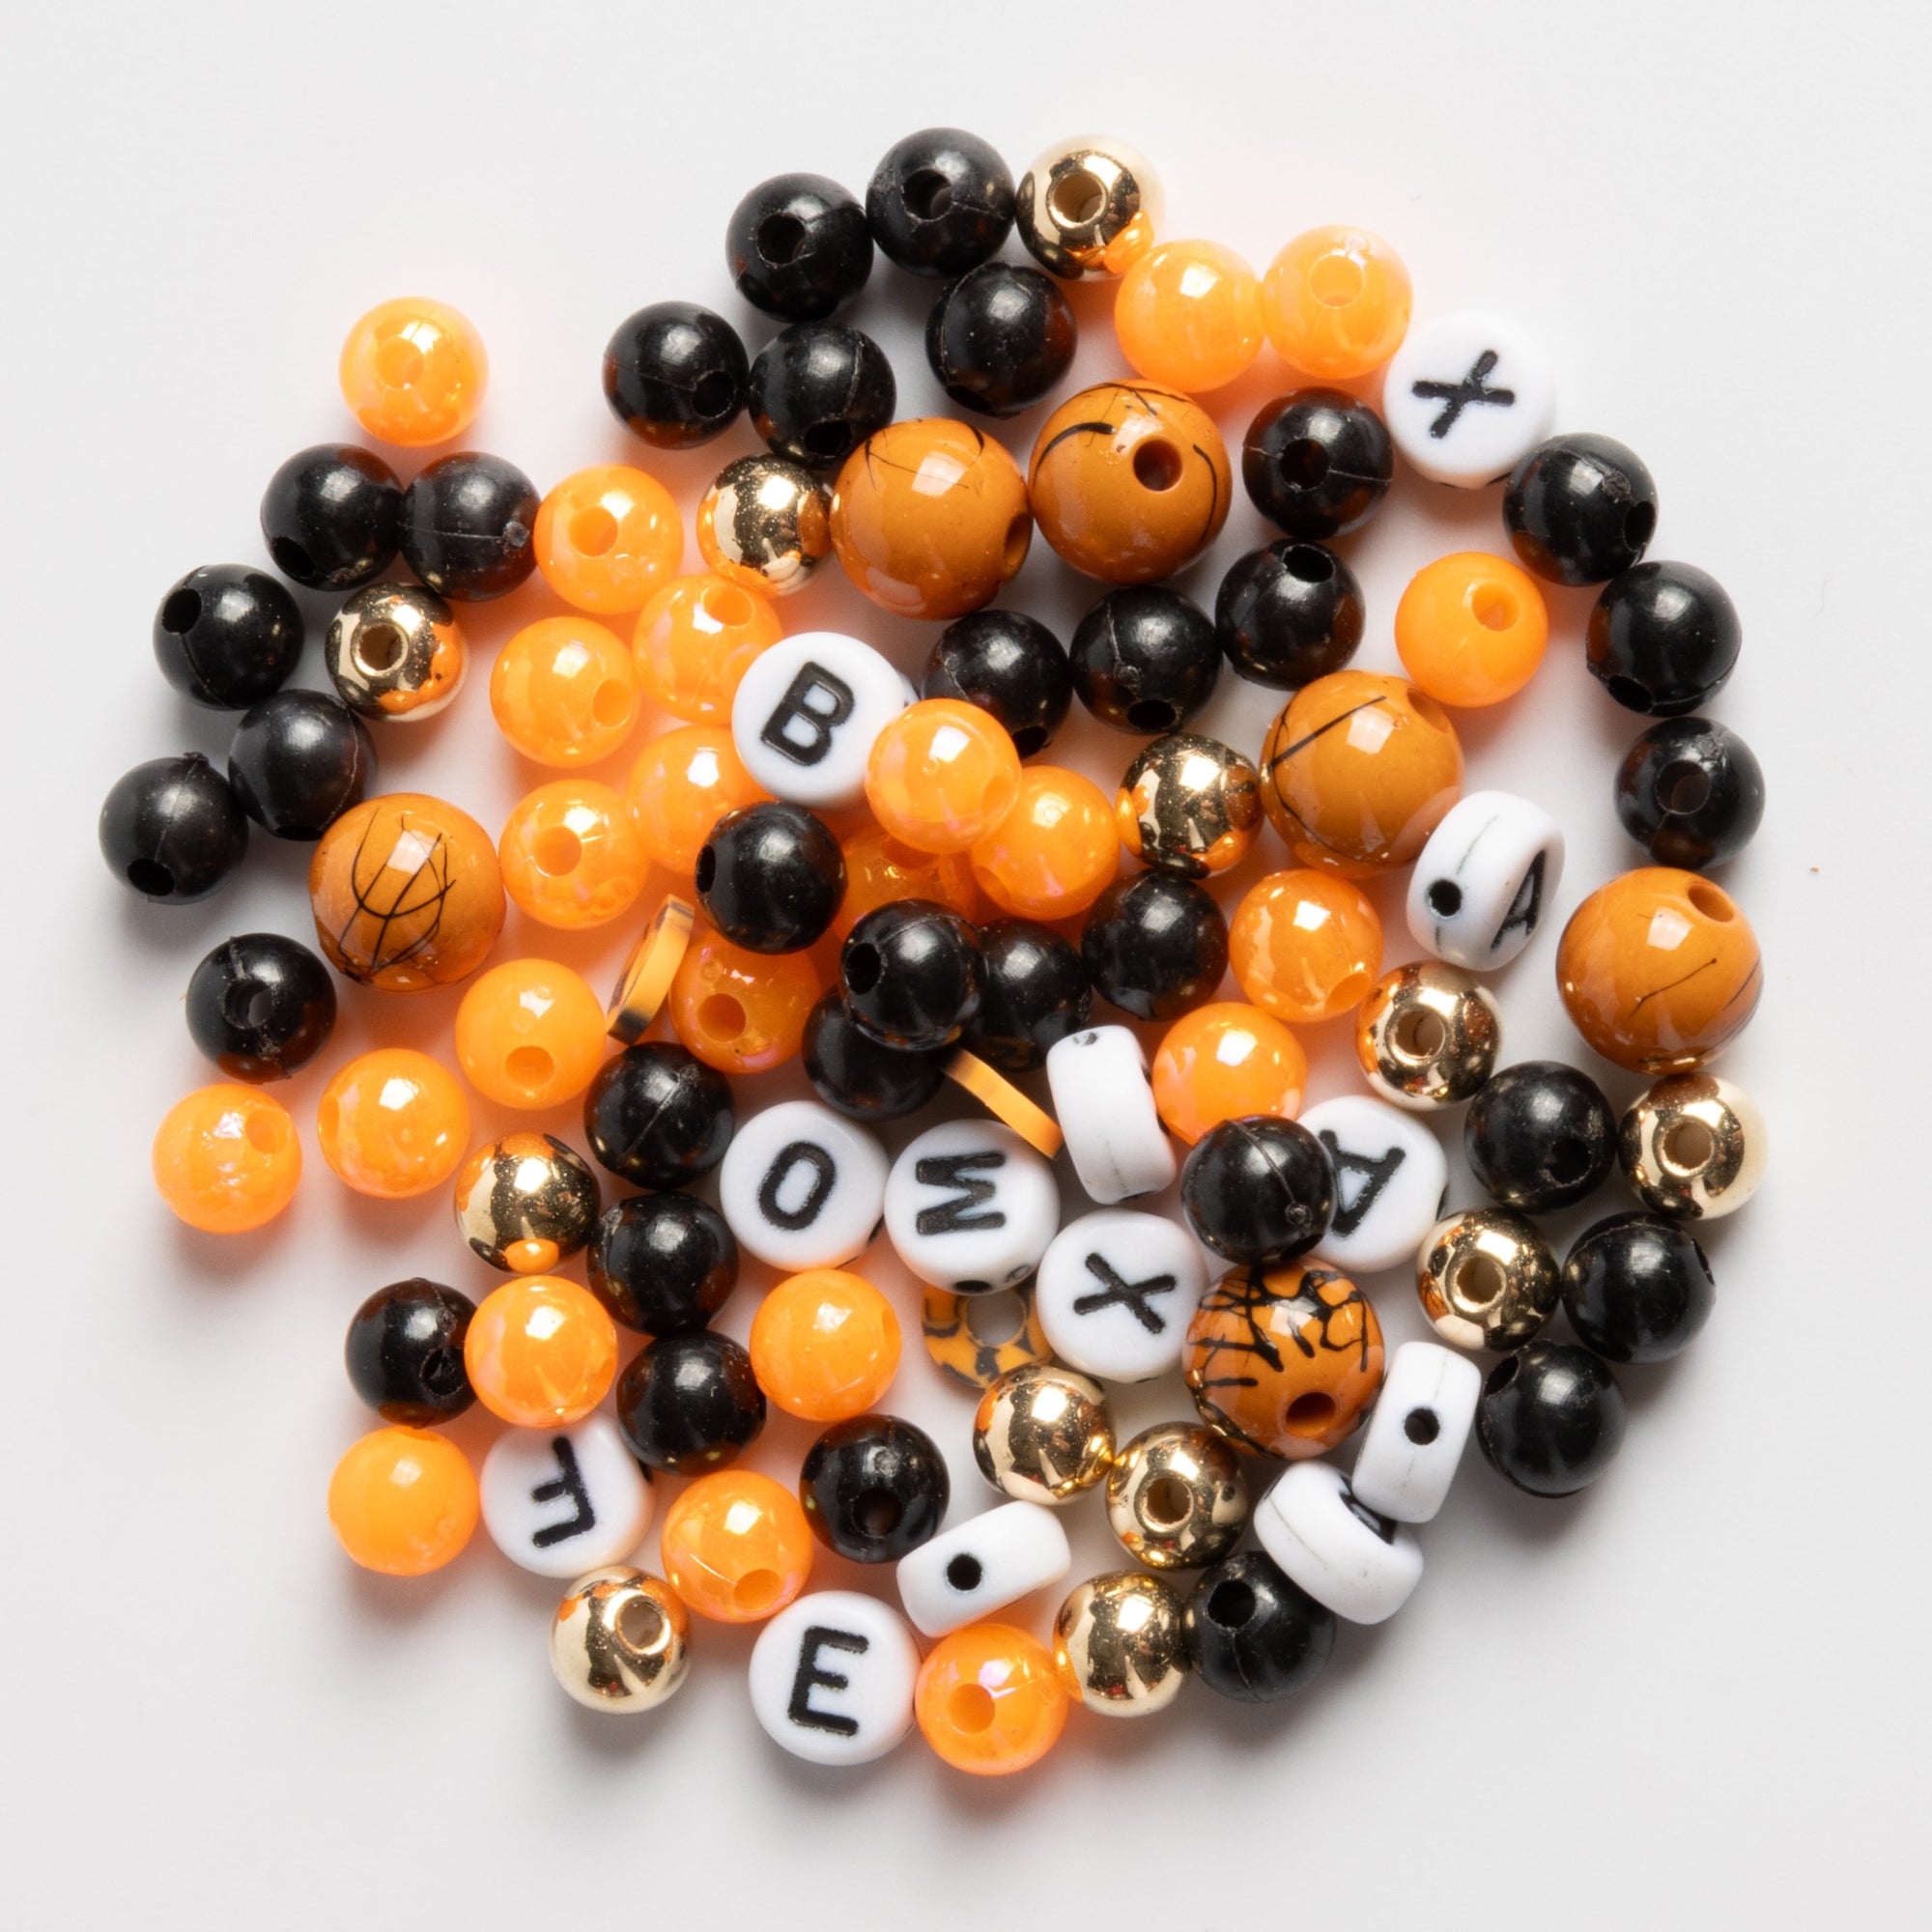
Select beads that complement your design and fit the thickness of your elastic cord. Ensure that the bead holes are large enough to accommodate the cord but not so large that the beads slide around too much. The beads you choose can significantly impact the overall look and feel of your bracelet.
Consider the following when selecting beads:
- Material: Glass, wood, metal, and plastic beads each offer different aesthetics and weights.
- Color and Finish: Choose colors and finishes that match your design vision. Matte, shiny, or textured finishes can add different visual effects to your bracelet.
- Shape and Size: Mix and match bead shapes and sizes for a unique, personalized look.
Tools
You'll need a few essential tools for elastic bracelet stringing success:
- Scissors: Sharp scissors are necessary for cleanly cutting the elastic cord. Dull scissors can fray the cord, making it difficult to thread through beads.
- Bead Stoppers: These small clamps prevent beads from sliding off the cord while you're working. They are especially useful when you need to adjust your design or take a break.
- Needle: A beading needle can help thread the cord through smaller bead holes. This is particularly helpful for intricate designs where precision is key.
Pre-Stretching the Cord
Elastic cords have a tendency to stretch over time. To prevent your bracelet from becoming loose, pre-stretch the cord before stringing your beads. Simply pull the cord gently but firmly to stretch it out, then release. This step ensures that your bracelet maintains its shape and fit even after extended wear.
Pre-stretching also helps you gauge the actual length of the cord you will need, preventing any unexpected slack in your finished bracelet.
Stringing Your Bracelet
With your materials and tools ready, it's time to start stringing your bracelet. Follow these steps for a successful outcome. Proper technique during this stage is crucial for achieving a professional-looking and durable bracelet.
Measuring the Cord
Measure and cut the elastic cord to the desired length. To ensure a comfortable fit, wrap the cord around your wrist, leaving a bit of extra length for tying knots. A general guideline is to add about 4-5 inches to the wrist measurement.
This extra length allows for adjustments and ensures you have enough cord to tie secure knots. It's better to have a little extra cord than to come up short during the final steps.
Adding Bead Stoppers
Attach bead stoppers to one end of the cord to prevent beads from sliding off as you work. This will save you time and frustration. Bead stoppers are especially useful when you need to experiment with different patterns and arrangements.
Having bead stoppers in place also allows you to try on the bracelet as you go, ensuring a perfect fit without risking the loss of any beads.
Stringing the Beads
Begin stringing your beads onto the cord, following your chosen pattern or design. As you add beads, periodically check the length of the bracelet by wrapping it around your wrist. Adjust the number of beads as needed to achieve the desired fit.
Take your time during this step to ensure each bead is securely placed and that the pattern flows smoothly. Consistent checking helps you avoid having to redo sections, saving time and effort.
Securing the Bracelet
Once you've strung all the beads, it's time to secure the bracelet with a strong and reliable knot. A secure knot ensures that your bracelet will withstand regular wear and tear without coming apart.
Tying the Knot
A secure knot is essential for keeping your bracelet intact. The surgeon's knot is a popular choice for elastic bracelets due to its strength and durability. Follow these steps to tie a surgeon's knot:
- Cross the two ends of the cord over each other to form a simple knot.
- Wrap one end of the cord around the other end twice.
- Pull the ends tightly to secure the knot.
- For added security, repeat steps 2 and 3 to create a double surgeon's knot.
Applying Glue
To ensure the knot stays secure, apply a small drop of jewelry glue to the knot. Allow the glue to dry completely before trimming any excess cord. This extra step provides additional security and peace of mind.
Using glue designed specifically for jewelry ensures that it won't damage the elastic or the beads. Avoid using super glue or other harsh adhesives that can weaken the cord over time.
Hiding the Knot
If you prefer a seamless look, hide the knot inside one of the beads. Simply thread the ends of the cord through a nearby bead and pull the knot inside. This technique not only improves the aesthetic of your bracelet but also adds an extra layer of protection for the knot.

Finishing Touches
With your bracelet securely knotted, it's time to add the finishing touches. These final steps ensure that your bracelet looks polished and professional.
Trimming Excess Cord
Carefully trim any excess cord close to the knot, being mindful not to cut too close and risk the knot unraveling. Leaving a small tail can provide extra security, but make sure it's short enough to remain hidden.
Checking for Comfort
Try on your bracelet to ensure it fits comfortably and securely. Make any necessary adjustments to the length or bead placement. The bracelet should be snug but not too tight, allowing for some movement without slipping off.
Testing Durability
Gently stretch and flex the bracelet to test its durability. If the knot holds and the beads stay in place, your bracelet is ready to wear and enjoy. This step ensures that your bracelet can withstand everyday activities without falling apart.
Maintenance and Care
To keep your elastic bracelet looking its best, follow these maintenance and care tips. Proper care extends the life of your bracelet and keeps it looking new.
Avoid Overstretching
While elastic bracelets are designed to stretch, avoid overstretching them, as this can weaken the cord and cause it to break. Handle your bracelet with care, especially when putting it on or taking it off.
Keep Away from Water
Water can weaken the elastic cord over time. Remove your bracelet before swimming, showering, or washing your hands. Prolonged exposure to water can cause the cord to lose its elasticity and strength.
Store Properly
Store your bracelet in a cool, dry place, away from direct sunlight. Consider using a jewelry box or pouch to protect it from dust and damage. Proper storage prevents the cord from becoming brittle and extends the life of your bracelet.
Regular Inspections
Periodically inspect your bracelet for signs of wear and tear. If you notice any fraying or loosening of the cord, restring the bracelet to ensure its longevity. Regular maintenance can prevent minor issues from becoming major problems.
Conclusion
Creating beautiful and durable elastic bracelets is a rewarding and enjoyable hobby. By following these essential tips for elastic bracelet stringing success, you can craft stunning pieces that stand the test of time. Remember to choose the right elastic cord, prepare your materials, secure your bracelet with a strong knot, and take good care of your creations. Happy crafting!
Shop Jewelry Made By Me for Your DIY Beaded Jewelry Needs
Now that you're equipped with the knowledge to create stunning elastic bracelets, why not take your crafting to the next level? Discover a wide array of high-quality materials at Jewelry Made By Me to fulfill all your DIY beaded jewelry needs. From vibrant beads to durable elastic cords, we have everything you need to unleash your creativity. Visit our store and get started on your next masterpiece today! Happy crafting!


