Valentine's Day is the perfect occasion to express your love and appreciation for the special people in your life. While store-bought gifts can be convenient and often appreciated, they may lack the personal touch that makes a gift truly special. Handmade presents convey a sense of thoughtfulness and effort that store-bought items simply can't match. This year, consider crafting something truly unique and meaningful. DIY beaded bracelets are not only beautiful but also carry a personal message, making them the perfect Valentine's gift. In this guide, we'll walk you through the process of making the perfect beaded bracelets, ensuring your loved ones receive a gift as special as they are.
Why Choose DIY Beaded Bracelets?
Personal Touch
One of the main reasons to choose DIY beaded bracelets as a Valentine's gift is the personal touch they convey. When you make something by hand, it shows the recipient that you've put thought, time, and effort into their gift. This personal connection can make the gift even more meaningful than something purchased from a store. Each bead you string and each pattern you create is infused with your unique personality and intentions, making the bracelet a one-of-a-kind keepsake.
Moreover, the act of crafting allows you to reflect on your relationship with the recipient, adding emotional depth to the gift. As you choose beads and design patterns, you can think about the shared memories and experiences that inspired your creation. This process not only results in a beautiful piece of jewelry but also strengthens your emotional bond with the person receiving it.
Cost-Effective and Customizable
Creating your own beaded bracelets can also be more budget-friendly than buying ready-made jewelry. You can purchase jewelry-making supplies in bulk and create multiple pieces at a fraction of the cost of store-bought jewelry. Additionally, DIY beaded bracelets are highly customizable, allowing you to choose colors, patterns, and styles that perfectly match the taste of your loved one. This level of customization ensures that your gift is not just another piece of jewelry, but a reflection of their personality and style.
Furthermore, customization allows you to incorporate symbolic elements into your design. For example, you might use birthstone-colored beads, or choose colors and patterns that hold special meaning for both you and the recipient. This thoughtful approach to design ensures that your bracelet is not only aesthetically pleasing but also imbued with personal significance.

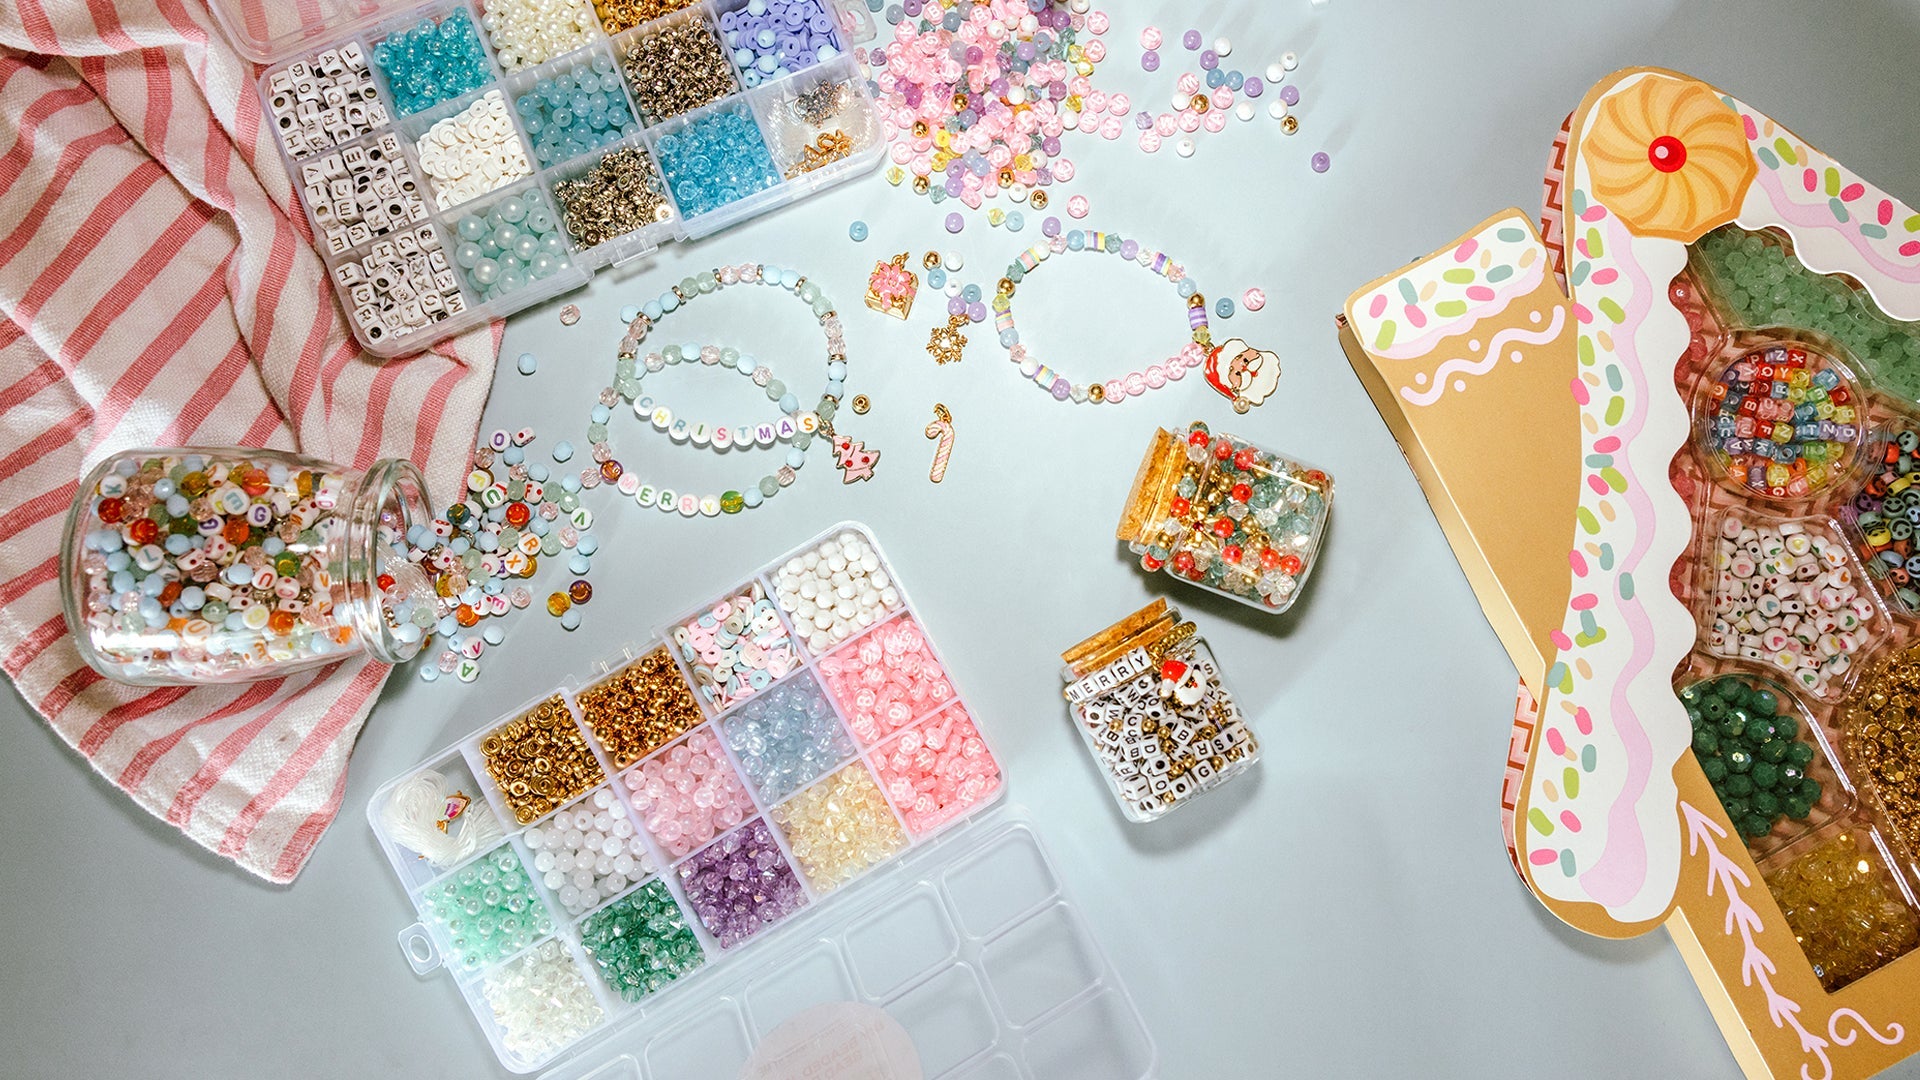
Gathering Your Jewelry Making Supplies
Before you start crafting, you'll need to gather your jewelry making supplies. Here is a list of essential items you'll need to create your DIY beaded bracelets:
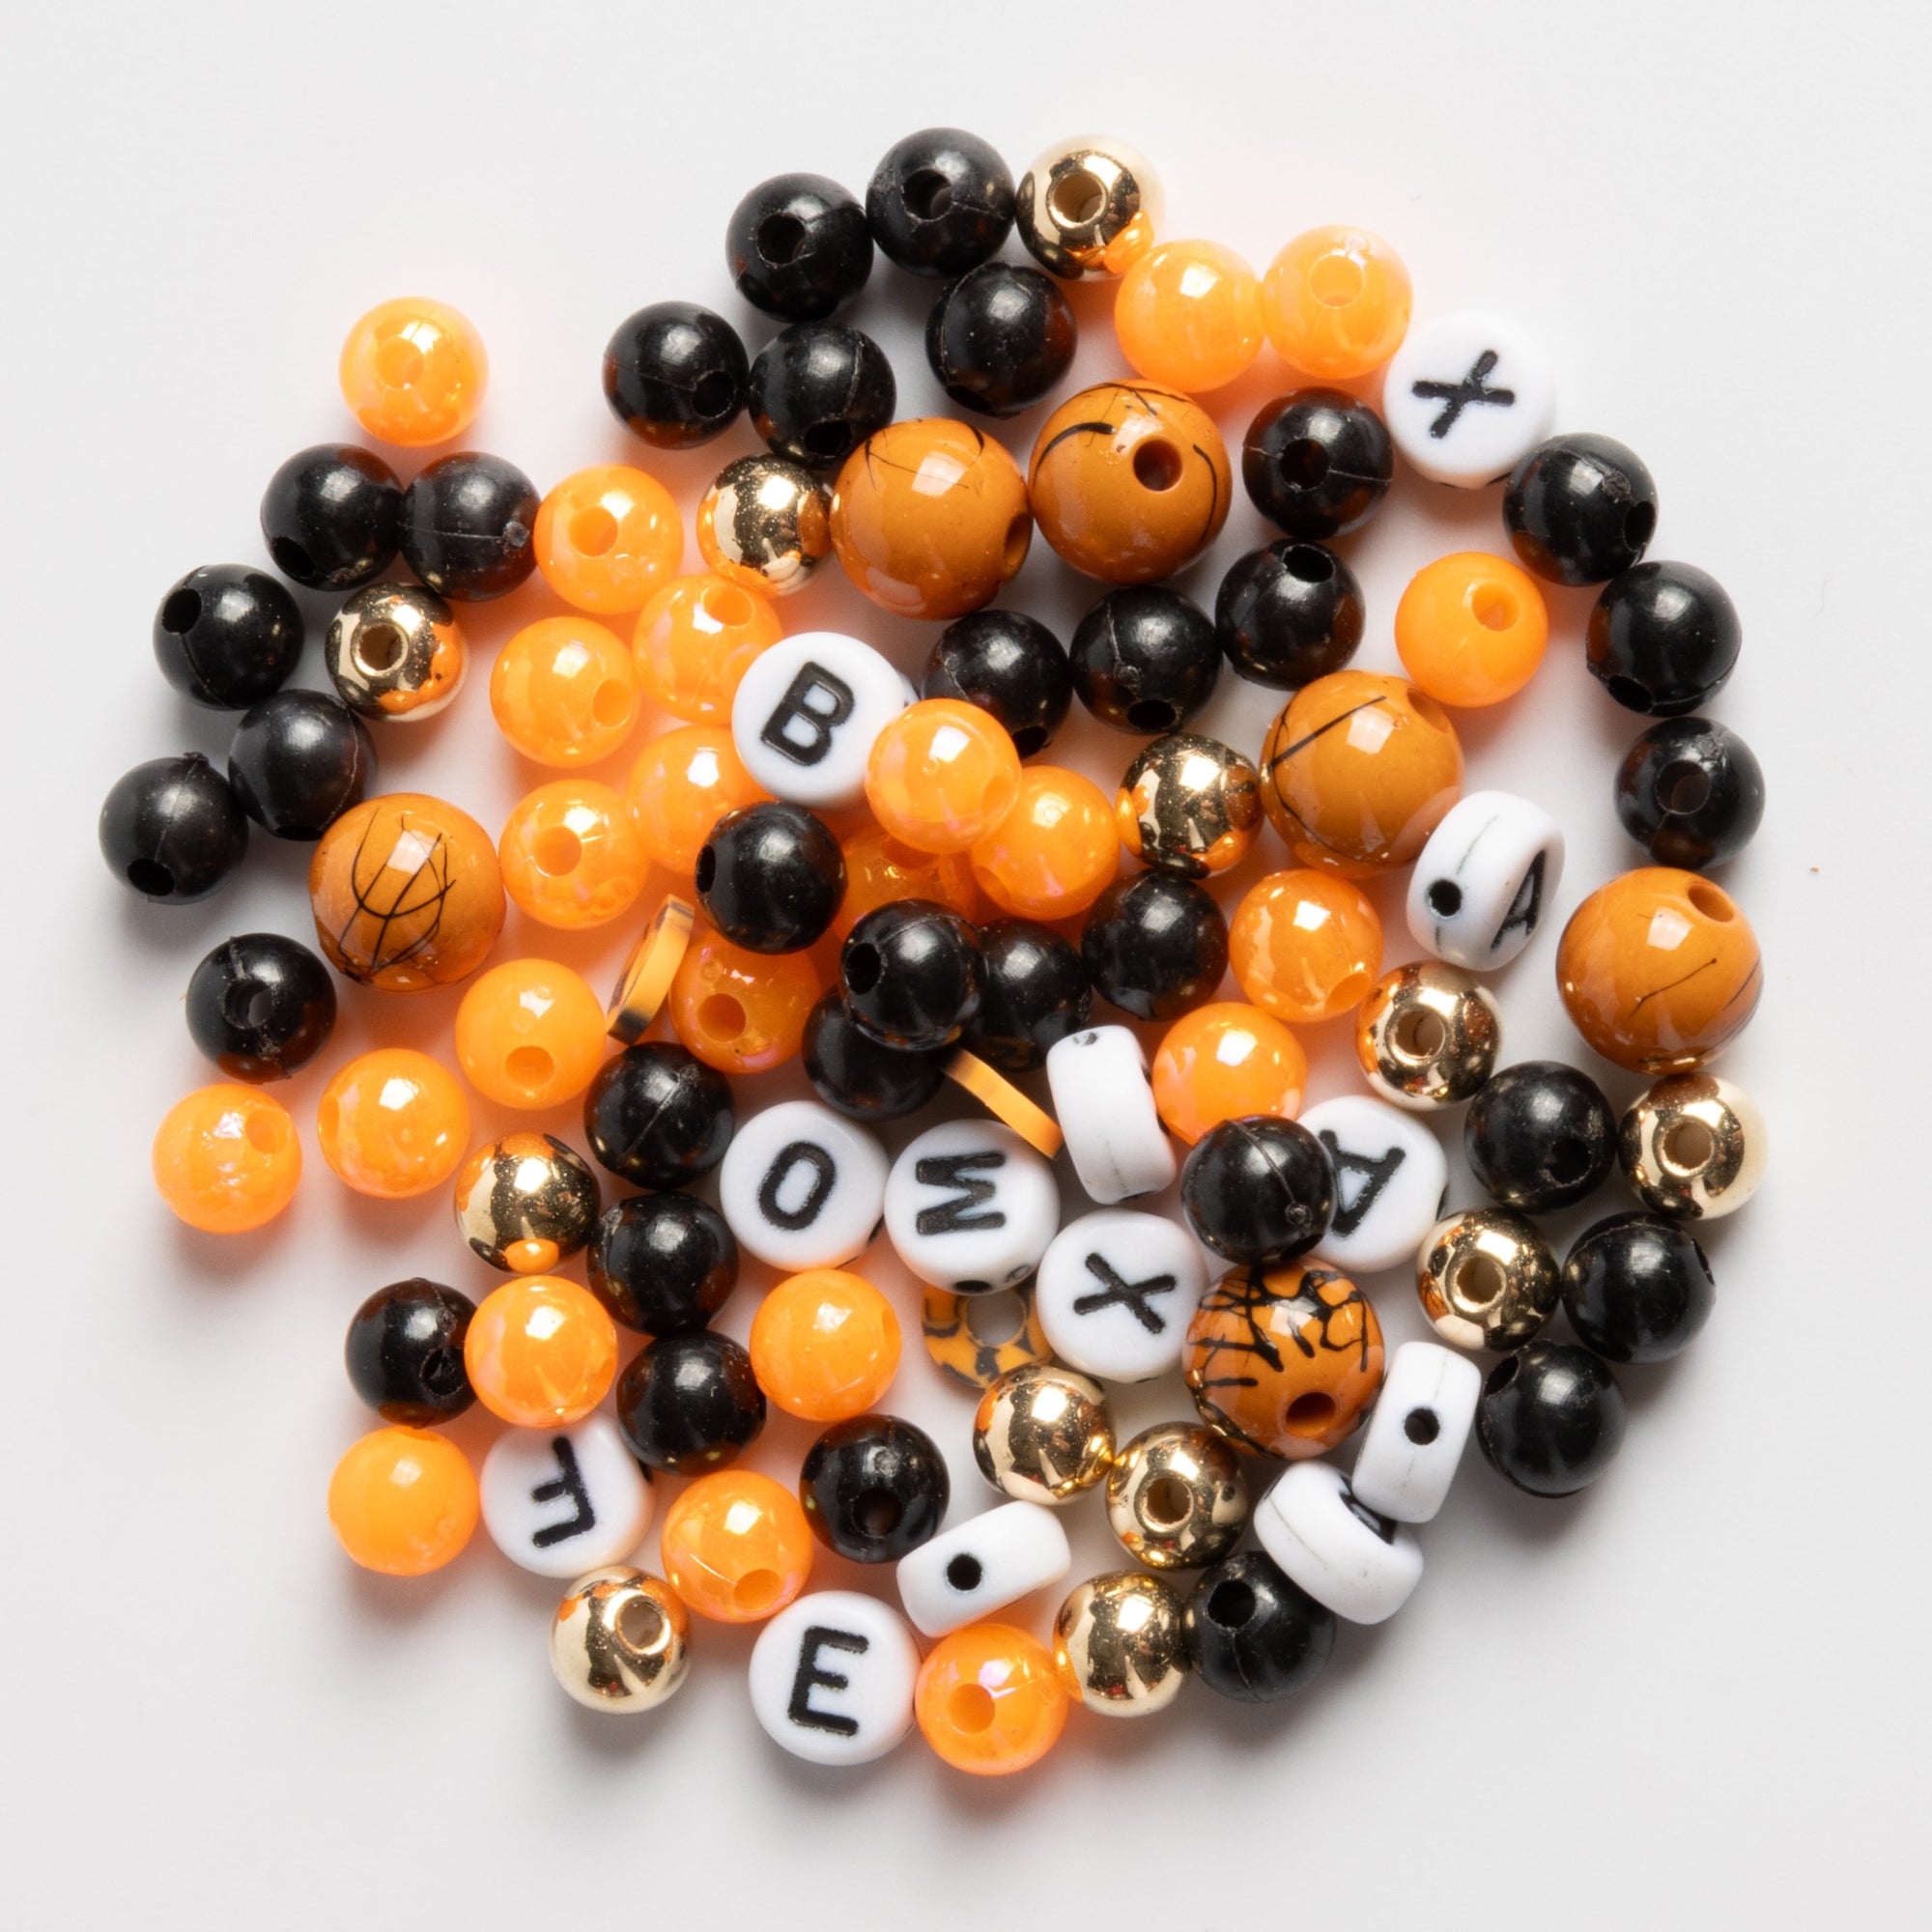
- Beads: Choose from a variety of materials such as glass, plastic, wood, or semi-precious stones. Select colors and sizes that suit your design. The type of bead you choose can greatly influence the final look of the bracelet, from a casual everyday piece to a sophisticated accessory for special occasions.
- Elastic Cord: This is the base of your bracelet. Make sure it's thick enough to support the weight of your beads but thin enough to pass through their holes. The right elastic cord ensures durability and comfort, so consider factors like stretchability and strength when selecting your cord.
- Scissors: A sharp pair of scissors will be necessary to cut your cord to the right length. Precision in cutting ensures a neat finish, which is crucial for the overall appearance of the bracelet.
- Beading Needle: While not always necessary, a beading needle can make threading smaller beads easier. This tool is particularly useful when working with intricate designs or smaller beads that require precise handling.
- Crimp Beads: These are used to secure the ends of your bracelet and keep the beads in place. They provide a professional finish and ensure that your bracelet remains intact over time.
- Clasps and Findings: If you prefer a more professional finish, consider adding clasps and other findings to your bracelet. These elements add functionality and style, allowing the bracelet to be worn with ease and elegance.
Designing Your DIY Beaded Bracelets
Choosing Your Design
When designing your DIY beaded bracelet, consider the style and preferences of the person you're making it for. Are they a fan of bright, bold colors, or do they prefer more muted, neutral tones? Do they like patterns, or would they appreciate a simple, solid color design? Taking the recipient's style into account ensures that your bracelet is something they will love and wear often.
Think about the occasions for which they might wear the bracelet. A casual design might be perfect for everyday wear, while a more elaborate design could be suitable for special events. By considering these factors, you can create a bracelet that fits seamlessly into their wardrobe and complements their personal style.
Planning Your Pattern
Once you have an idea of the style, plan out your pattern. You can lay the beads out in front of you to see how they look together. Experiment with different combinations until you find a design you love. This trial-and-error process is part of the creative journey and can lead to unexpected and delightful results.
Consider using symmetry or asymmetry in your pattern to create visual interest. You might also explore thematic designs, such as using colors that represent a particular season or holiday. By playing with different patterns and arrangements, you can create a bracelet that is both beautiful and meaningful.
Measuring for Size
Before you start stringing your beads, measure the wrist of the person who will be wearing the bracelet. This will ensure a comfortable fit. A good rule of thumb is to add an extra inch to their wrist measurement to allow for ease of wear. Proper sizing ensures that the bracelet is comfortable and secure, preventing it from being too tight or slipping off.
If you are unable to measure the wrist directly, consider using a standard sizing chart or a similarly sized bracelet they already own. This approach can help you approximate the correct size, ensuring your handmade gift is ready to wear as soon as it is received.
Crafting Your Beaded Bracelet
Step 1: Prepare Your Cord
Cut a length of elastic cord that is a few inches longer than your desired bracelet size. This extra length will give you room to work with when tying off the ends. Ensuring you have enough cord is crucial, as it allows you to make adjustments and secure the bracelet properly without running out of material.
In addition, consider pre-stretching the elastic cord before stringing the beads. This helps prevent the bracelet from stretching out of shape over time, ensuring a snug and comfortable fit for the recipient.
Step 2: String Your Beads
Begin stringing your beads onto the cord according to your planned pattern. Use a beading needle if necessary to help with threading smaller beads. Continue until you have the desired length of beads on your cord. As you string the beads, periodically check the pattern to ensure it aligns with your initial design.
Take your time during this step to ensure each bead is placed correctly. The arrangement of beads is the focal point of your bracelet, and careful attention to detail will ensure a polished and professional-looking finished product.
Step 3: Secure the Ends
Once your beads are in place, it's time to secure the ends of your bracelet. Thread a crimp bead onto one end of the cord, loop the cord back through the crimp bead, and pull tight to create a small loop. Use pliers to flatten the crimp bead and secure it in place. Repeat this process on the other end of the bracelet. Securing the ends properly is crucial to prevent the beads from slipping off and to ensure the longevity of the bracelet.
You might also consider adding a dab of jewelry glue to the crimp bead for extra security. This can provide additional reassurance that your bracelet will remain intact over time, even with frequent wear.
Step 4: Add a Clasp (Optional)
If you prefer a bracelet that opens and closes, add a clasp to your design. Use jump rings to attach the clasp to the loops you created with the crimp beads. This step adds a professional touch and can make the bracelet easier to put on and take off.
Choosing the right clasp is important for both functionality and aesthetics. Consider the recipient's preferences and any potential limitations they might have, such as difficulty with small clasps. A well-chosen clasp complements the bracelet's design and ensures ease of use.

Presenting Your Handmade Gift
Now that your DIY beaded bracelet is complete, consider how you'll present it to your loved one. Presentation can enhance the experience of receiving a handmade gift and add an extra layer of thoughtfulness. You could place it in a small gift box or wrap it in decorative tissue paper. Adding a handwritten note expressing your love and the thought behind the gift can make it even more special.
Consider personalizing the packaging to reflect the recipient's tastes or the theme of the bracelet. A simple yet elegant box or pouch can elevate the overall presentation, while a heartfelt note can convey the emotions and intentions behind your creation. This attention to detail shows that you care not only about the gift itself but also about the experience of giving.
Final Thoughts
DIY beaded bracelets are a heartfelt and unique gift idea for Valentine's Day. With the right jewelry-making supplies and a little creativity, you can craft a beautiful piece that your loved one will cherish. Remember, the most important thing is the love and effort you put into creating something special just for them. Each bracelet you make is not just a piece of jewelry; it's a token of your affection and a reminder of the bond you share.
Embrace the joy of crafting and the satisfaction of creating something beautiful and personal. The process of making a DIY beaded bracelet is an opportunity to express your creativity and to show your loved ones how much you care. So gather your supplies, let your creativity flow, and enjoy the process of making a personalized gift that speaks from the heart. Happy crafting, and happy Valentine's Day!
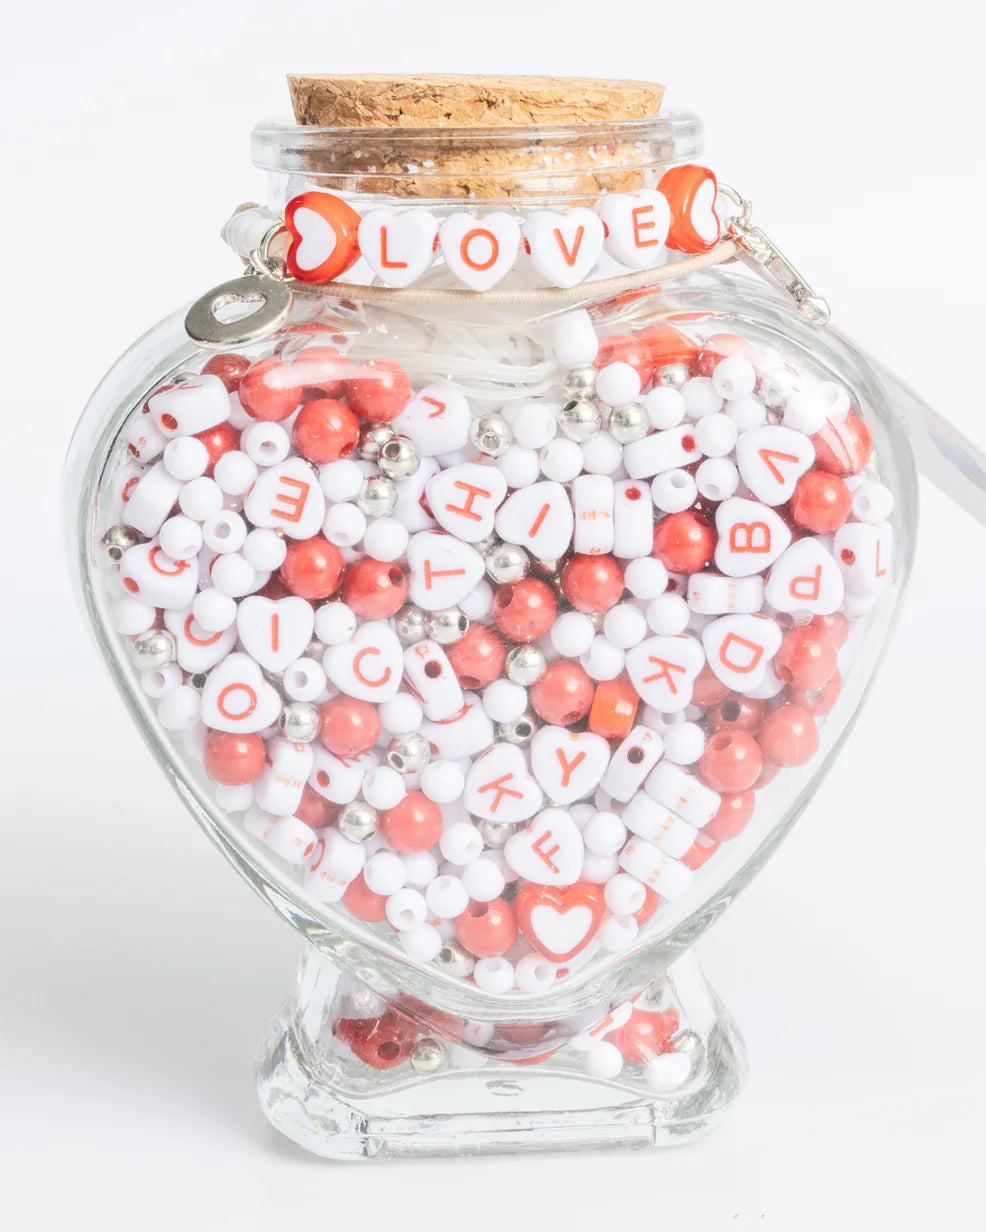
Shop Jewelry Made By Me for Your DIY Bead Jewelry Kit!
Ready to start your own DIY beaded bracelet project? Visit Jewelry Made By Me to find the perfect bead jewelry kit that includes everything you need to create beautiful, personalized pieces. Our kits come with high-quality materials and a variety of beads to inspire your creativity. Don't wait—shop now and let your crafting journey begin!