Adding charms to your DIY beaded jewelry isn't just a trend; it's a fantastic way to inject personality and storytelling into your creations. If you're new to the world of beading, the idea of incorporating these little decorative elements might seem a bit daunting. But trust me, it's far easier and more rewarding than you think! At Jewelry Made By Me, we're all about empowering you to create beautiful pieces, and this guide is your first step to becoming a charm-incorporating pro.
Why Charms? The Magic They Bring to Your Beaded Jewelry
Think about your favorite pieces of jewelry. Chances are, many of them have a story, a memory, or a special meaning attached. Charms are the ultimate storytellers in the jewelry world. They can represent:
-
Personal Interests: A tiny camera for a photography enthusiast, a paw print for a pet lover, or a musical note for a musician.
-
Milestones & Memories: Birthstones, graduation caps, travel-themed charms from a memorable trip.
-
Symbolism: Hearts for love, anchors for stability, trees for growth.
-
Aesthetic Appeal: Simply put, they look pretty! They can add visual interest, a pop of color, or a touch of whimsy to an otherwise simple design.
Beyond their symbolic value, charms add dimension and movement to your beaded creations. They can break up the monotony of a repetitive bead pattern, provide a focal point, or even act as a clasp or connector in a unique design.
Getting Started: The Essential Tools You'll Need
One of the best things about DIY jewelry making is that you don't need a huge arsenal of expensive tools to get started. When it comes to incorporating charms, a few basics will go a long way:
-
Round-Nose Pliers: These are your best friends for opening and closing jump rings (those tiny metal circles that connect charms). Their rounded jaws prevent scratching and allow for smooth, controlled bends. For a visual guide on how different pliers are used in jewelry making, this guide on jewelry making pliers offers a great overview.
-
Chain-Nose Pliers (or Flat-Nose Pliers): These have flat, smooth jaws that are excellent for gripping and manipulating wire or jump rings. Having a pair of these alongside your round-nose pliers makes opening and closing jump rings much easier – one pair to hold, the other to twist.
-
Flush Cutters (Optional but Recommended): If you're working with headpins or eye pins to create dangles, flush cutters give you a clean, precise cut, preventing sharp edges.
-
Beading Mat: A soft, textured surface prevents your beads and charms from rolling away, which can save you a lot of frustration!
Remember, you don't need the fanciest tools. A basic set from your local craft store or an online retailer will serve you well as you begin your charm-beading journey. Reputable suppliers like Jewelry Made By Me offer a wide range of tools and materials if you're looking for professional-grade supplies.

Types of Charms: Finding Your Perfect Match
The world of charms is vast and varied, offering endless possibilities for personalization. Let's break down some of the most common types you'll encounter:
-
Dangle Charms: These are the most traditional type, designed to hang freely from a jump ring or bail. They come in every imaginable shape, size, and material, from delicate metal shapes to enameled designs and sparkling pave charms. They're perfect for adding movement and a focal point to your bracelets.
-
Slider Charms: These charms have a larger hole or a built-in channel that allows them to slide directly onto your beading wire, cord, or even a pre-made bracelet base. They often lay flat against the bracelet, offering a sleeker, more integrated look. Think of the popular Pandora-style bracelets; those often use slider beads and charms.
-
Connector Charms: These charms have loops on both ends, allowing them to connect two separate sections of your bracelet. They can be simple rings, decorative links, or even charms with specific designs that serve as a central component of your piece.
-
Floating Locket Charms: These are clear lockets, often made of glass, that you can fill with tiny charms, crystals, or even meaningful miniature objects. They offer a unique way to display a collection of small charms and can be a beautiful centerpiece for a bracelet.
-
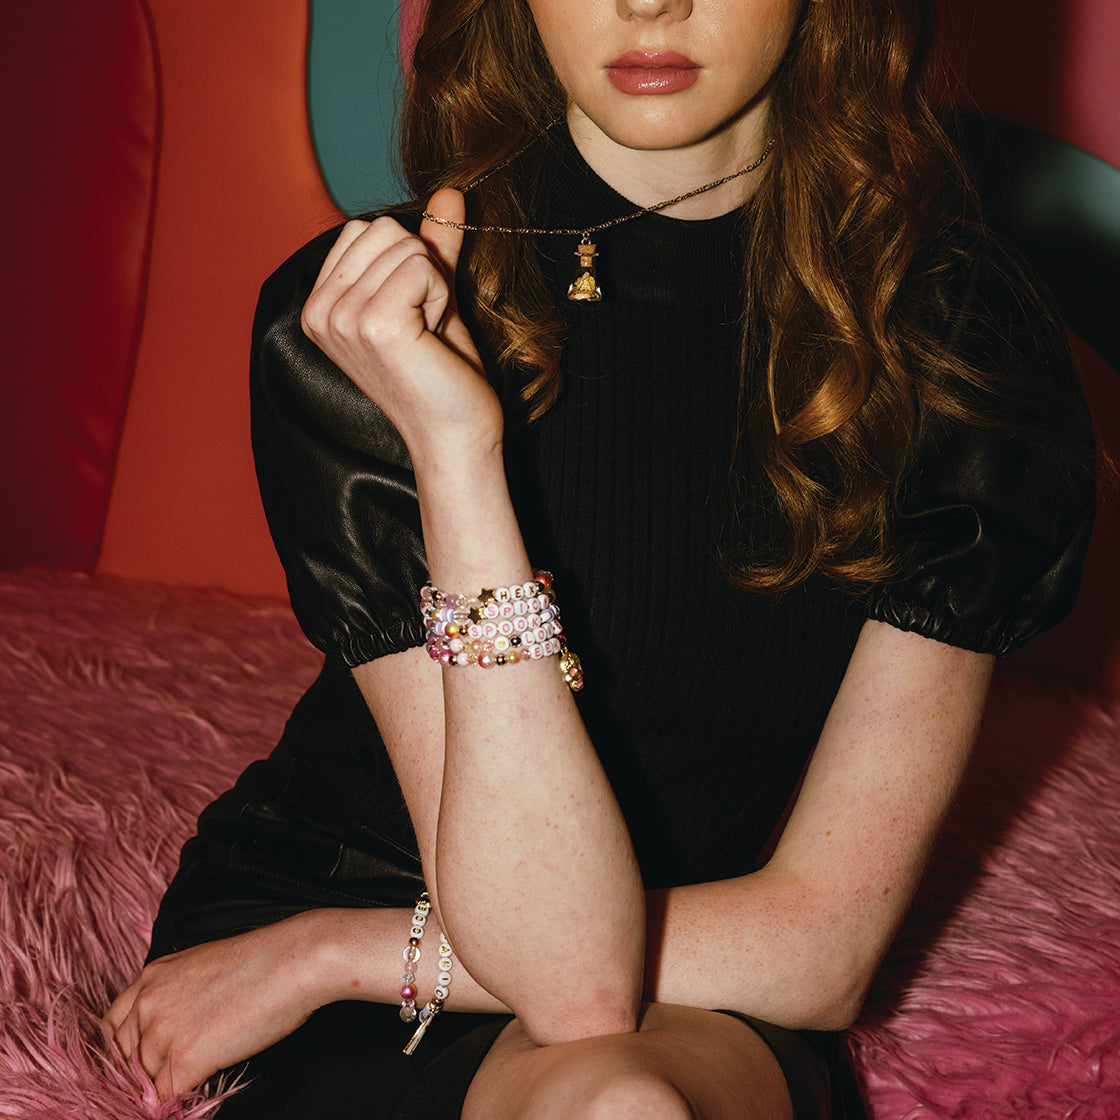
Alphabet & Number Charms: Spell out names, initials, or significant dates. These are fantastic for personalized gifts or commemorative pieces.
When choosing charms, consider the overall aesthetic of your beaded bracelet. Do you want a cohesive theme, or an eclectic mix? Do you prefer subtle accents or bold statements? The beauty is, there's no right or wrong answer!
How to Incorporate Charms: Step-by-Step Techniques
Now for the fun part – actually attaching those charms! Here are the most common methods, perfect for beginners:
1. Attaching Dangle Charms with Jump Rings
This is by far the most common and versatile method for adding dangle charms. Understanding how to properly open and close jump rings is a fundamental skill in jewelry making, and you can find more in-depth explanations and visuals on resources like Kernowcraft's guide to jump rings.
What you'll need: Your chosen dangle charm (with a loop), a jump ring (usually 4mm-6mm, depending on the charm and where it's attaching), and two pairs of pliers (round-nose and chain-nose).
Steps:
-
Select Your Spot: Decide where you want your charm to hang on your beaded bracelet. This could be from a specific bead, a link in a chain, or directly onto your beading wire (if the wire is strong enough and you're adding it during the stringing process).
-
Open the Jump Ring: Hold one side of the jump ring with your chain-nose pliers. With your other pair of pliers (round-nose or another chain-nose), grasp the other side of the jump ring. Instead of pulling the ends directly apart, twist one side forward and the other side backward, creating a slight opening in the ring. Think of it like opening a door, not pulling it straight off its hinges. This method maintains the circular integrity of the jump ring, making it stronger when closed.
-
Add the Charm and Attachment Point: Slide your charm's loop onto the open jump ring. Then, slide the part of your bracelet where you want the charm to attach (e.g., a specific bead, a chain link, or the beading wire) onto the same open jump ring.
-
Close the Jump Ring: Using both pairs of pliers, reverse the opening motion. Twist the ends back together until they meet perfectly, forming a seamless circle. A well-closed jump ring should have no gap, ensuring your charm stays securely attached. Give it a gentle tug to test its security.
2. Using Headpins and Eye Pins to Create Dangles
Sometimes, a charm might just be a bead, or you want to turn a bead into a dangle. That's where headpins and eye pins come in! For more detailed visuals and instructions on creating loops with headpins, you can refer to tutorials from resources like Bead In Hand or Rings & Things.
-
Headpin: A piece of wire with a flat head at one end, preventing beads from sliding off.
-
Eyepin: A piece of wire with a pre-formed loop (an "eye") at one end.
What you'll need: A bead you want to dangle, a headpin or eye pin, round-nose pliers, and flush cutters (optional).
Steps (for a headpin):
-
Thread the Bead: Slide your chosen bead onto the headpin until it rests against the head.
-
Bend the Wire: About 1/4 inch above the bead, use your round-nose pliers to bend the wire at a 90-degree angle.
-
Form the Loop: Reposition your round-nose pliers to the very tip of the bent wire. Begin to wrap the wire around one jaw of the pliers, forming a loop. Continue wrapping until the loop is complete and the wire meets the wire coming out of the top of the bead.
-
Trim Excess (if necessary): If you have a long tail of wire, use your flush cutters to trim the excess close to where the wire meets the loop. You've now created a beaded dangle! You can attach this dangle using a jump ring to your bracelet, just like a regular charm.
Steps (for an eye pin - connecting multiple elements):
-
Thread the Bead: Slide your bead onto the eye pin.
-
Form Second Loop: Just like with the headpin, bend the wire at a 90-degree angle above the bead. Form a second loop. Now you have a beaded link with a loop on both ends.
-
Connect: You can use these eye pin links to connect other charms or beads, creating a chain of dangles within your bracelet. Simply open one of the loops (like a jump ring) to connect it to another element, then close it securely.
3. Incorporating Slider Charms
Slider charms are much simpler to add.
What you'll need: Your slider charm and your beading material (wire, elastic cord, leather, etc.).
Steps:
-
String On: Simply thread your beading material directly through the hole or channel of the slider charm.
-
Position: Place the slider charm wherever you desire on your bracelet as you are stringing your beads. It will stay in place once the bracelet is completed and worn.

Design Ideas: Letting Your Creativity Flow
Now that you know the mechanics, let's talk about inspiration! Here are some ways to creatively incorporate charms into your DIY beaded bracelets:
-
Themed Bracelets: Choose a theme and select charms and beads that align with it. Examples:
-
Ocean Theme: Blue and green beads, shell charms, starfish, anchor charms.
-
Travel Theme: Earth globe charm, passport charm, airplane charm, beads in colors inspired by a favorite destination.
-
Nature Theme: Earthy-toned beads, leaf charms, bird charms, flower charms.
-
Pet Lover Theme: Paw print charm, bone charm, cat silhouette, beads in your pet's fur color.
-
Accent Charms: Use one or two larger, more prominent charms as a focal point, with smaller, subtle beads surrounding them. This creates a balanced and elegant look.
-
Charm Clusters: Attach several small, complementary charms to a single jump ring to create a mini-cluster. This adds visual weight and texture.
-
Random Placement: Don't feel obligated to space charms evenly. Sometimes a more organic, random placement can create a bohemian or whimsical feel.
-
Bracelet Charm: Attach one large, significant charm to the very center of your bracelet, allowing it to hang prominently.
-
Clasp Charms: Instead of a traditional clasp, use a unique, large charm with a sturdy loop that can connect to another loop on the opposite end of the bracelet. This turns your clasp into a design element.
-
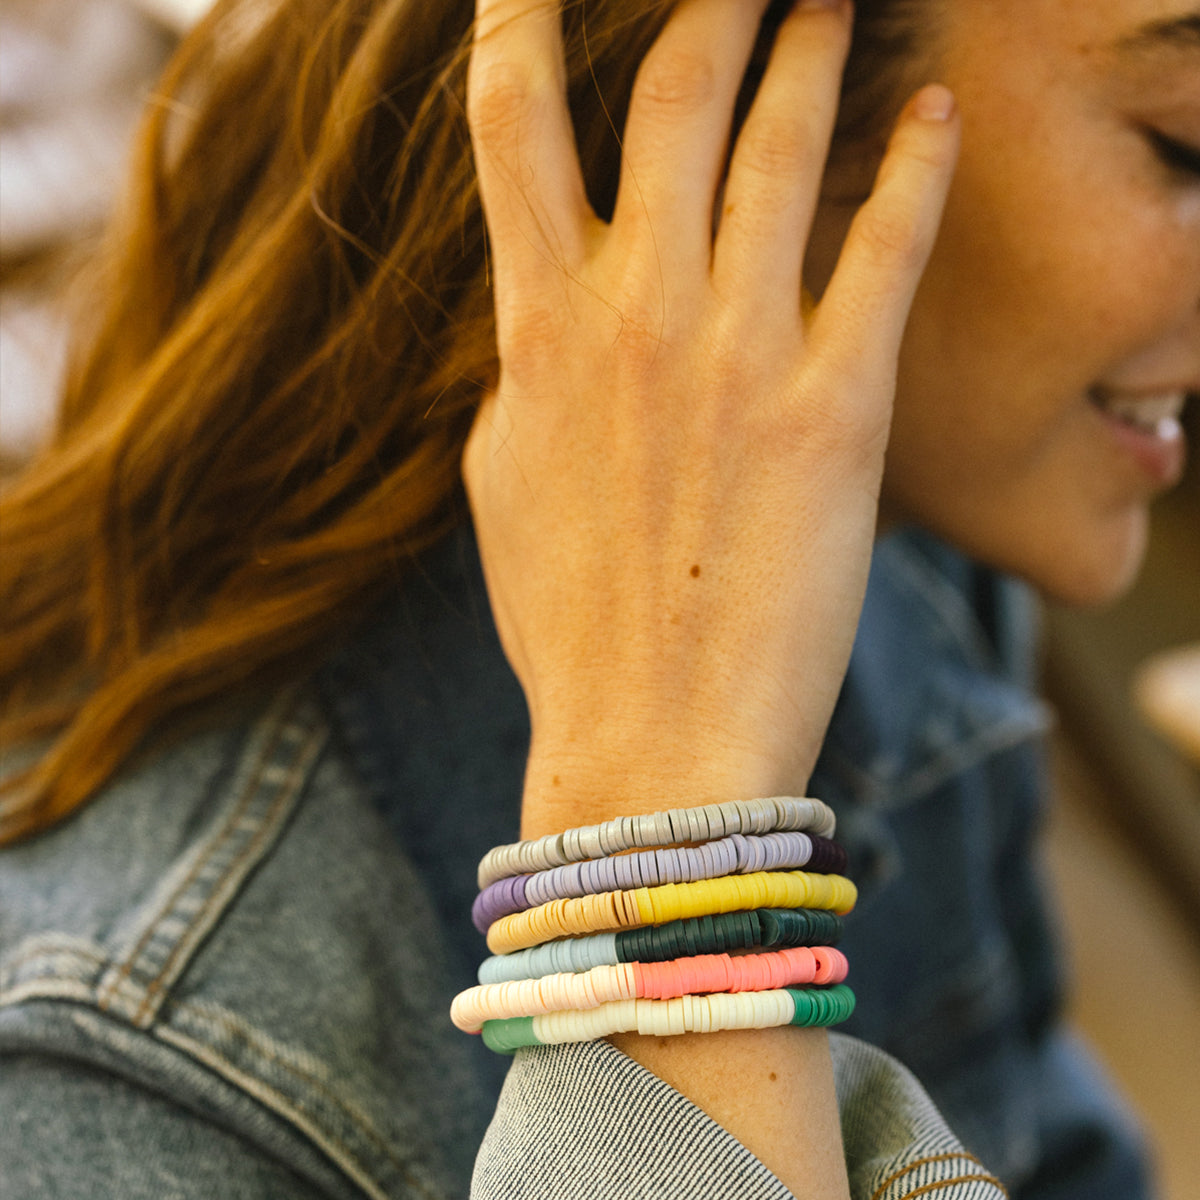
Layering: Create multiple thin beaded bracelets, each with a single, different charm, and wear them together for a stacked effect.
-
Color Matching: Select charms with enamel or crystal accents that match or complement the colors of your beads.
-
Mixed Metals: Don't be afraid to mix silver-tone and gold-tone charms within the same bracelet for a modern, eclectic look.
Remember, your bracelet is a canvas for your personal expression. Experiment, play, and don't be afraid to try new combinations! For more general tips on getting started with jewelry making, you can explore beginner resources like Ponoko's guide to Jewelry Making For Beginners.
Troubleshooting & Tips for Beginners
Even with a beginner's guide, you might run into a few common hiccups. Here's how to navigate them:
-
Jump Rings Not Closing Properly: This is usually due to pulling them open instead of twisting. Always twist! If you've pulled one, you might need to discard it and use a new one to ensure security.
-
Charms Falling Off: This is almost always a sign of an improperly closed jump ring. Double-check that there's no gap once you've closed it. A gentle tug test can confirm its security.
-
Overcrowding: While charm bracelets can be wonderfully eclectic, too many large charms on a small bracelet can make it uncomfortable to wear. Aim for balance.
-
Weight Distribution: If you're adding many heavy charms, ensure your beading wire or cord is strong enough to support the weight.
-
Knotting Elastic Cord: If you're using elastic cord for your bracelets, make sure your knot is secure (a surgeon's knot is recommended) and consider adding a drop of clear glue to the knot for extra security before hiding it inside a bead. You can find tutorials on various knots for jewelry making on sites like The Spruce Crafts.
-
Sizing Your Bracelet: When adding charms, especially larger ones, remember they take up a little space. Measure your wrist and account for the size of your beads and charms to ensure a comfortable fit.
-
Start Simple: Don't try to create an overly complex design on your first go. Begin with a simple string of beads and one or two charms to get comfortable with the techniques.
Ready to Start Charming?
Incorporating charms into your DIY beaded jewelry is a rewarding and accessible way to elevate your creations. It allows you to tell your unique story, celebrate milestones, or simply add a touch of sparkle and personality to your everyday wear. With a few basic tools and a dash of creativity, you'll be designing stunning, personalized bracelets in no time.
Don't wait to unleash your inner jewelry designer! Head over to Jewelry Made By Me and explore our fantastic selection of DIY beaded bracelet kits. Each kit comes with high-quality beads, findings, and easy-to-follow instructions, providing the perfect foundation for you to start adding your favorite charms! Shop now and let your creativity shine!