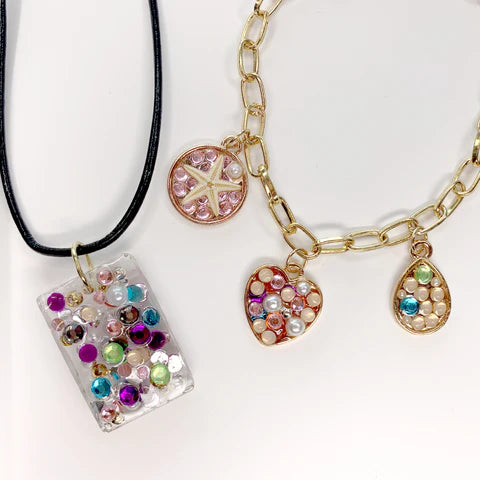
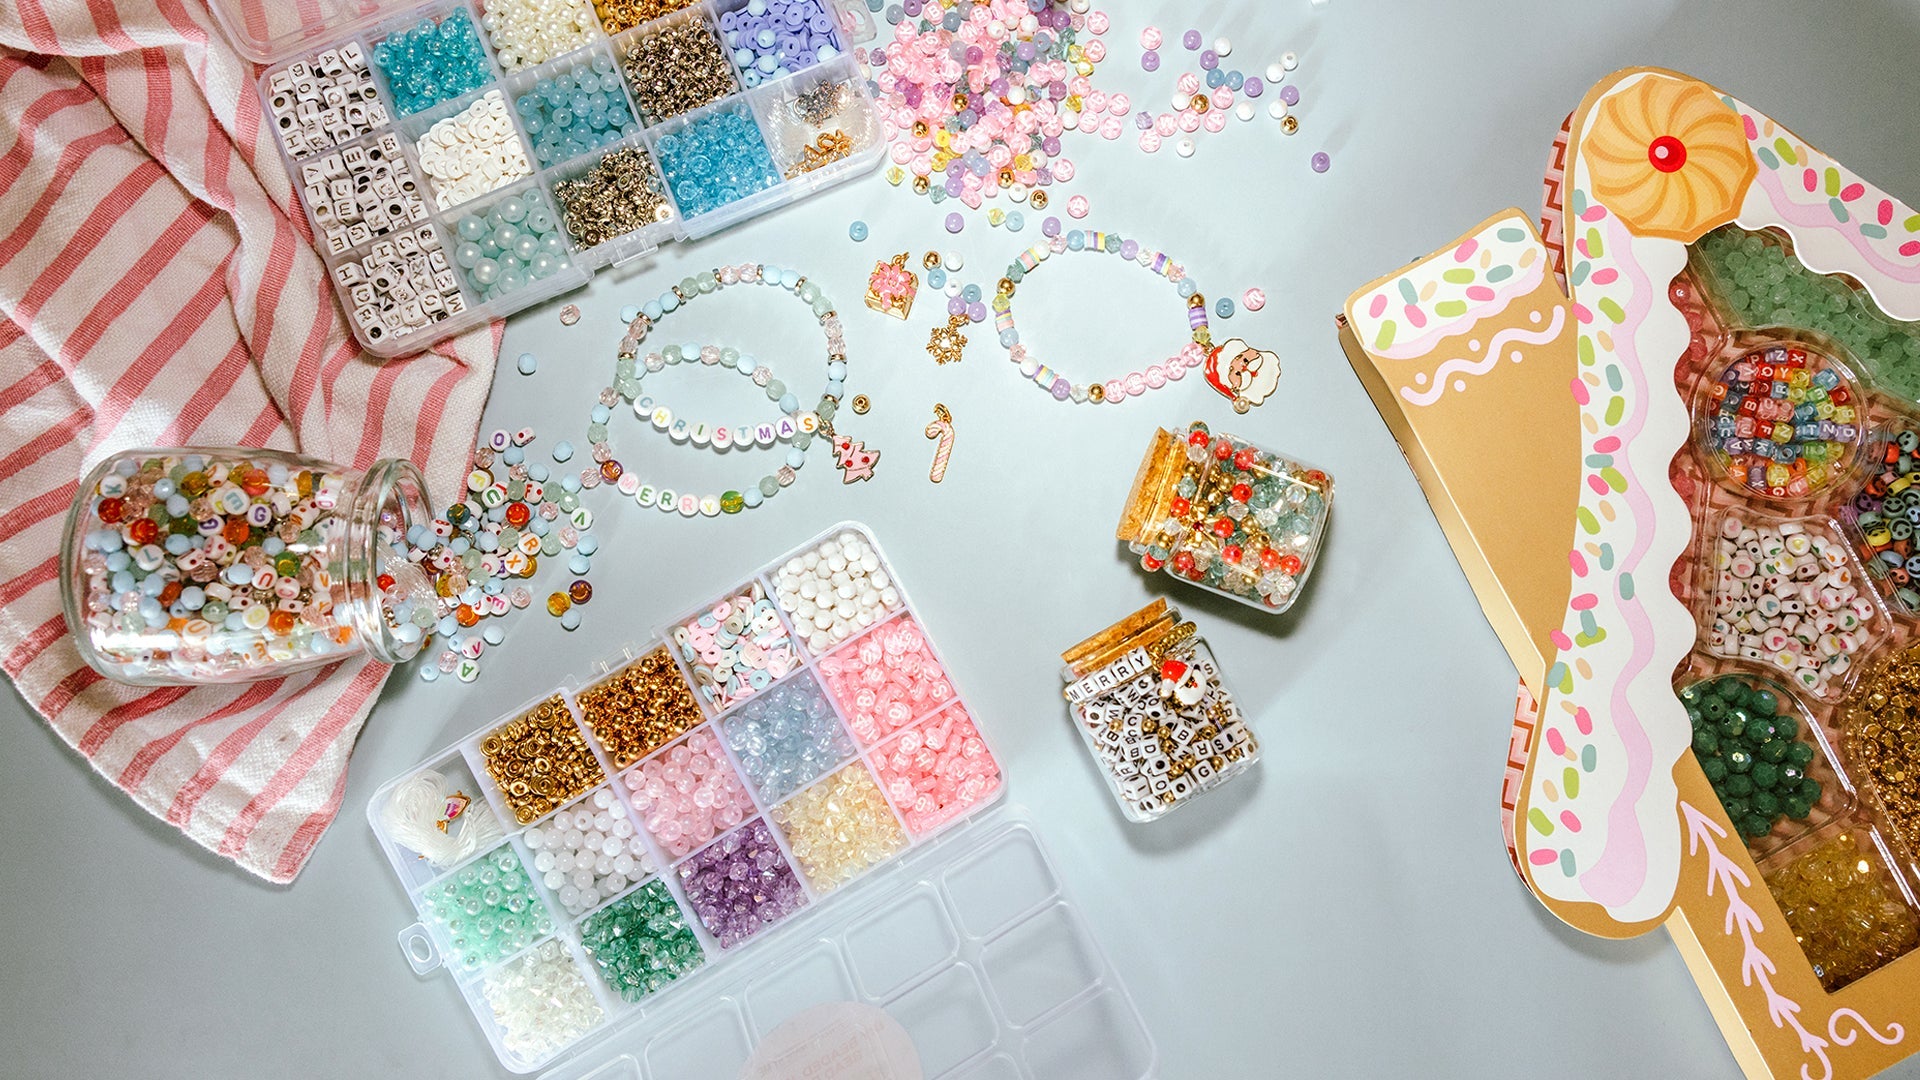
Beading jewelry is a creative and rewarding hobby that allows you to craft unique and personal pieces for yourself, friends, and family. Whether you're looking to make a statement with bold designs or prefer something more subtle and elegant, mastering the basics of beading can open up a world of possibilities. This guide is packed with beginner tips to help you start your journey into the vibrant world of beading jewelry.
Before you dive in, remember that patience and practice are key. Don't be discouraged if your first few attempts don't turn out as planned. Beading is an art, and like any other, it takes time to develop your skills. Now, let's get started with the fundamental steps to create your very own bead jewelry masterpieces.

The Basics of Beading Jewelry
Beading jewelry involves stringing beads onto a thread or wire and securing them in place to create a wearable piece. The process can be as simple or as complex as you wish, with jewelry designs ranging from basic bracelets to intricate necklaces.
Choosing Your Materials
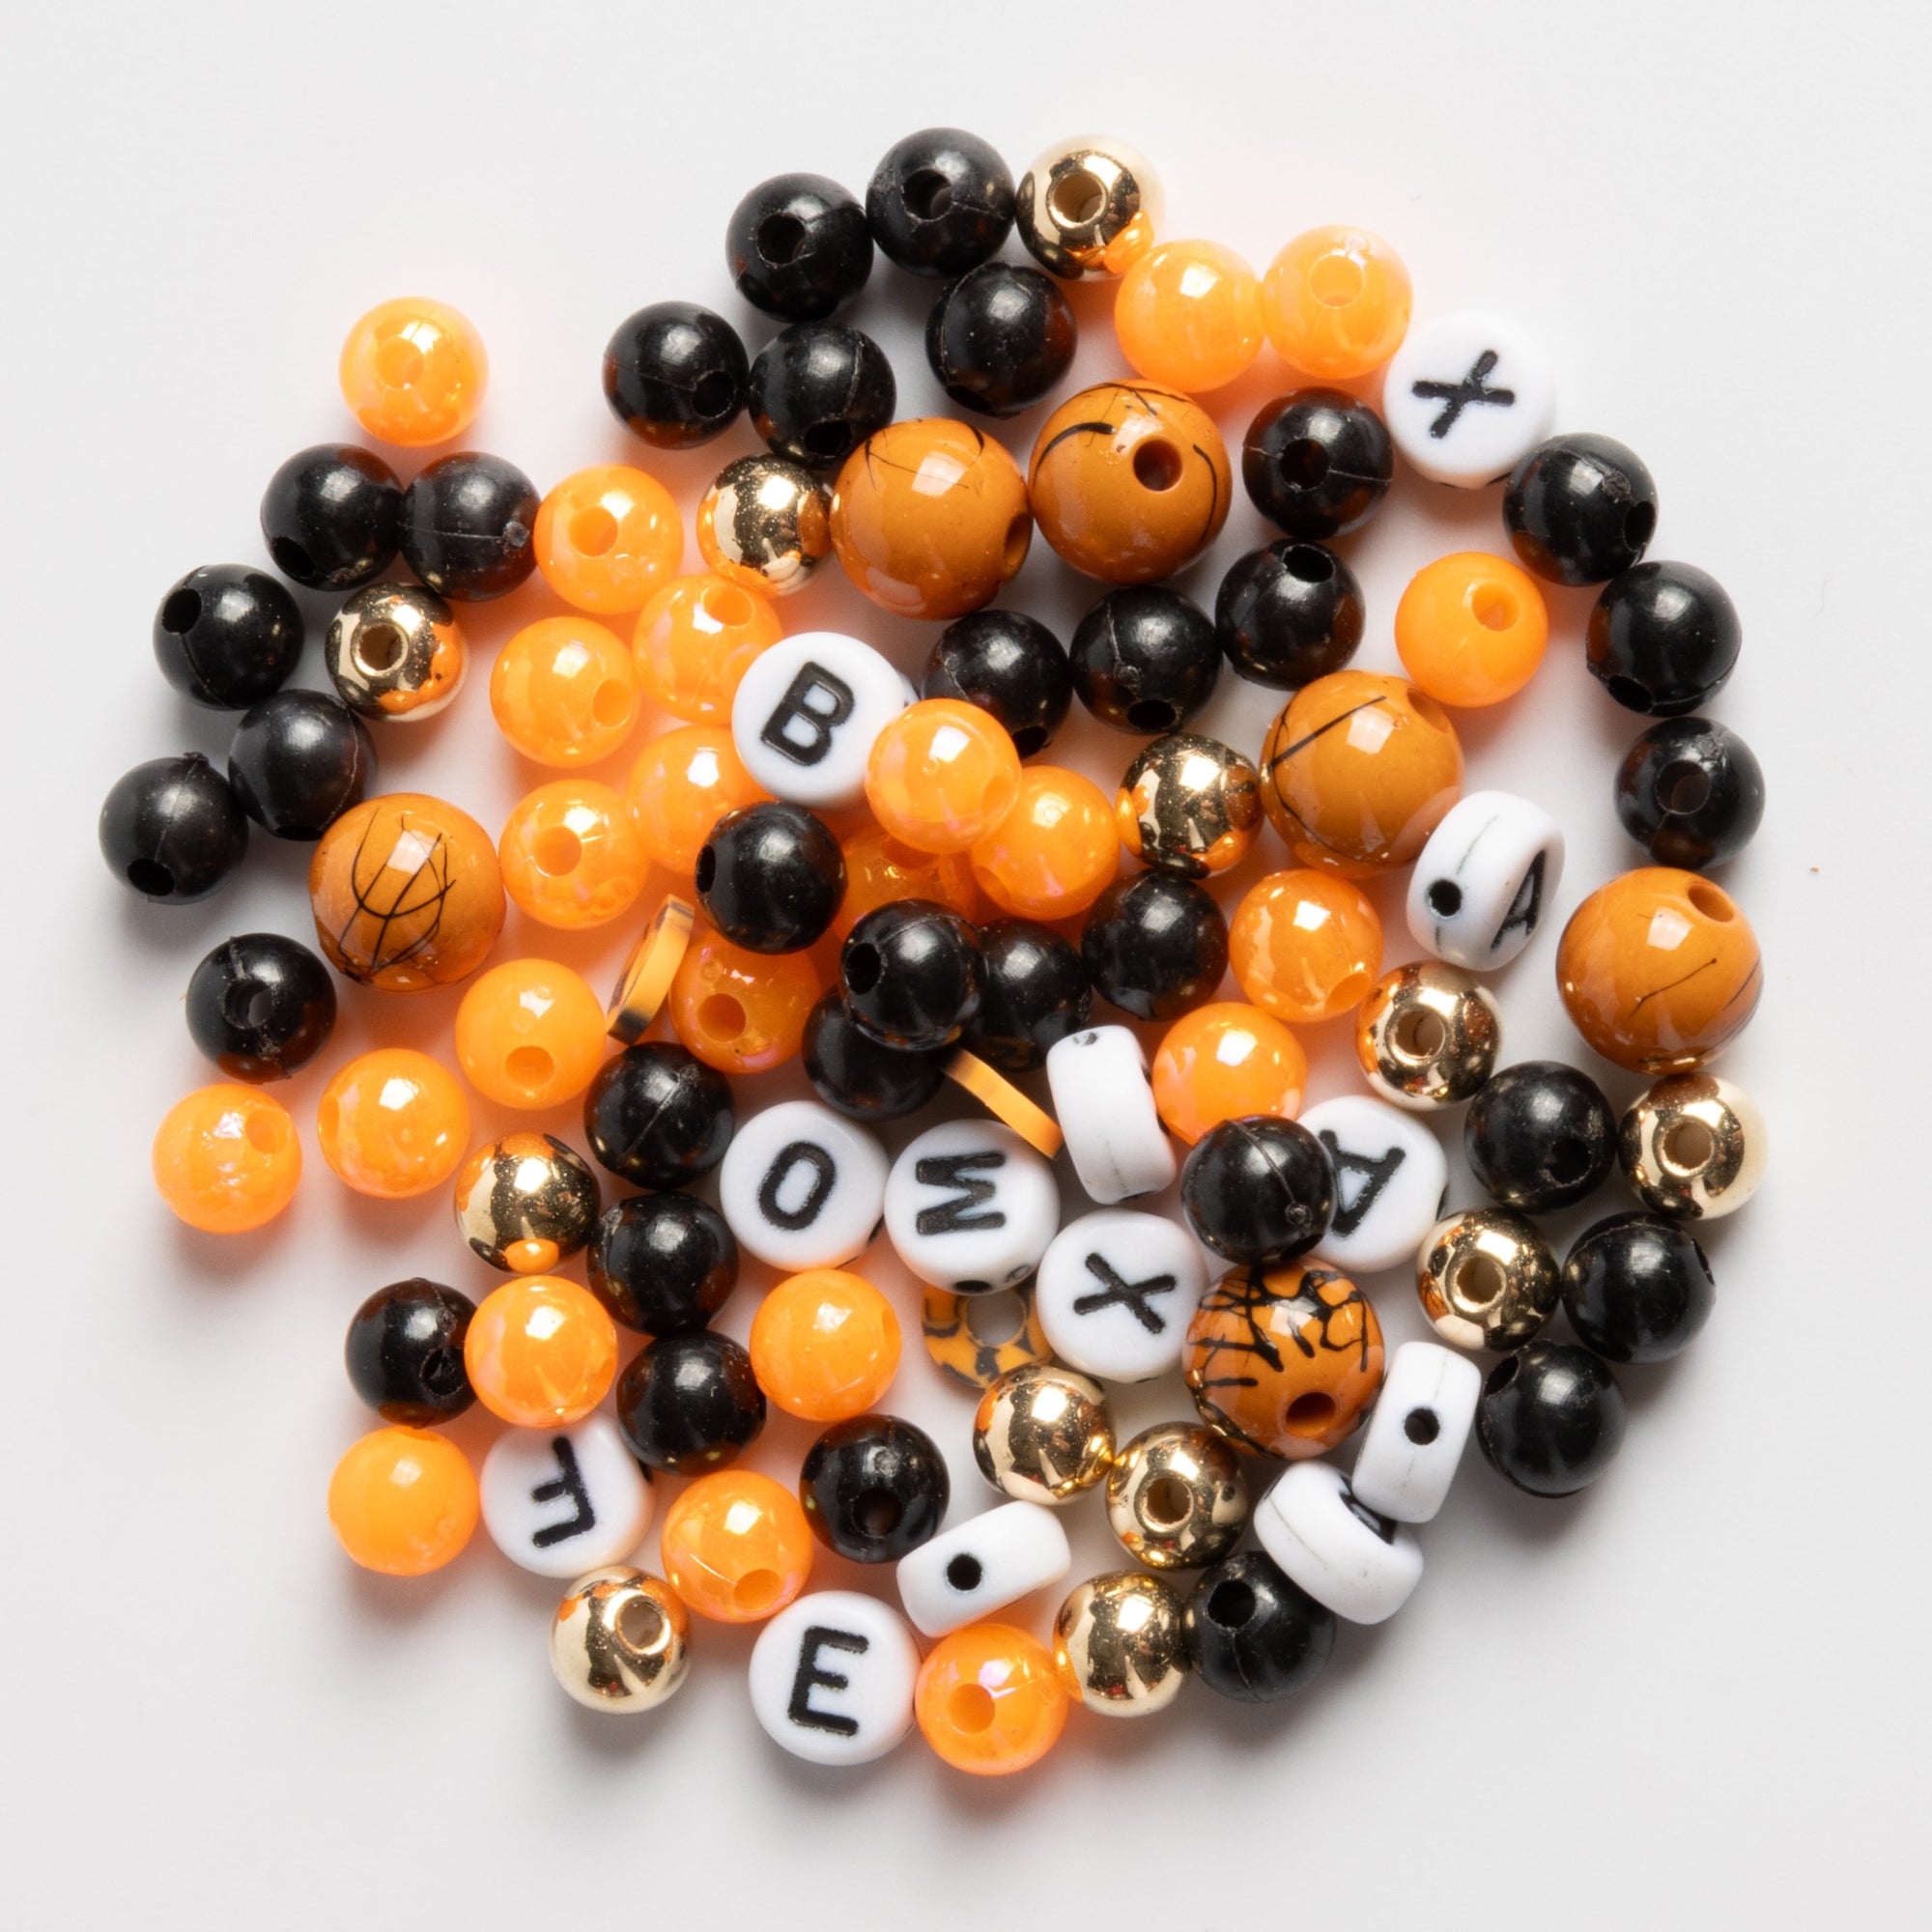
The first step in beading is to choose the right materials. There are countless types of beads available, from glass and crystal to wood and metal. For beginners, it's best to start with larger beads, as they are easier to handle and work with.
You'll also need beading hoops or wire for jewelry making. These provide the structure for your pieces and come in various shapes and sizes. Beading hoops are great for earrings and pendants, while flexible beading wire is ideal for bracelets and necklaces.
Essential Tools
To get started, you'll need a few basic tools:
- Needle nose pliers: For opening and closing jump rings and clasps.
- Wire cutters: For trimming wire to the correct length.
- Beading needles: For threading beads onto wire or thread.
- Crimping tool: For securing beads in place on the wire.
Step-by-Step Beading for Beginners
Once you've gathered your materials and tools, you're ready to begin crafting your jewelry. Follow these steps to start your beading adventure.
Step 1: Designing Your Piece
Before you begin beading, it's helpful to have a design in mind. Sketch out your idea or lay out your beads in the pattern you want. This will give you a clear vision of the end result and help you determine the length of wire or thread you'll need.
Step 2: Cutting Your Wire or Thread
Cut a piece of wire or thread longer than you think you'll need. It's better to have excess that you can trim later than to come up short. If using wire, leave extra length for adding clasps and finishing your piece.
Step 3: Adding a Stopper Bead
If you're using thread, add a stopper bead at the end and loop the thread back through to prevent other beads from slipping off. If you're using wire, you can use a crimp bead and your crimping tool to create a secure stop.
Step 4: Stringing the Beads
Start adding your beads according to your design. Take your time and enjoy the process. Beading can be a meditative and relaxing experience.
Step 5: Finishing Your Piece
Once all your beads are on the wire or thread, finish your piece by adding a clasp or tying a secure knot. If using wire, use crimp beads to keep everything in place and needle nose pliers to attach the clasp.
Tips for Successful Beading
As you embark on your beading journey, keep these tips in mind to ensure a smooth and enjoyable experience.
Keep Your Workspace Organized
Beading involves many small parts that can easily get lost. Keep your workspace tidy and use containers or bead mats to hold your beads and tools.
Start Simple
Begin with simple designs and techniques. As you become more confident, you can experiment with more complex patterns and materials.
Learn Basic Techniques
Familiarize yourself with basic beading techniques such as making loops, using crimp beads, and attaching clasps. There are many online tutorials and books available for beginners.
Practice Patience
Beading can be intricate work, and mistakes are part of the learning process. If you're not happy with a section, don't be afraid to take it apart and try again.

Inspirations for Your First Projects
Looking for ideas to kickstart your beading journey? Here are a few simple projects perfect for beginners:
Beaded Bracelets
Create a simple beaded bracelet using an elastic cord and your choice of beads. These are quick to make and perfect for practicing your stringing skills.
Hoop Earrings
Use beading hoops to make stylish earrings. Add beads directly onto the hoop for a simple, elegant look.
Beaded Necklaces
String beads onto a flexible beading wire to create a classic beaded necklace. Experiment with different bead sizes and patterns to find your style.
Where to Find Beading Supplies
You can find beading supplies at local craft stores or online. Many online retailers offer starter kits that include everything you need to begin beading, making them a convenient option for beginners.
Conclusion
Beading jewelry is a fun and fulfilling hobby that allows for endless creativity. With these beginner tips, you're well on your way to creating beautiful, handcrafted pieces. Remember to start simple, be patient, and enjoy the process of bringing your designs to life. Happy beading!
Shop Jewelry Made By Me
Ready to bring your beading skills to the next level or looking for quality, handcrafted jewelry pieces? Visit Jewelry Made By Me's store for all your beaded jewelry needs.
Our shop offers a wide selection of beads, tools, and beginner kits to get you started. Plus, you'll find a variety of beautiful, finished jewelry pieces that showcase the artistry and craftsmanship of beading.
Whether you're a beginner or a seasoned pro, Jewelry Made By Me has everything you need to create and enjoy gorgeous, one-of-a-kind jewelry. Happy shopping and happy beading!


