The holidays are a time for warmth, light, and creating beautiful memories. What better way to capture that festive spirit than by crafting your own decorations? Beading Christmas ornaments is a delightful and rewarding hobby that allows you to add a unique, personalized touch to your holiday decor. Whether you're a seasoned crafter or have never picked up a bead before, this guide will show you how to create stunning, handmade ornaments with simple, achievable designs.
Making your own ornaments isn't just about the final product; it's about the peaceful, creative process. It's an activity you can enjoy solo with a cup of hot cocoa, or with family and friends, creating new traditions and heirlooms. From sparkling snowflakes that catch the light to classic stars and wreaths, we’ll explore the basic materials, essential tools, and easy techniques you need to get started. Let’s dive into the magical world of beaded Christmas ornaments and make this holiday season your most creative one yet.
What Essential Supplies Do Beginners Need to Start Beading?
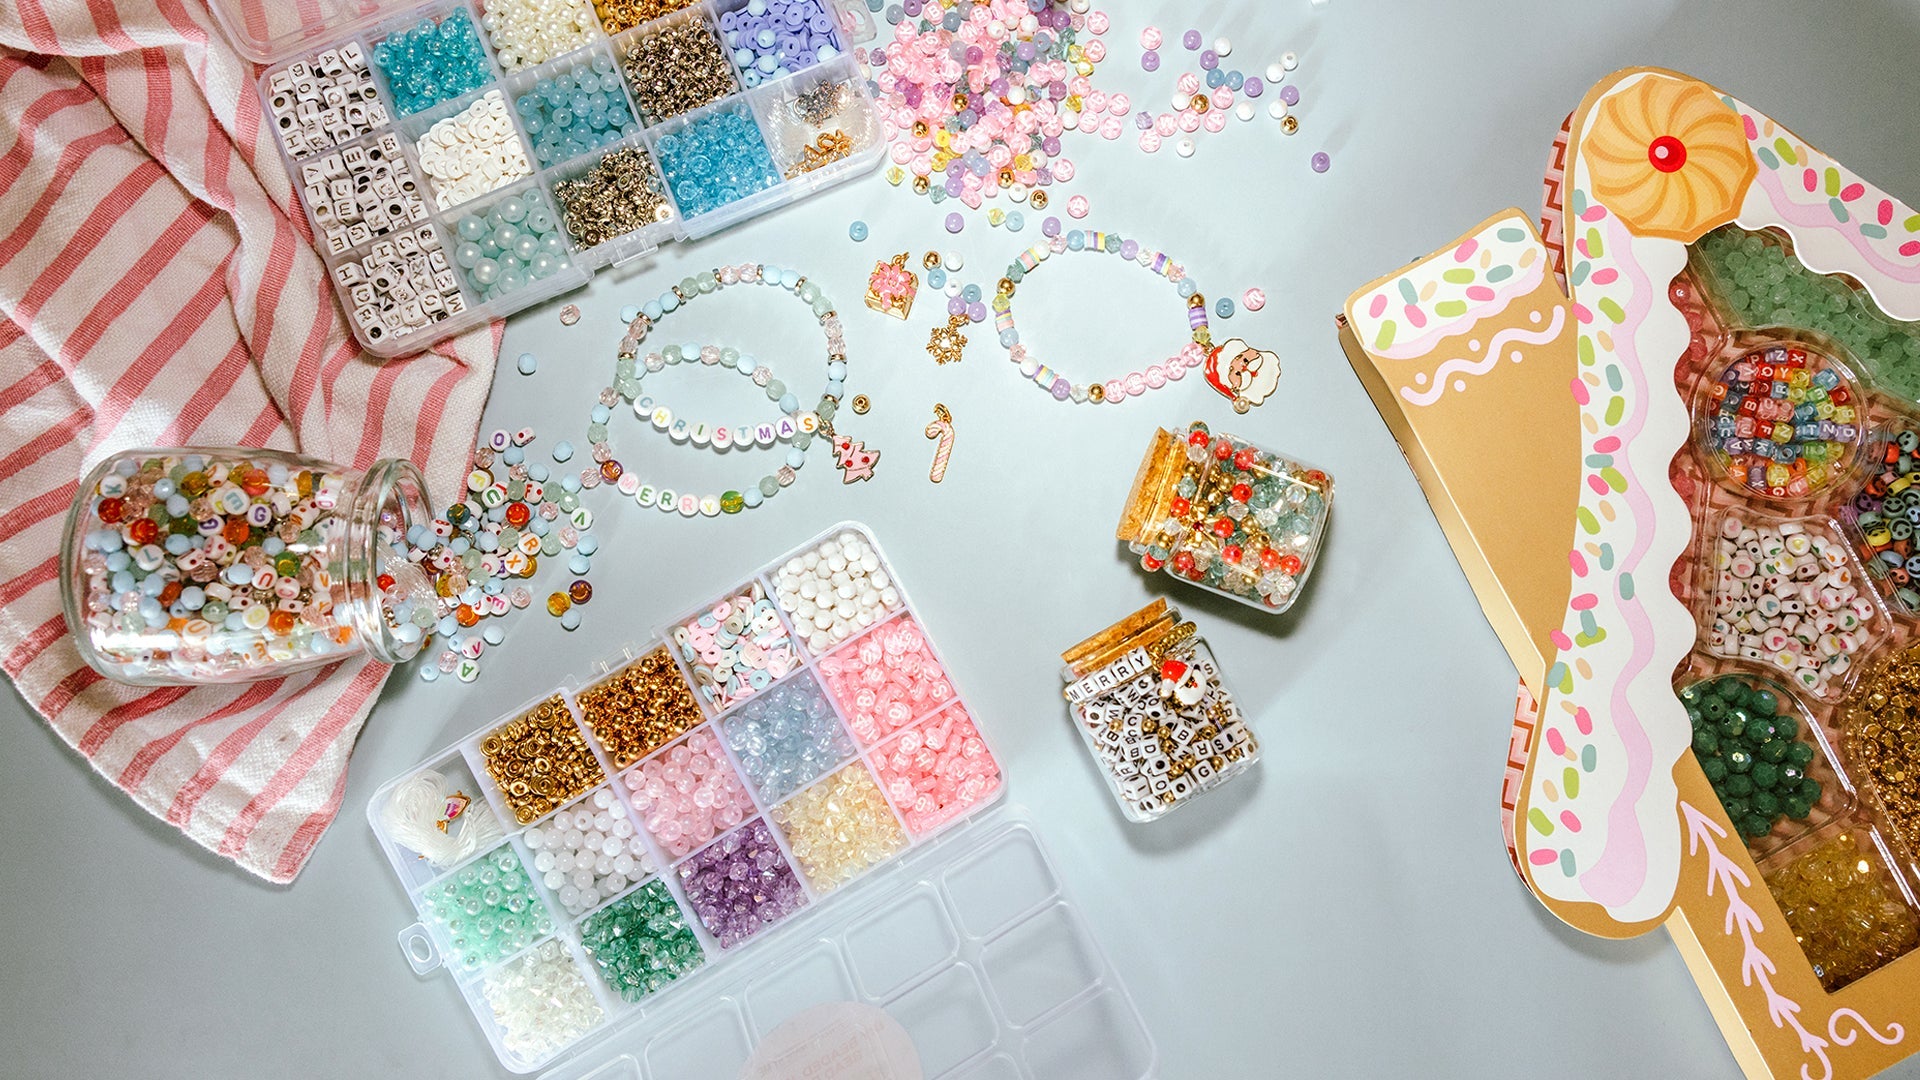
Getting started with beading for the first time can feel overwhelming, but it doesn't have to be. For simple ornaments, you only need a few key supplies. The good news is that these materials are widely available and can be purchased in affordable beginner kits, such as those from Jewelry Made By Me, making it incredibly easy to get everything you need in one go.
First and foremost, you'll need a variety of beads. While there are countless options, start with a mix of different sizes and shapes to give your ornaments dimension. Seed beads are perfect for intricate details and filling space. Larger, more prominent beads like crystal bicones, glass pearls, or pony beads can serve as focal points. For simple projects, you can even use natural wood or plastic beads.
Next, you'll need something to string your beads onto. For sturdy shapes like stars and wreaths, a durable yet flexible jewelry wire is an excellent choice. A wire with a smaller gauge is easier to work with. For delicate, lacy patterns, a strong beading thread is essential. Look for a durable nylon or fused beading thread that resists tangling.
Lastly, you will need a few basic tools. Wire cutters are a must for cutting your wire to the correct length. A pair of round-nose pliers can help you bend the wire into perfect loops and curves, which is especially useful for forming star points or a wreath shape. A beading needle, though small, is an invaluable tool for working with tiny seed beads and intricate designs.

How Can You Create a Simple Yet Beautiful Beaded Snowflake?
A beaded snowflake is a classic design that looks complex but is surprisingly simple to make. The key to a beginner-friendly snowflake is to use a basic wire-frame technique. This method allows you to focus on the pattern of the beads rather than mastering a complex stitch.
To begin, cut a length of jewelry wire. You can use this single piece to create the entire snowflake. A snowflake can be formed with as few as six arms, which makes for a quick and satisfying project. Start by creating a central loop or ring. This will be the center of your snowflake. You can do this by stringing a few beads onto the wire and twisting the ends together.
Next, create the arms of the snowflake. These can be as simple as adding a series of beads and then a larger accent bead at the end of each arm. The wire is flexible enough that you can easily bend it back on itself to create a loop at the tip of each arm, securing the beads in place. You can also form a series of smaller loops along each arm to add more detail.
For added visual interest, vary the size and color of your beads on each arm. Use larger beads closer to the center and smaller beads toward the tips to create a sense of dimension. Once you have created all six arms and secured them, you can trim any excess wire and bend the entire piece into a flat, symmetrical snowflake shape. This simple process allows you to produce a stunning and delicate ornament without the need for advanced beading skills.
What is the Best Way to Form a Classic Beaded Star?
The five-pointed star is a timeless symbol of the holiday season, and creating a beaded version is an exciting project for any beginner. The most common and simple method involves using a single piece of wire to form the star's shape. This technique ensures the ornament holds its form and is a durable piece of decor for years to come.
Start with a long piece of jewelry wire. The key is to form the wire into a five-pointed star shape first, before adding any beads. You can draw a star on a piece of paper and use it as a guide to bend the wire with your fingers or a pair of pliers. It doesn't need to be perfect at this stage, as you will refine the shape later.
Once the basic star shape is formed, it's time to add the beads. Start from one of the points and begin stringing beads onto the wire. You can choose a single color for a clean, uniform look, or mix colors to create a more dynamic pattern. For example, you can alternate between a clear crystal bead and a metallic gold bead for a dazzling effect.
Continue stringing beads along the entire length of the wire, following the star shape. Make sure to slide the beads all the way into place, keeping the wire taut. Once you have beaded all five points and the connecting lines, you will meet back at your starting point. You can then twist the two ends of the wire together to secure the shape. Trim the excess wire and use your pliers to tuck the sharp end neatly into a bead. This method results in a sturdy, professional-looking star ornament that is deceptively easy to make.
How Can Beaded Wreaths be Made for a Beginner?
A beaded wreath ornament is a charming and festive project that is perfect for those new to beading. The circular shape is simple to create, and the design can be easily customized with various bead types and colors. The easiest technique for a beginner involves using a sturdy metal ring or a circular wire base.
To begin, you will need a circular base for your wreath. This could be a pre-made metal crafting ring, a circular piece of thick wire, or even a basic pipe cleaner twisted into a circle. This base will provide the solid structure for your ornament. Next, choose your beads. A traditional Christmas wreath uses green beads, but you can get creative with a mix of colors and textures.
Start by stringing your beads directly onto the circular base. A single strand of beads will give a simple, elegant look. You can also use a wrapping technique, where you string beads onto a separate piece of thin wire and then wrap that wire around the circular base. This method allows you to create a more layered and textured effect, giving the impression of a full, lush wreath.
To add extra flair to your beaded wreath, consider incorporating accent beads. Red beads can be used to represent holly berries, or you can add a small metallic bow charm for a festive touch. You can also tie a thin piece of ribbon to the top of the wreath to serve as the hanger, completing the classic holiday look. This project is a fantastic entry point into beading, as it combines a simple shape with a world of creative possibilities.
What are the Benefits of Using a DIY Beading Kit?
For many people, the biggest hurdle to starting a new craft is knowing what materials to buy and where to find them. This is where DIY beading kits shine. They are designed specifically to eliminate the guesswork and make the creative process as smooth and enjoyable as possible. A high-quality kit, like those offered by Jewelry Made By Me, is a game-changer for beginners.
The most significant benefit of a DIY kit is convenience. Everything you need for a specific project is included in one package. You don't have to worry about finding the right beads, the correct gauge of wire, or the perfect beading needle. The kit does all the work for you, allowing you to get straight to the fun part: creating.
DIY kits also save you from a common pitfall for new crafters: overbuying. When you purchase individual supplies, you often have to buy large quantities of each item, leading to excess materials and a higher initial cost. Kits, on the other hand, provide exactly what you need in the right amounts, making them a more cost-effective option for a single project.
Finally, kits are a fantastic learning tool. They often come with clear, step-by-step instructions and patterns that guide you through the project. This structured approach helps you learn the necessary techniques and builds your confidence, preparing you to tackle more complex projects on your own in the future. They take the stress out of starting and ensure you have a successful and rewarding crafting experience.

Conclusion
Crafting your own beaded Christmas ornaments is more than just a seasonal activity; it's an opportunity to create treasured keepsakes and infuse your home with a truly personal holiday spirit. From the simple elegance of a beaded snowflake to the timeless charm of a star or wreath, these projects offer a wonderful entry point into the world of beading. By focusing on a few key tools and simple techniques, you can transform a handful of beads into a dazzling piece of holiday art.
Whether you decide to create a collection of ornaments for your own tree, give them as heartfelt gifts, or use them as a creative bonding activity with loved ones, the process is what truly matters. It’s a moment of peace and creativity in the midst of the holiday rush. So, this year, skip the store-bought decor and embrace the joy of DIY. Get your beads, wire, and a creative spirit ready to make this the most wonderful time of the year for crafting.
Ready to start your beading journey? Create beautiful, wearable art with our DIY kits. Shop Jewelry Made By Me for your Christmas DIY beaded bracelet kits now!
FAQs about DIY Holiday Ornamates
Q1: What is the best type of bead for a beginner to use?
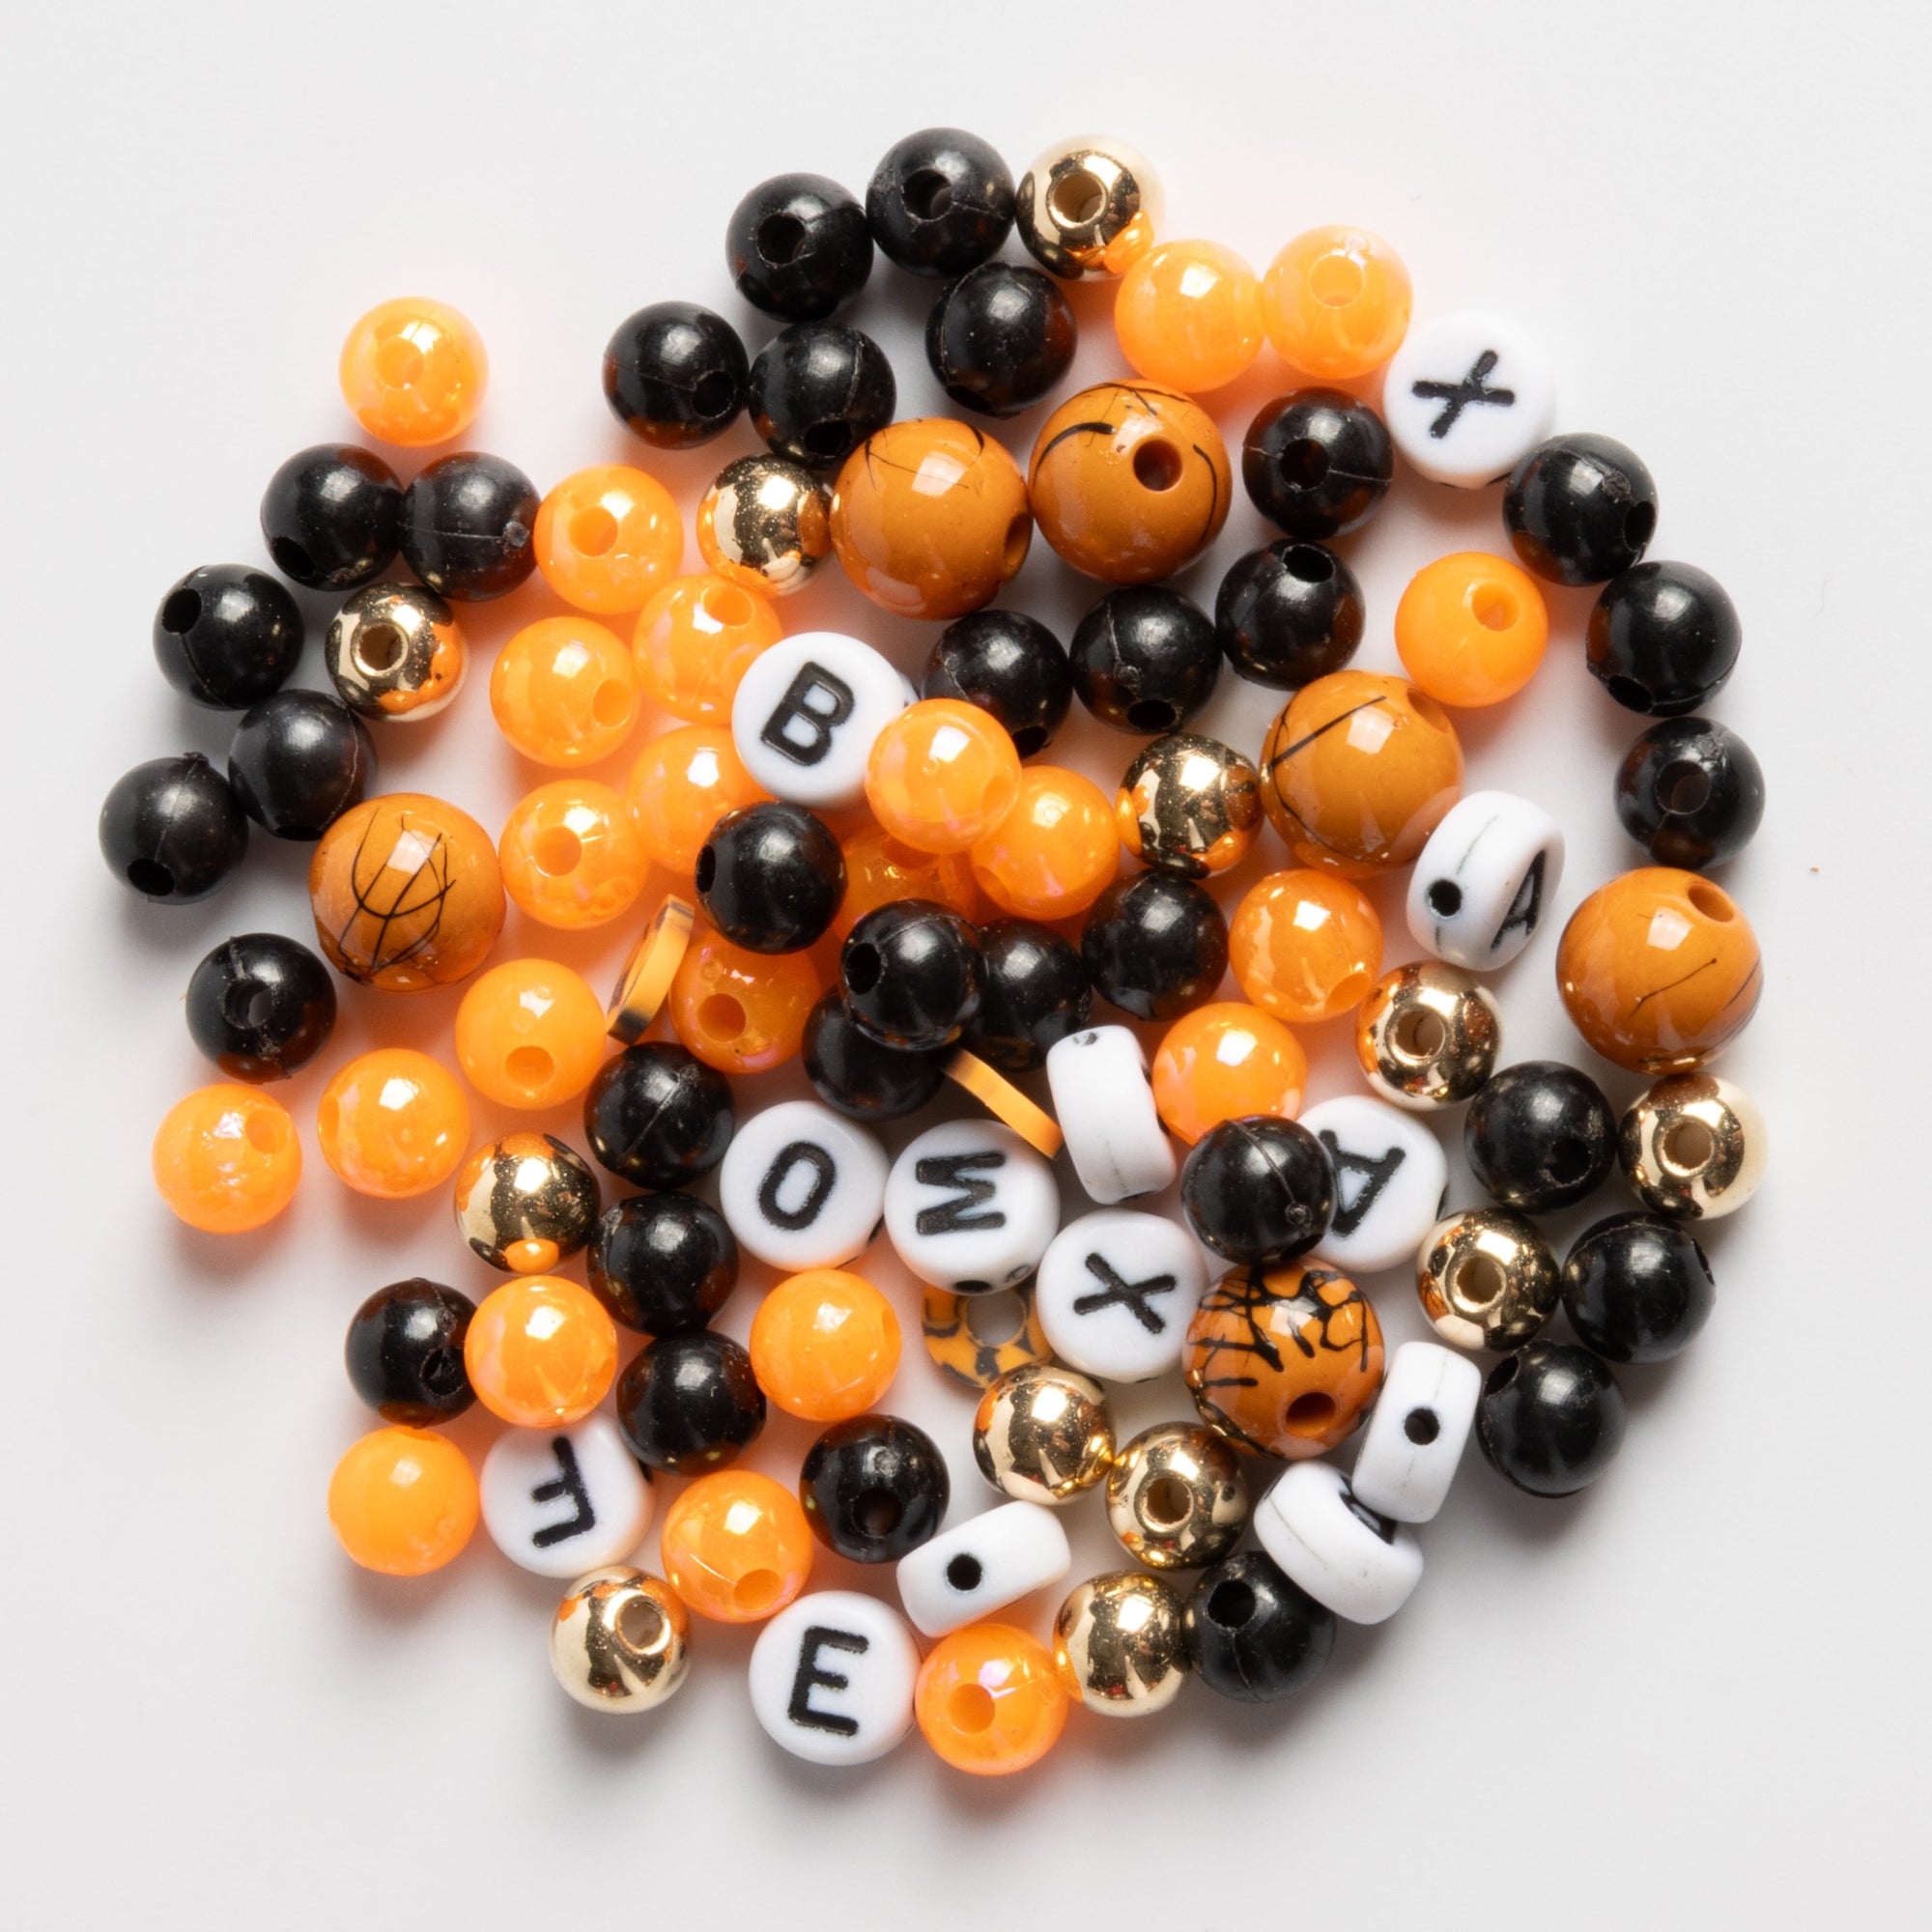
A1: For beginners, a great starting point is using a mix of bead sizes and materials, such as a combination of seed beads (size 11/0 or larger) and larger accent beads (like 4mm or 6mm glass beads). These beads are easy to handle and readily available in a wide array of colors. Pony beads are also an excellent choice for kids and for making large, simple shapes. The larger holes in these beads make them very easy to string onto wire or thick cord.
Q2: What is the difference between beading wire and beading thread?
A2: Beading wire is typically made of flexible metal strands twisted together and coated in nylon. It is used to create sturdy, structured designs that hold their shape, such as stars or snowflakes. Beading thread, often made from strong nylon or a similar synthetic material, is used for more flexible, intricate projects like bead weaving, where the beads form a fabric-like pattern. Wire is rigid, while thread is flexible, and the choice depends on the desired final shape and technique.
Q3: Can I make beaded ornaments without a kit?
A3: Yes, you can absolutely make beaded ornaments without a kit. Kits are a convenient option, but you can purchase all the individual components from a craft or bead store. The essential supplies you'll need are a variety of beads, beading wire or thread, wire cutters, and possibly round-nose pliers. You can find free patterns and tutorials online to guide your designs.
Q4: How do I hang my finished beaded ornament?
A4: You can easily add a hanger to your finished ornament. For wire-based ornaments, you can simply create a small loop at the top with the leftover wire. For thread-based ornaments, you can use a small length of ribbon, a piece of yarn, or a metallic ornament hook. Simply loop the chosen material through one of the beads at the top of the ornament and tie it in a knot to secure it.
Q5: What are some other simple projects for a beginner beader?
A5: In addition to ornaments, beginners can try a number of other simple beading projects. Beaded bracelets are an excellent starting point, as they only require beads and a stretchy cord. Beaded keychains are another great option, as are simple beaded pendants or earrings. Many of these projects use the same basic stringing techniques you'll learn while making ornaments, allowing you to build your skills and confidence.