Valentine's Day is just around the corner, and what better way to celebrate than by creating a thoughtful, handmade gift? Crafting a heart-themed bracelet is a delightful and personal way to express your affection. Whether it's for a friend, family member, or special someone, a bracelet made with love is always a cherished gift.
In this guide, we'll walk you through five easy steps to create your very own heart-themed bracelet. We'll cover everything from gathering materials to adding the final touches. So, let's get started!

Step 1: Gather Your Materials
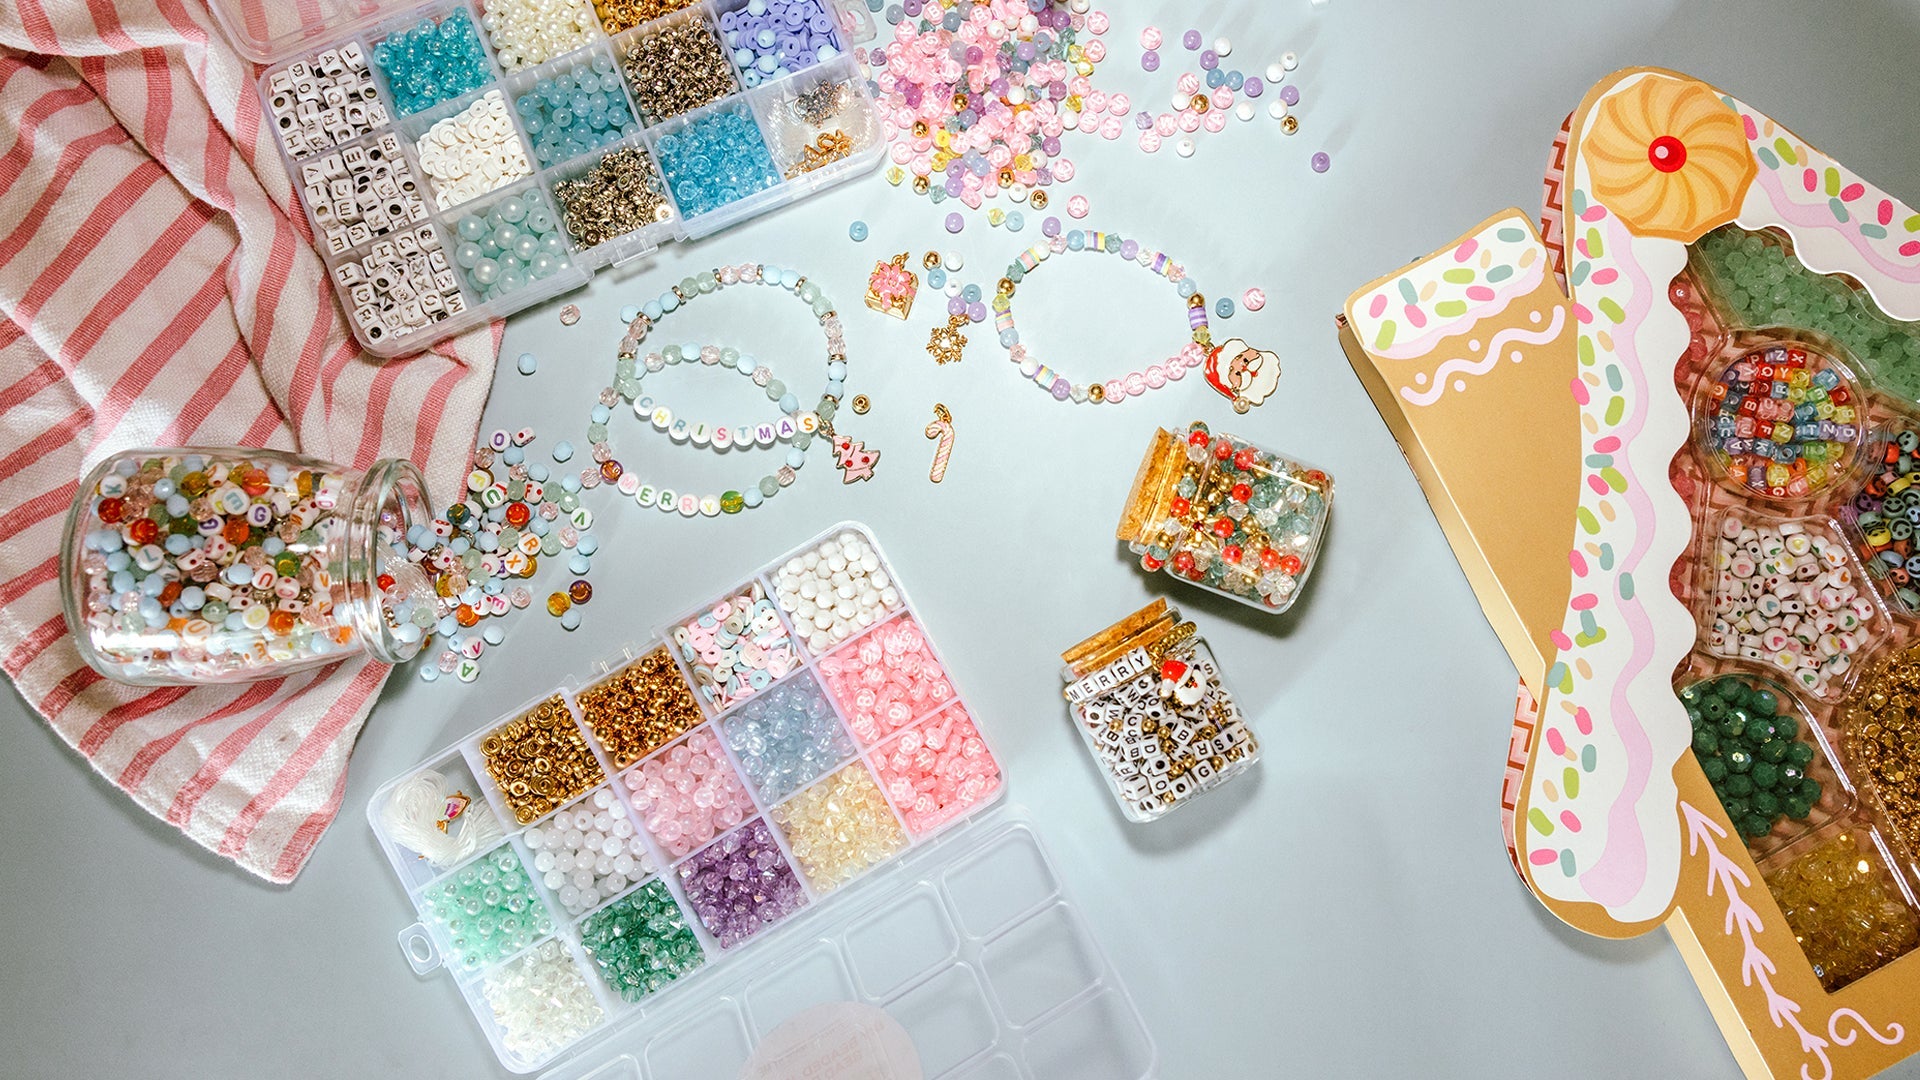
Before you begin, it's important to gather all the materials you'll need. Having everything ready will make the process smoother and more enjoyable. Here's a list of what you'll need:
- String or Cord: Choose a durable and flexible material. Nylon or cotton cord works well for bracelets.
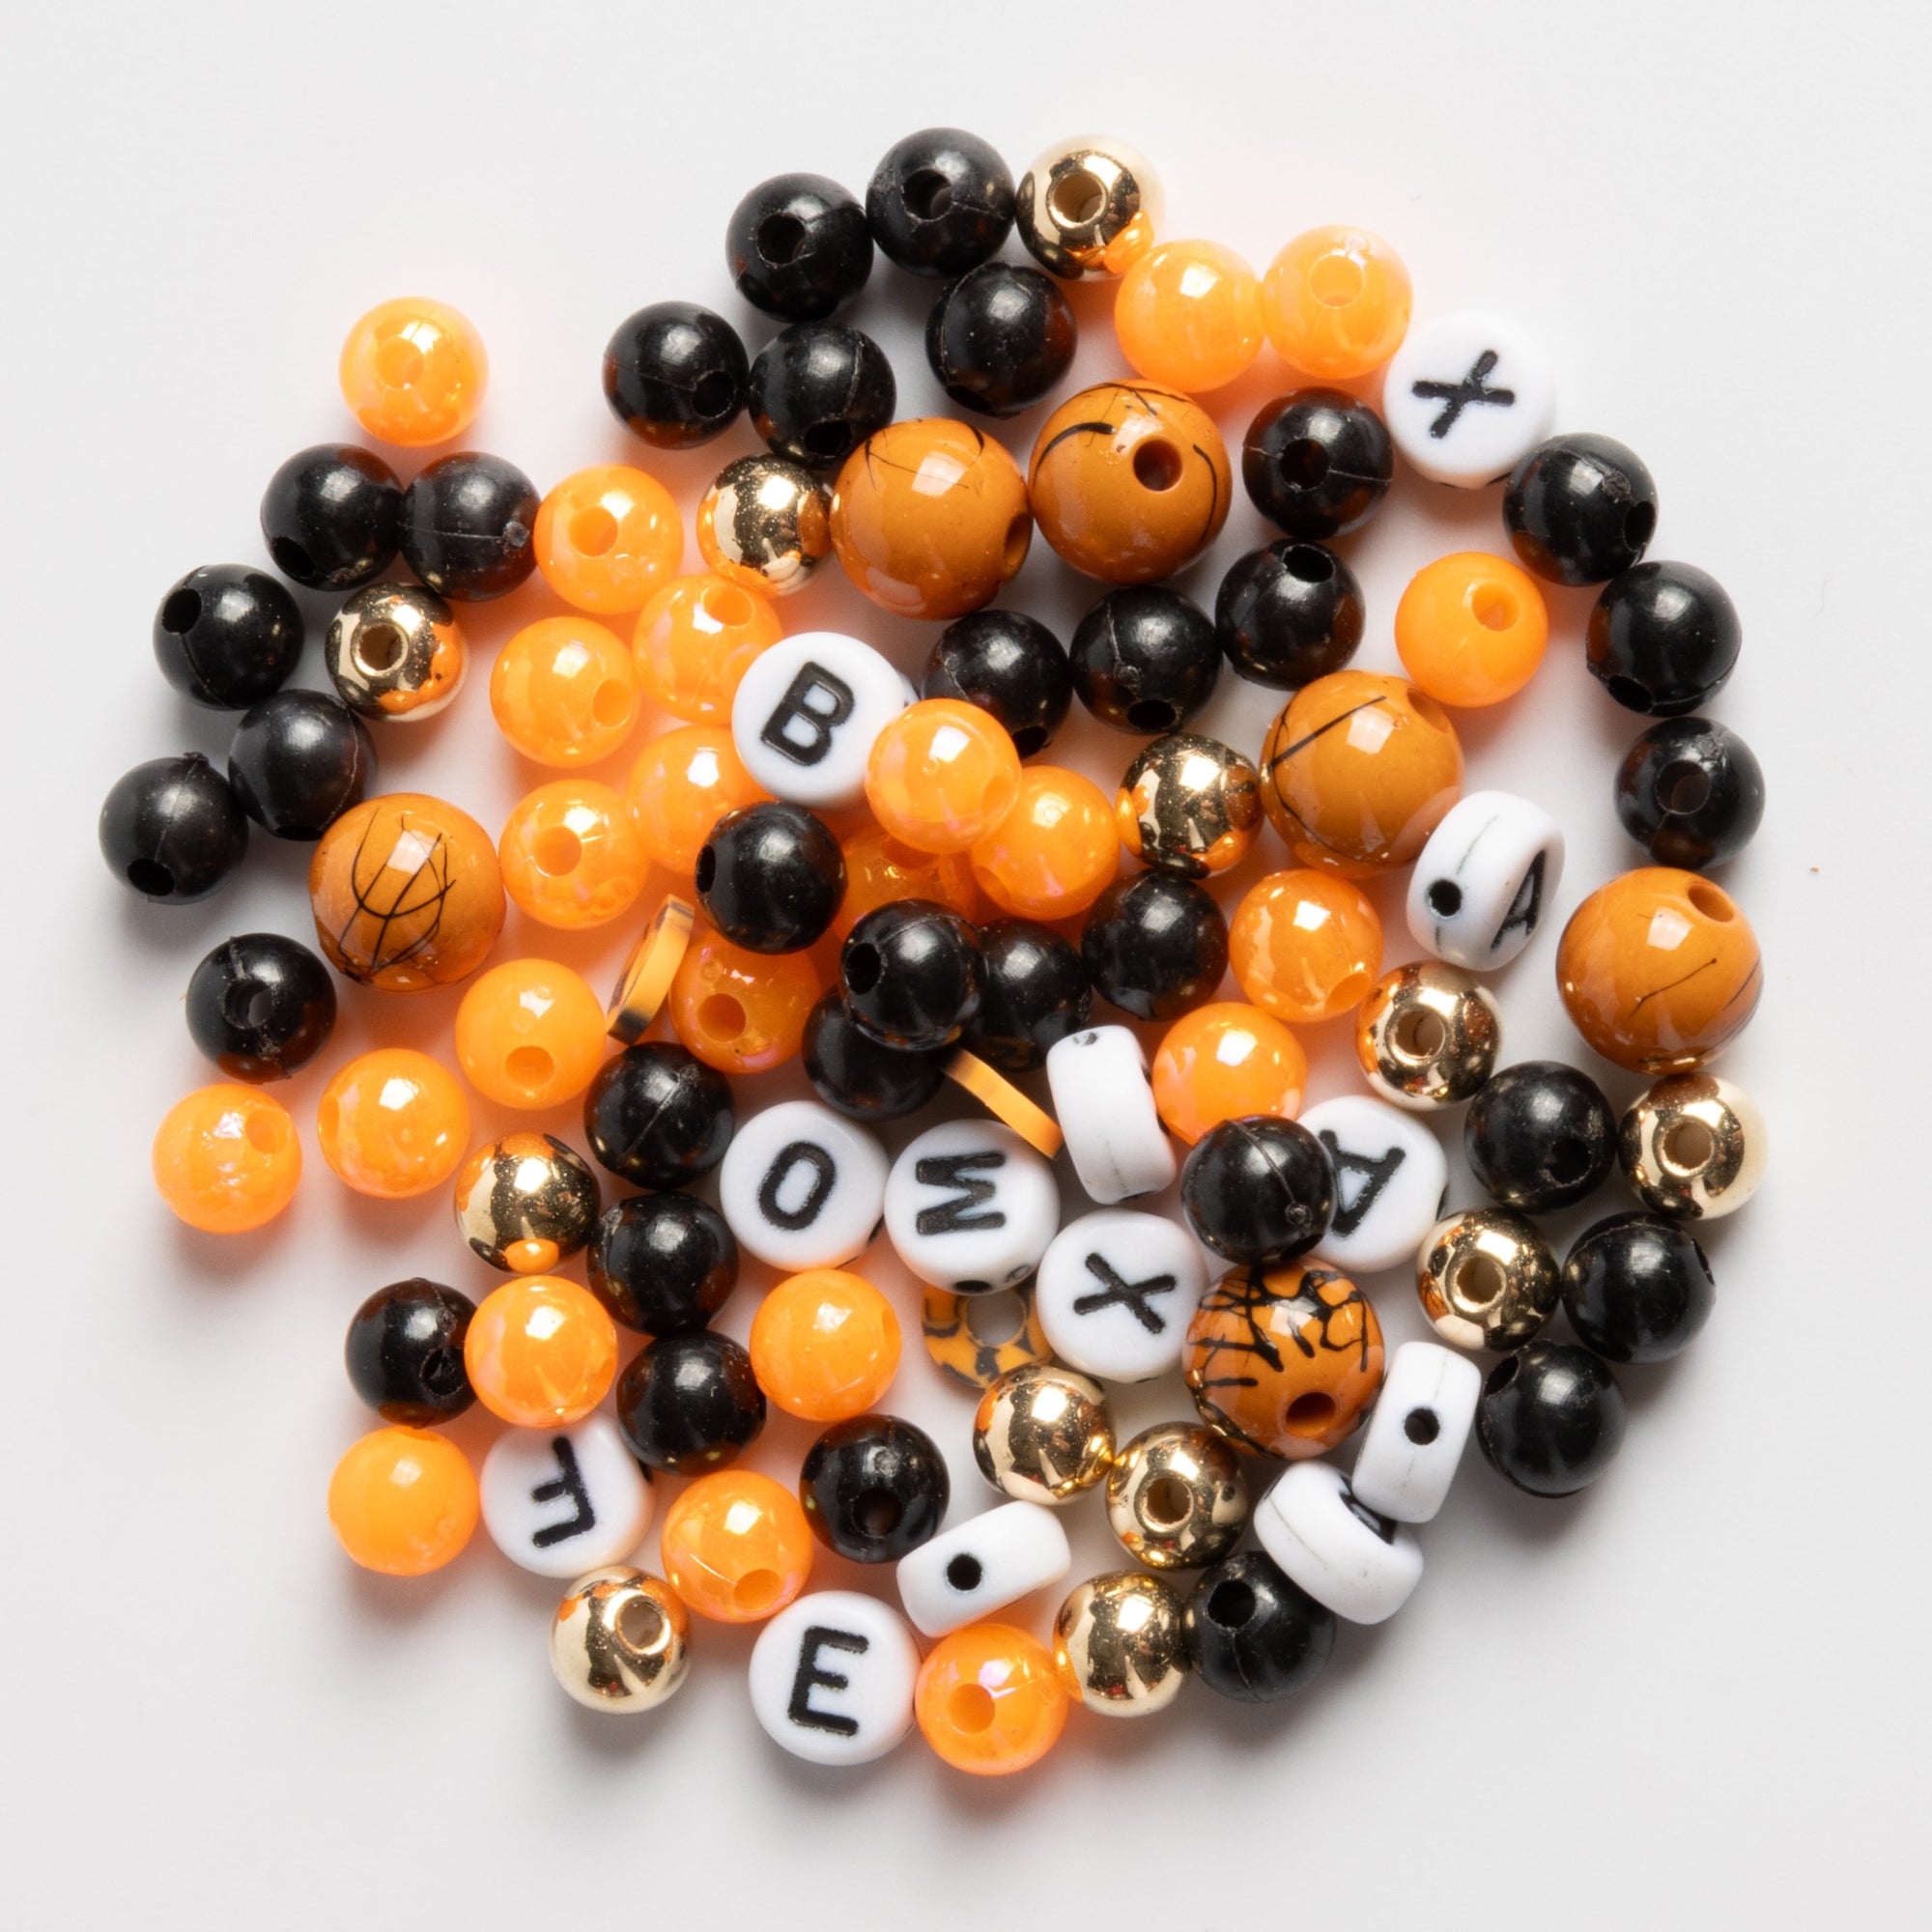
- Beads: Heart-shaped beads are essential for a heart-themed bracelet. You can also add other beads in complementary colors.
- Charms: Consider adding heart charms or other meaningful symbols.
- Scissors: A sharp pair of scissors will make cutting the string easier.
- Clasp or Knot: Decide if you want a clasp for easy wear or if you prefer tying a knot.
- Tape or Clipboard: This will help hold your bracelet in place while you work.
Step 2: Plan Your Design
Before you start threading beads, it's a good idea to plan out your design. Think about the color scheme and pattern you'd like to create. This is where you can get creative and personalize your bracelet.
Choosing Colors and Patterns
Selecting the right colors is crucial for a visually appealing bracelet. Classic Valentine's Day colors include red, pink, and white. You can also choose colors based on the recipient's preferences.
For patterns, consider alternating heart beads with smaller accent beads. You can also experiment with different arrangements until you find one you love.
Step 3: Start Stringing the Beads
Now that you have your materials and design in mind, it's time to start stringing the beads. Here's how to do it:
- Cut the Cord: Measure your wrist or the wrist of the person who will wear the bracelet. Add an extra inch or two for tying knots or attaching a clasp. Cut the cord to the desired length.
- Secure the Cord: Use tape or a clipboard to secure one end of the cord to your workspace. This will prevent the beads from slipping off as you work.
- Thread the Beads: Begin by threading your chosen beads onto the cord. Start with heart beads and alternate with accent beads according to your pattern. Make sure to leave enough cord at the ends for tying.
- Adjust the Design: As you string the beads, periodically check the design. Make adjustments as needed to ensure the bracelet looks balanced and even.
Step 4: Add Charms and Finalize the Bracelet
Adding charms can enhance the bracelet's theme and add a personal touch. Here's how to incorporate them:
Adding Charms
- Choose Charms: Select charms that complement the heart theme, such as heart-shaped pendants or symbols of love and friendship.
- Attach Charms: Slide the charms onto the cord at desired intervals. You can place them near the center or distribute them evenly along the bracelet.
Finishing Touches
- Tie a Knot: If you're not using a clasp, tie a secure knot at each end of the bracelet. Double-knot for added security.
- Attach a Clasp: For a more professional finish, attach a clasp to each end of the bracelet. This will make it easier to wear and remove.

Step 5: Present Your Handmade Gift
Your heart-themed bracelet is now complete! The final step is to present it to your loved one. Consider wrapping it in a small gift box or a decorative pouch for an added touch of elegance.
Tips for Presentation
- Include a Note: Write a heartfelt note to accompany the bracelet. Express your feelings and the thought behind the handmade gift.
- Add a Personal Touch: Consider including a small card with the story or meaning behind the chosen charms or colors.
Conclusion
Creating a heart-themed bracelet for Valentine's Day is a rewarding and meaningful project. Not only does it allow you to express your creativity, but it also results in a unique gift that your loved one will treasure. By following these five easy steps, you can craft a beautiful bracelet that speaks from the heart. Happy crafting!
Shop Jewelry Made By Me for Your DIY Bead Jewelry!
Ready to create your own stunning bead jewelry? Visit Jewelry Made By Me for a wide selection of high-quality materials, including heart-shaped beads, charms, and cords perfect for your DIY projects. Whether you're making a heartfelt bracelet for Valentine's Day or a unique piece for any occasion, we have everything you need to bring your creative vision to life. Don't wait—start crafting today and make something special!


